Loading ...
Loading ...
Loading ...
29
AXIS Q6034 - Events
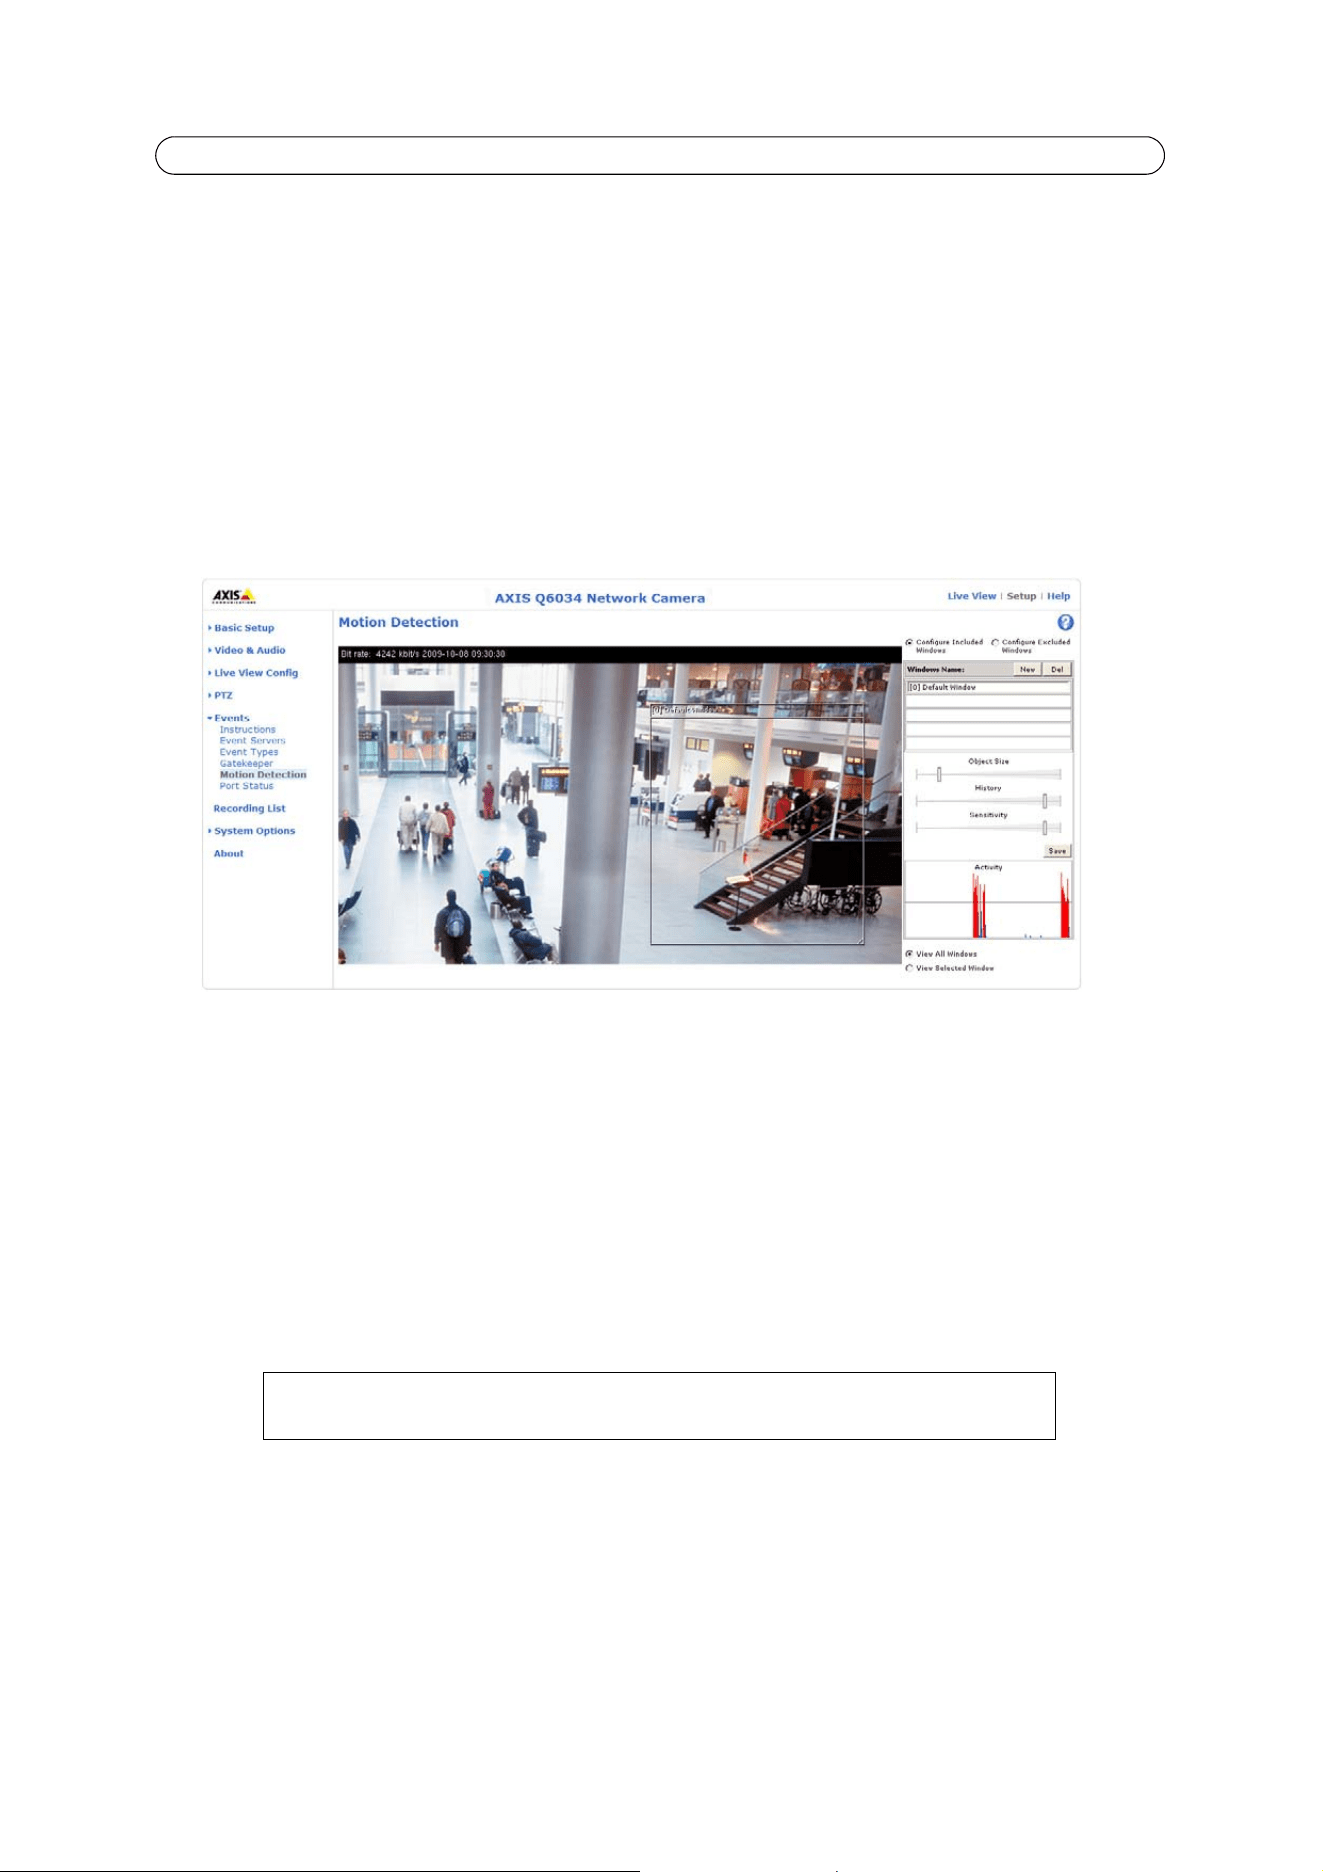
Motion Detection
Motion detection is used to generate an alarm whenever movement occurs (or stops) in the video image. Up to 10 Include and
Exclude windows can be configured:
• Include windows target specific areas within the whole video image.
• Exclude windows define areas within an Include window that should be ignored (areas outside Include windows are
automatically ignored).
Once configured, the motion detection windows appear in the list of available triggers for triggered events. See
How to set up
a triggered event,
on page 27.
Notes:
Using the motion detection feature may decrease the camera’s overall performance.
Set up a motion detection include window
1. Go to Events > Motion Detection.
2. Create a new motion detection window:
a) Using AXIS Media Control (Internet Explorer): Select the radio button Configure Included Windows and click
New. Select the new window in the list of windows and enter a descriptive name.
b) Using the Java applet: Click Add Window. Select the Include radio button and enter a descriptive name in the
field.
3. Adjust the size (drag the bottom right-hand corner) and position (click on the text at the top and drag to the desired
position) of the active window.
4. Adjust the Object Size, History and Sensitivity profile sliders (see table below for details). Any detected motion within
an active window is indicated by red peaks in the Activity window (the active window has a red frame).
5. Click Save.
To delete an Include or Exclude window:
a) Using AXIS Media Control (Internet Explorer): Select the window in the list of windows and click Del.
b) Using the Java applet: Select the window and click on the cross in the upper right corner.
To exclude parts of the Include window, select the Exclude option and position the Exclude win-
dow as required, within the Include window.
Loading ...
Loading ...
Loading ...