Loading ...
Loading ...
Loading ...
6
3
Setting Up
Your Snow
Thrower
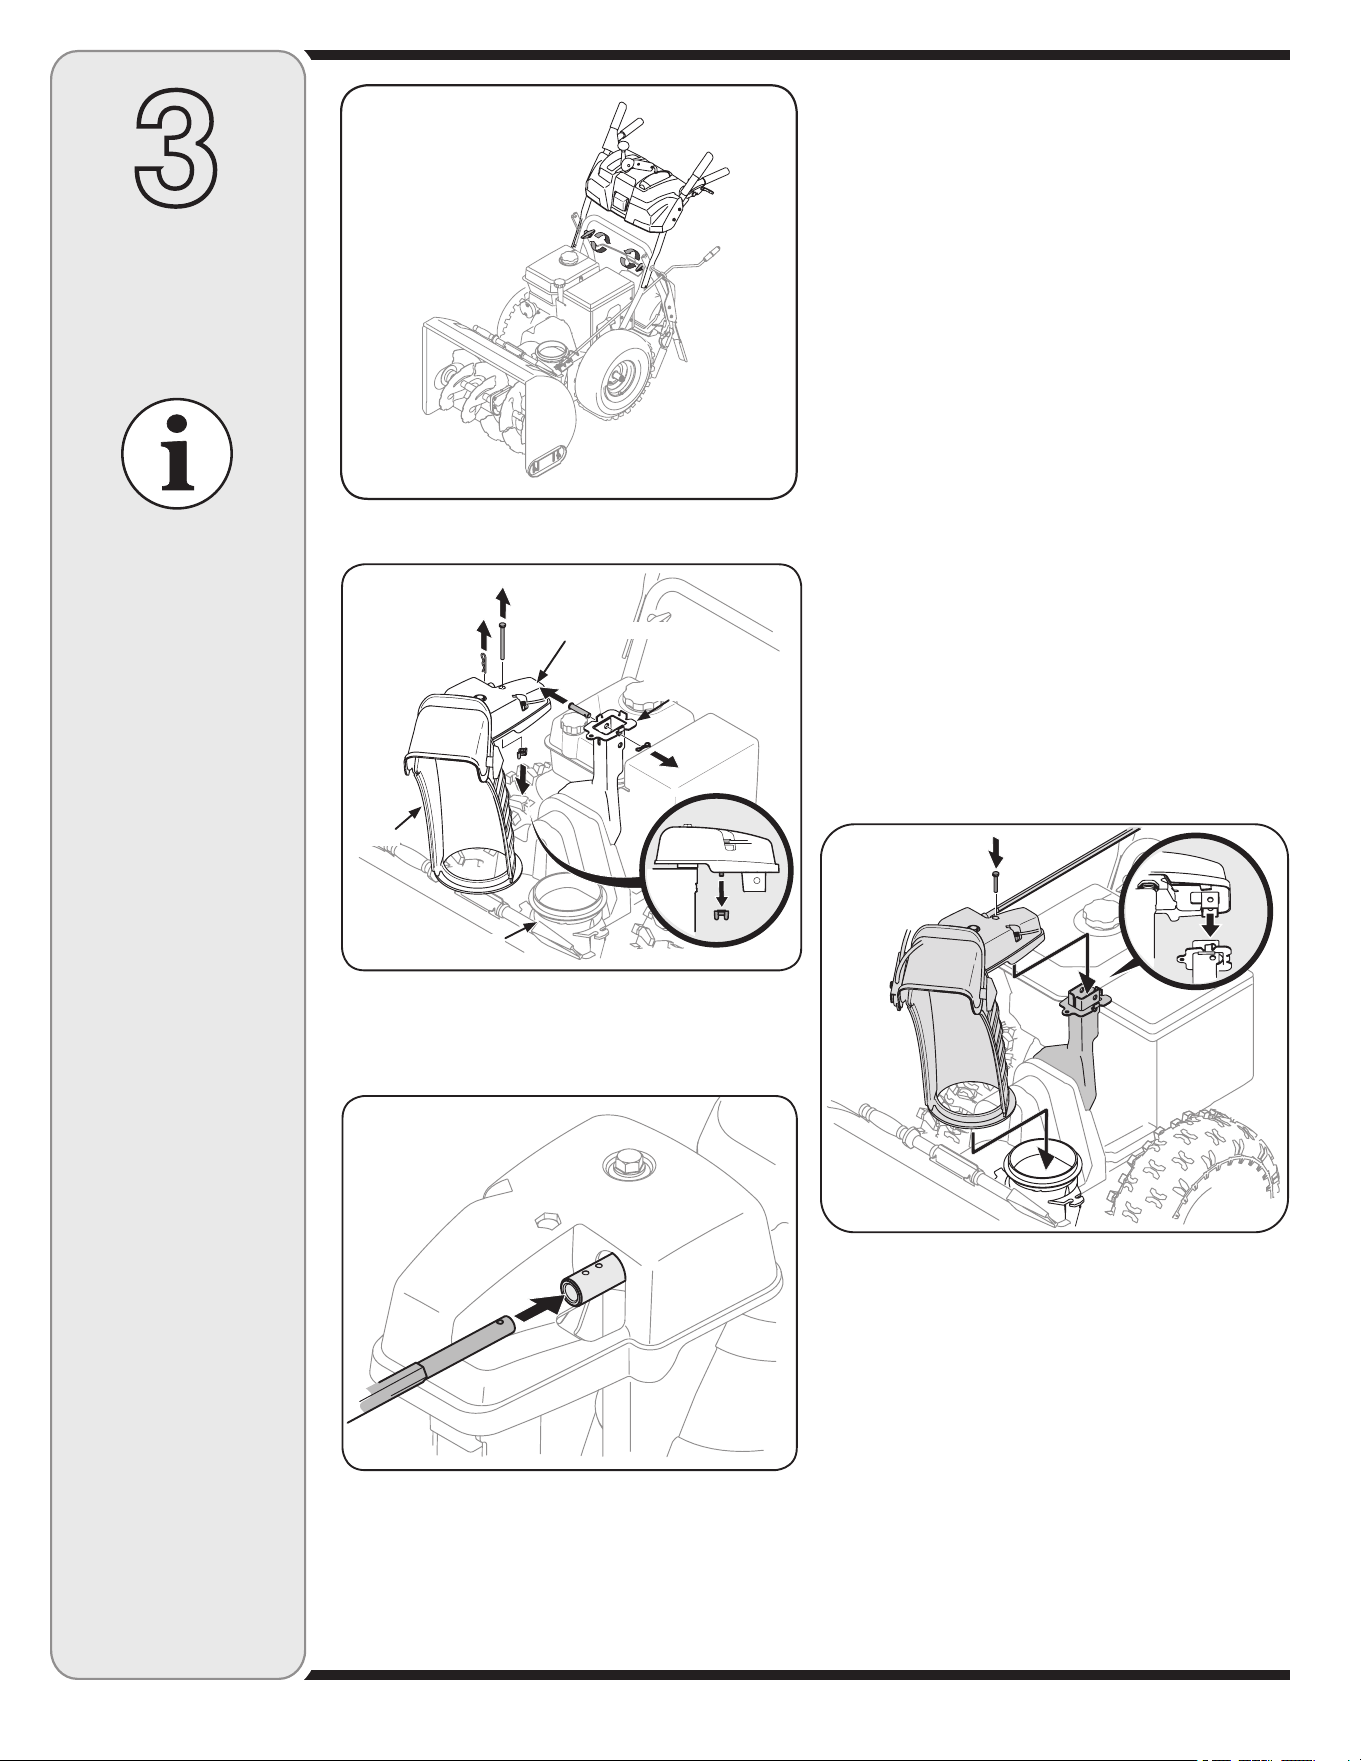
Figure 3-2
Figure 3-3
Figure 3-4
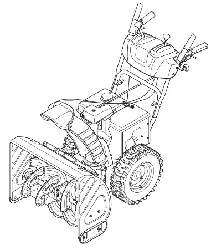
Figure 3-1
NOTE: References
to right or left side
of the snow thrower
are determined from
behind the unit in the
operating position.
NOTE: This Operator’s
Manual covers several
models, handle panels,
lights and chute cranks
are some features
that may vary by
model. Not all features
referenced (or engines
pictured) in this manual
are applicable to all
snow thrower models.
IMPORTANT: The snow thrower is shipped with oil
and WITHOUT GASOLINE. After assembly, refer to
separate engine manual for proper fuel and engine oil
recommendations.
1. Place the shift lever in the Forward-6 position.
2. Observe the lower area of the snow thrower to be sure
both cables are aligned with roller guides.
a. Pull up and back on upper handle as shown in
Figure 3-1. Align upper handle with the lower
handle.
b. Tighten hand knobs securing upper handle to
lower handle.
Chute Assembly
1. Remove cotter pin, wing nut and hex screw from chute
control assembly and clevis pin and cotter pin from
chute support bracket. See Figure 3-2.
2. Insert round end of the hex rod (hole pointing upward)
as far as possible into chute control assembly. See
Figure 3-3.
3. Place chute onto chute base with the hex rod
positioned under the handle panel. Reinstall the hex
bolt previously removed but do not secure with wing
nut at this time. See Figure 3-4.
Chute Control Assembly
Chute
Chute Support
Bracket
Chute Base
NOTE: Replacement
auger shear pins are
included with this
manual (or stowed
in the plastic handle
panel). Refer to Augers
in the Maintainance
Section for more
information regarding
shear pin replacement.
4. Squeeze the trigger on the joystick, rotate the chute
assembly by hand to face forward. The holes in the
chute rotation assembly should be facing up. See
Figure 3-5.
NOTE: The chute will not rotate without squeezing the
trigger on the joystick.
Loading ...
Loading ...
Loading ...