Loading ...
Loading ...
Loading ...
191
19.2.3.4 Removing the Bin Thermistor
1. Remove both the upper and lower access covers on the rear of the ice machine.
2. The base assembly can be slid out 8-10” to help this conversion. (See Section 5 for
guidance).
3. Remove the permagum and foam insulation out of the rear bun hole where the
thermistor is routed inside to out.
4. Disconnect the bad thermistor at the main power board connector plug.
5. Remove the two screws holding the bin thermistor shield.
6. Remove the thermistor bulb from the shield.
7. Remove the following components:
Escutcheon cover
Ice deflector
Grid cutter
And if necessary, the water reservoir
8. Remove the old thermistor cable.
19.2.3.5 Installing the Bin Thermistor
1. Carefully route the new thermistor cable and ensure that there is enough length to
connect thermistor at termination points on each end.
2. Repack the bun hole with the insulation products removed previously.
3. Carefully install all components removed in step 7 above.
4. Place the new thermistor into its protective shield. The underneath side of the shield is
fitted to accommodate the grooves on the thermistor bulb. Reattach to the bin sidewall.
5. Connect the thermistor to the appropriate spot on the main power board.
6. Reassemble the remaining mechanical section to the main cabinet and secure rear
access covers.
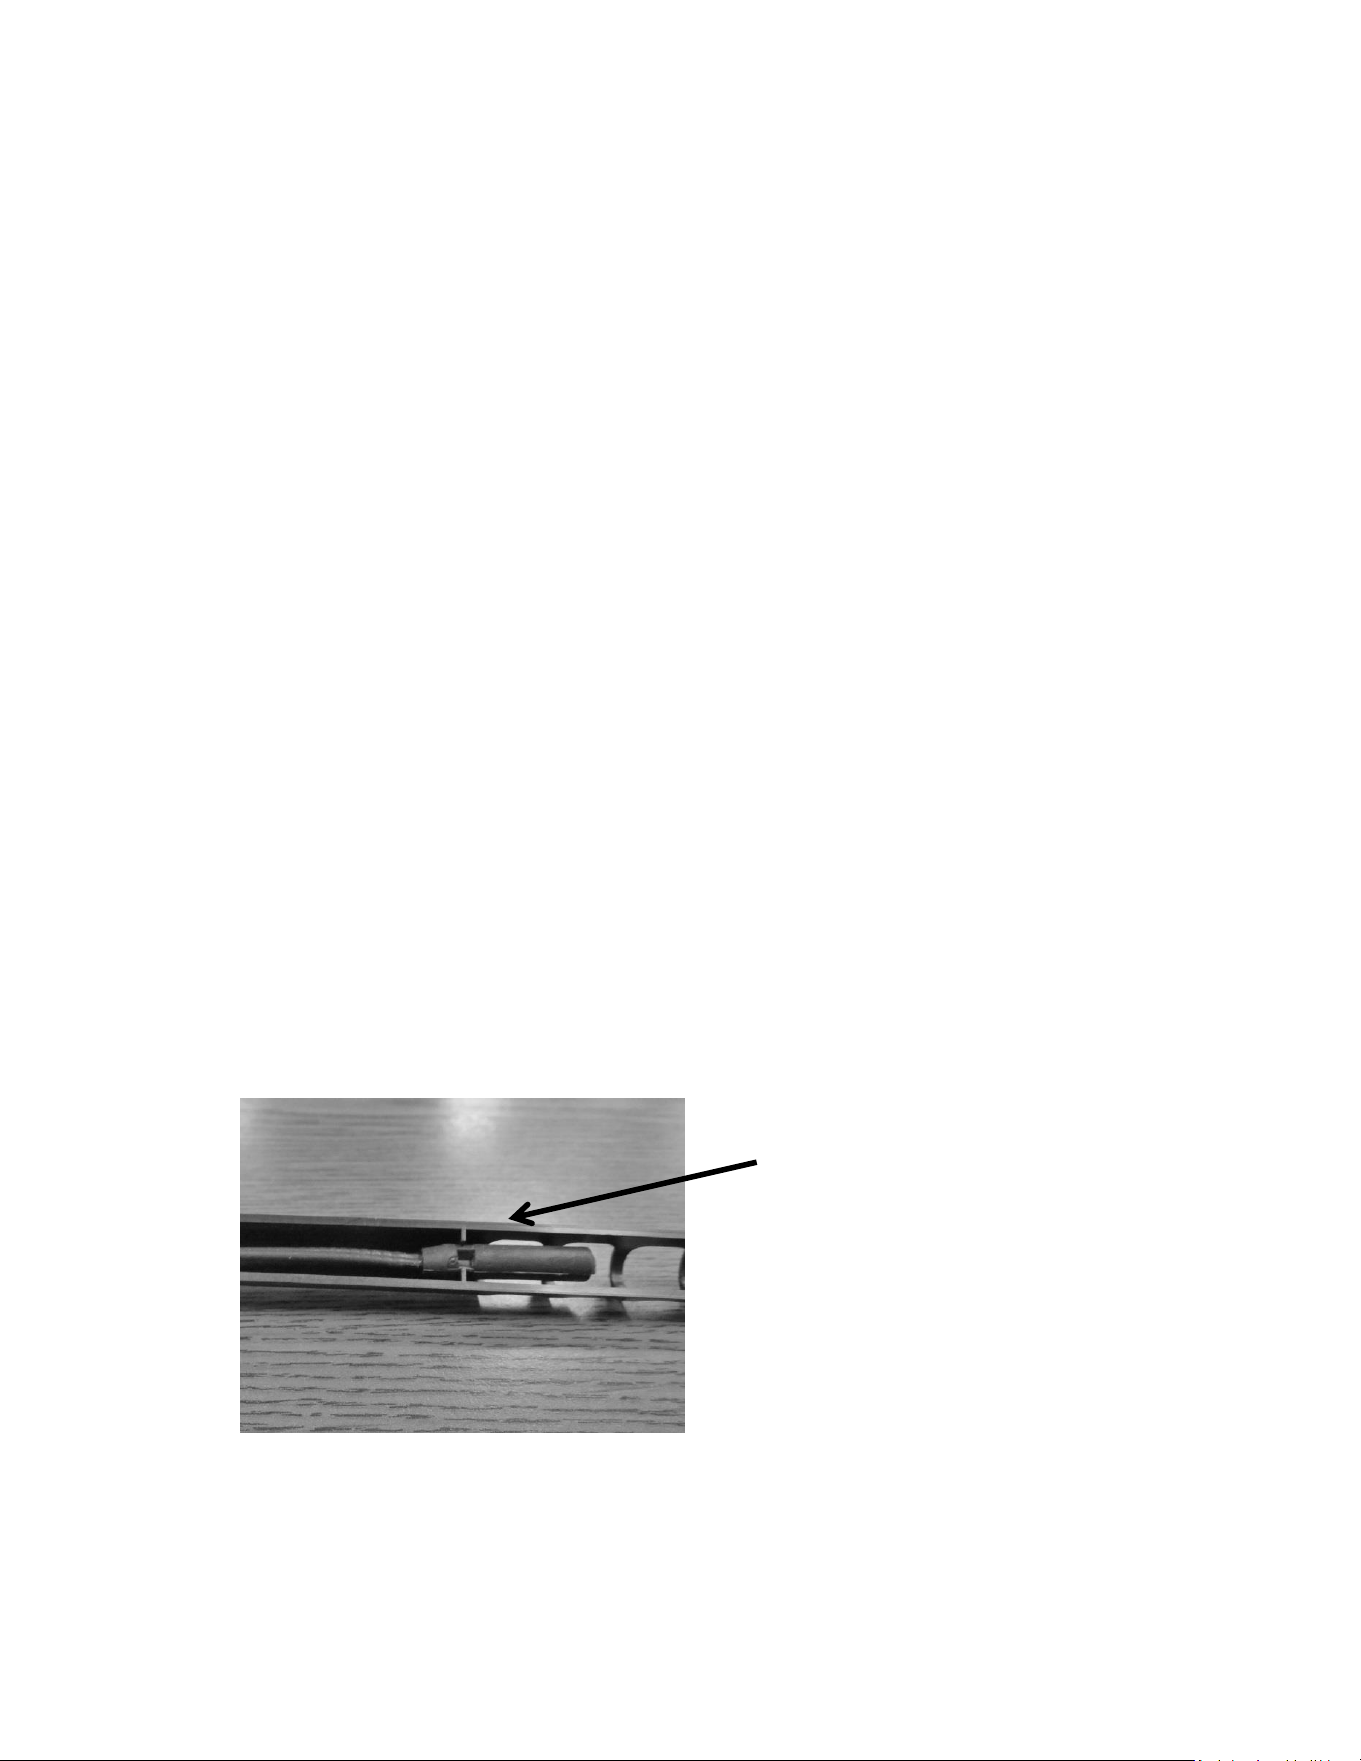
Bin Thermistor: NOTE the locator slot
inside the thermistor shield. The
grooved thermistor bulb fits firmly in
place inside the shield.
Loading ...
Loading ...
Loading ...