
Loading ...
Loading ...
Loading ...
Get t ing St ar t ed
2
2.1.3 Configuring the Wireless Connection
Wireless settings are only applicable to GV-FE3402 / 3403 / 5302 / 5303, GV-FER5700 /
12203 and GV-EFER3700-W. Insert a WiFi adapter to the camera and follow the steps below
to set up a wireless connection to your camera.
Note: GV-EFER3700-W has a built-in WiFi antenna and supports the WPS function. If your
router doesn’t support WPS, follow the instructions below to set up the wireless connection.
1. To set up the wireless LAN for the first time, power on and connect a standard network
cable to the camera.
2. An IP address will be automatically assigned to the camera. Use GV-IP Device Utility to
search for the device. For details, see 2.1.1 Checking the Dynamic IP Address.
3. Configure the wireless settings.
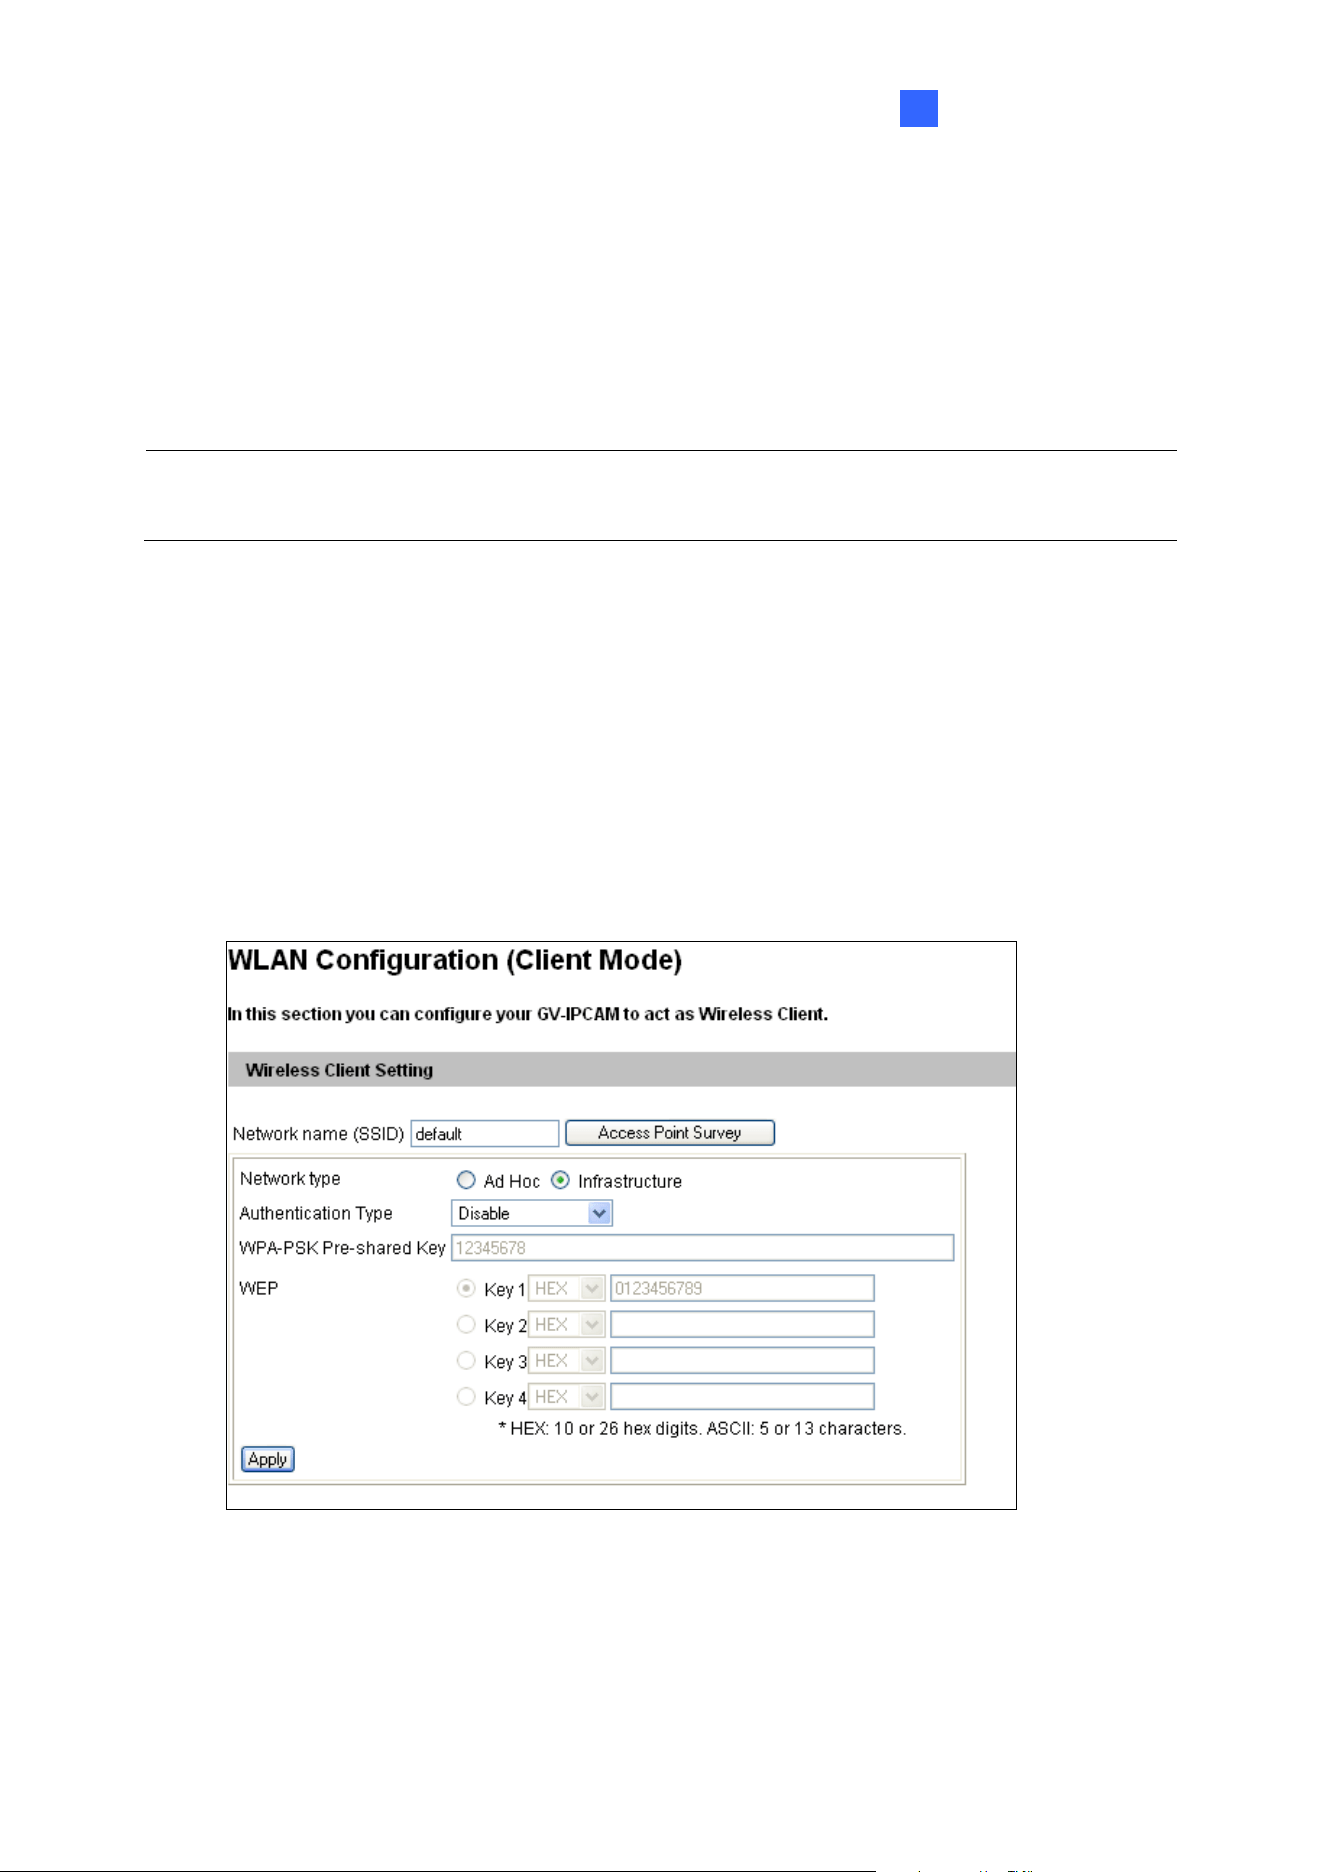
A. On the Web interface, select Network, select Wireless and Client Mode. This dialog
box appears.
Figure 2-6
B. Type the Network Name (SSID) or click the Access Point Survey button to search and
select for the available Access Points/wireless stations.
C. Select Ad-Hoc or Infrastructure for the Network type.
65
Loading ...
Loading ...
Loading ...