
Loading ...
Loading ...
Loading ...
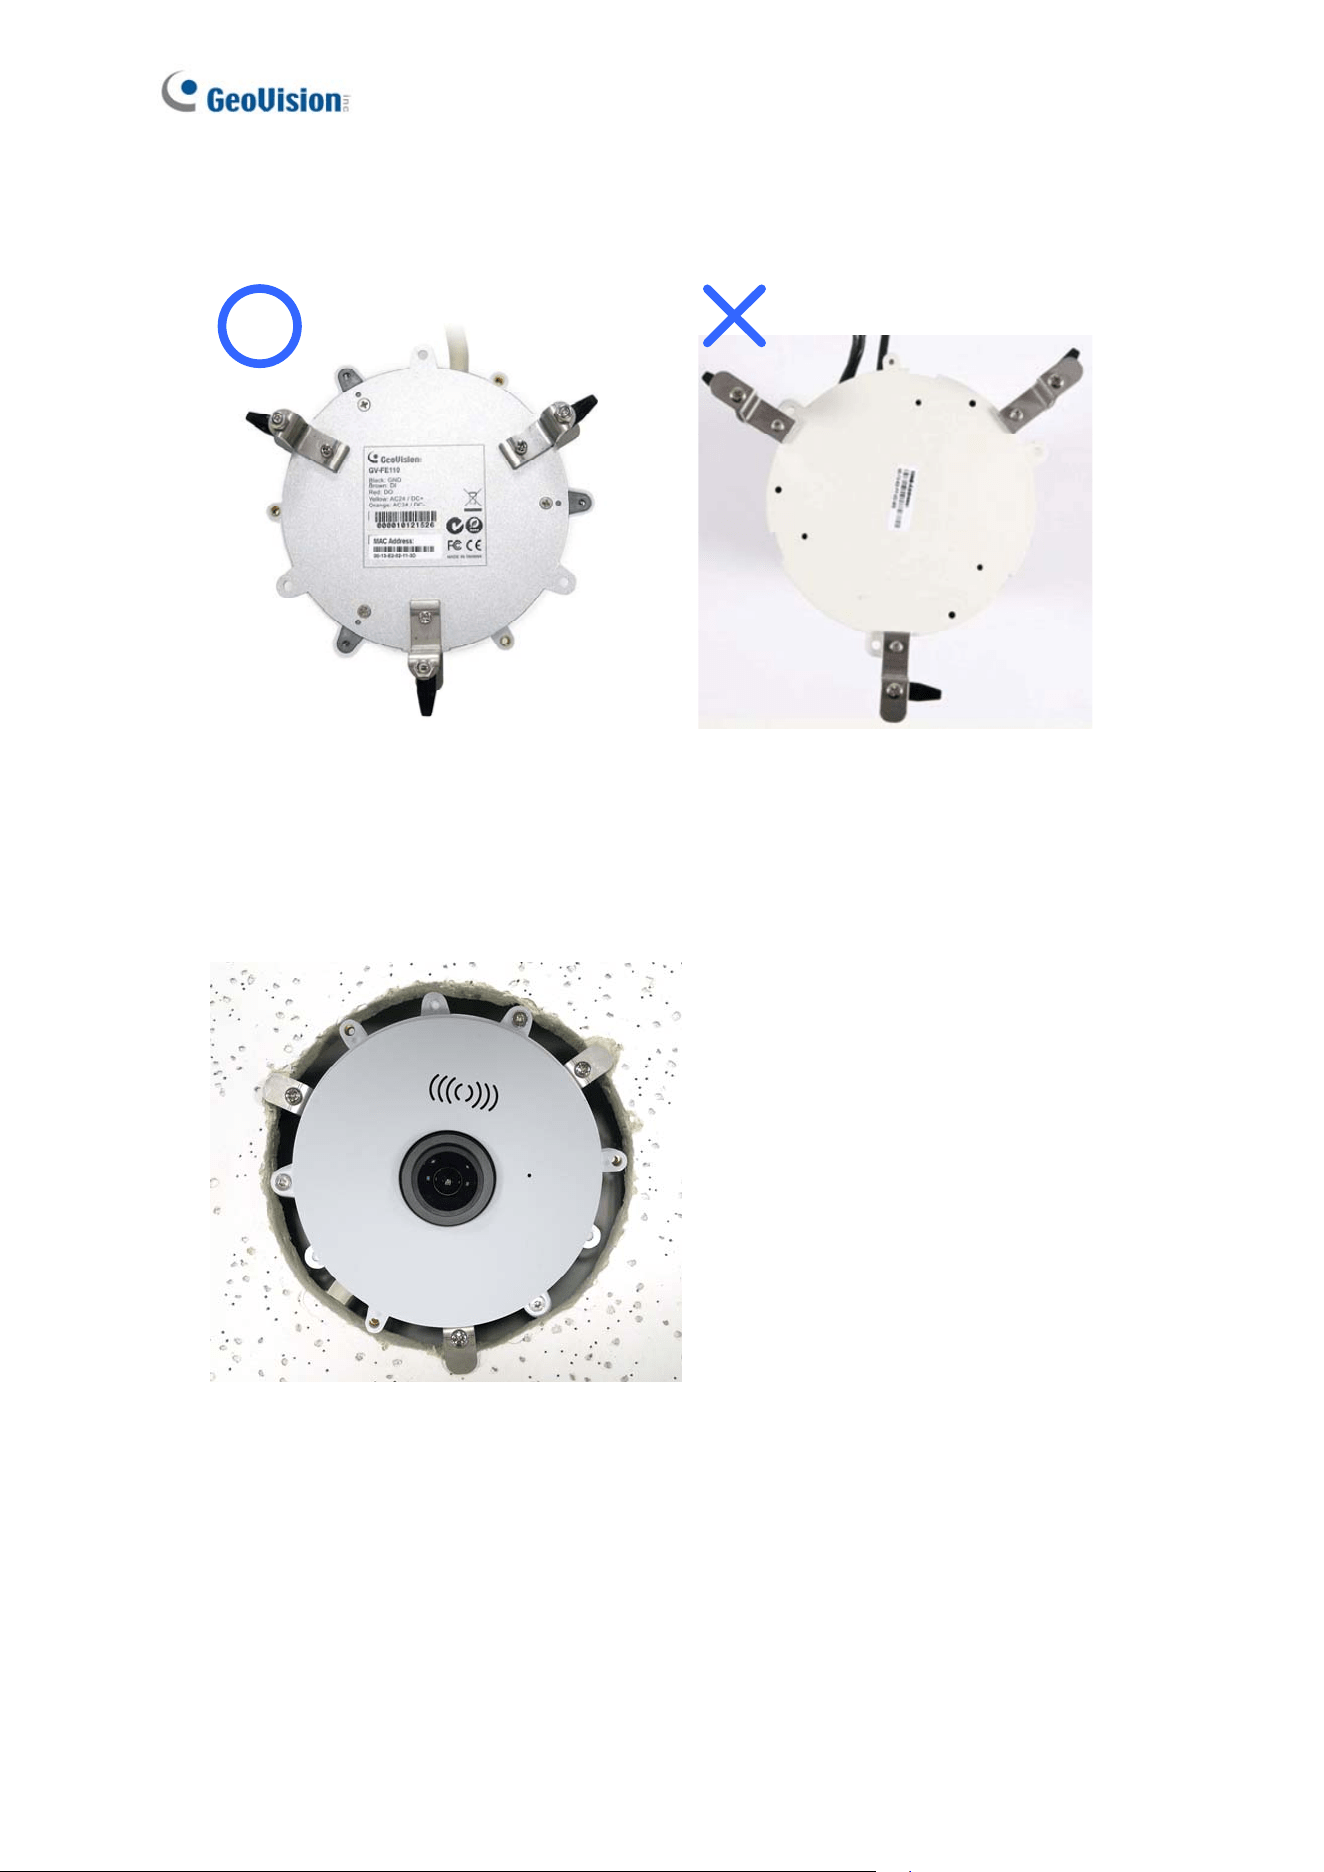
2. Align the 3 support brackets with the holes on the back of the camera as shown below
and secure using the in-ceiling mount screws provided.
Figure 1-38
3. For outdoor GV-Fisheye Cameras (GV-FER3402 / 5302), install the supplied cable
connector to waterproof the cable fer to step 5 in 1.6.1 Hard Ceiling Mount for details.
4. Place the fisheye camera into the ceiling opening as shown below.
. Re
Figure 1-39
40
Loading ...
Loading ...
Loading ...