Loading ...
Loading ...
Loading ...
INSTALLATION
PAGE 6
ENGLISH
Set the Outdoor Unit
2.1
Step - 2.1
Set the unit on mount or pad. If located in snow area, use heat
pump risers to elevate the outdoor unit.
Make sure the outdoor unit is installed level and is stable.
Step 2.2
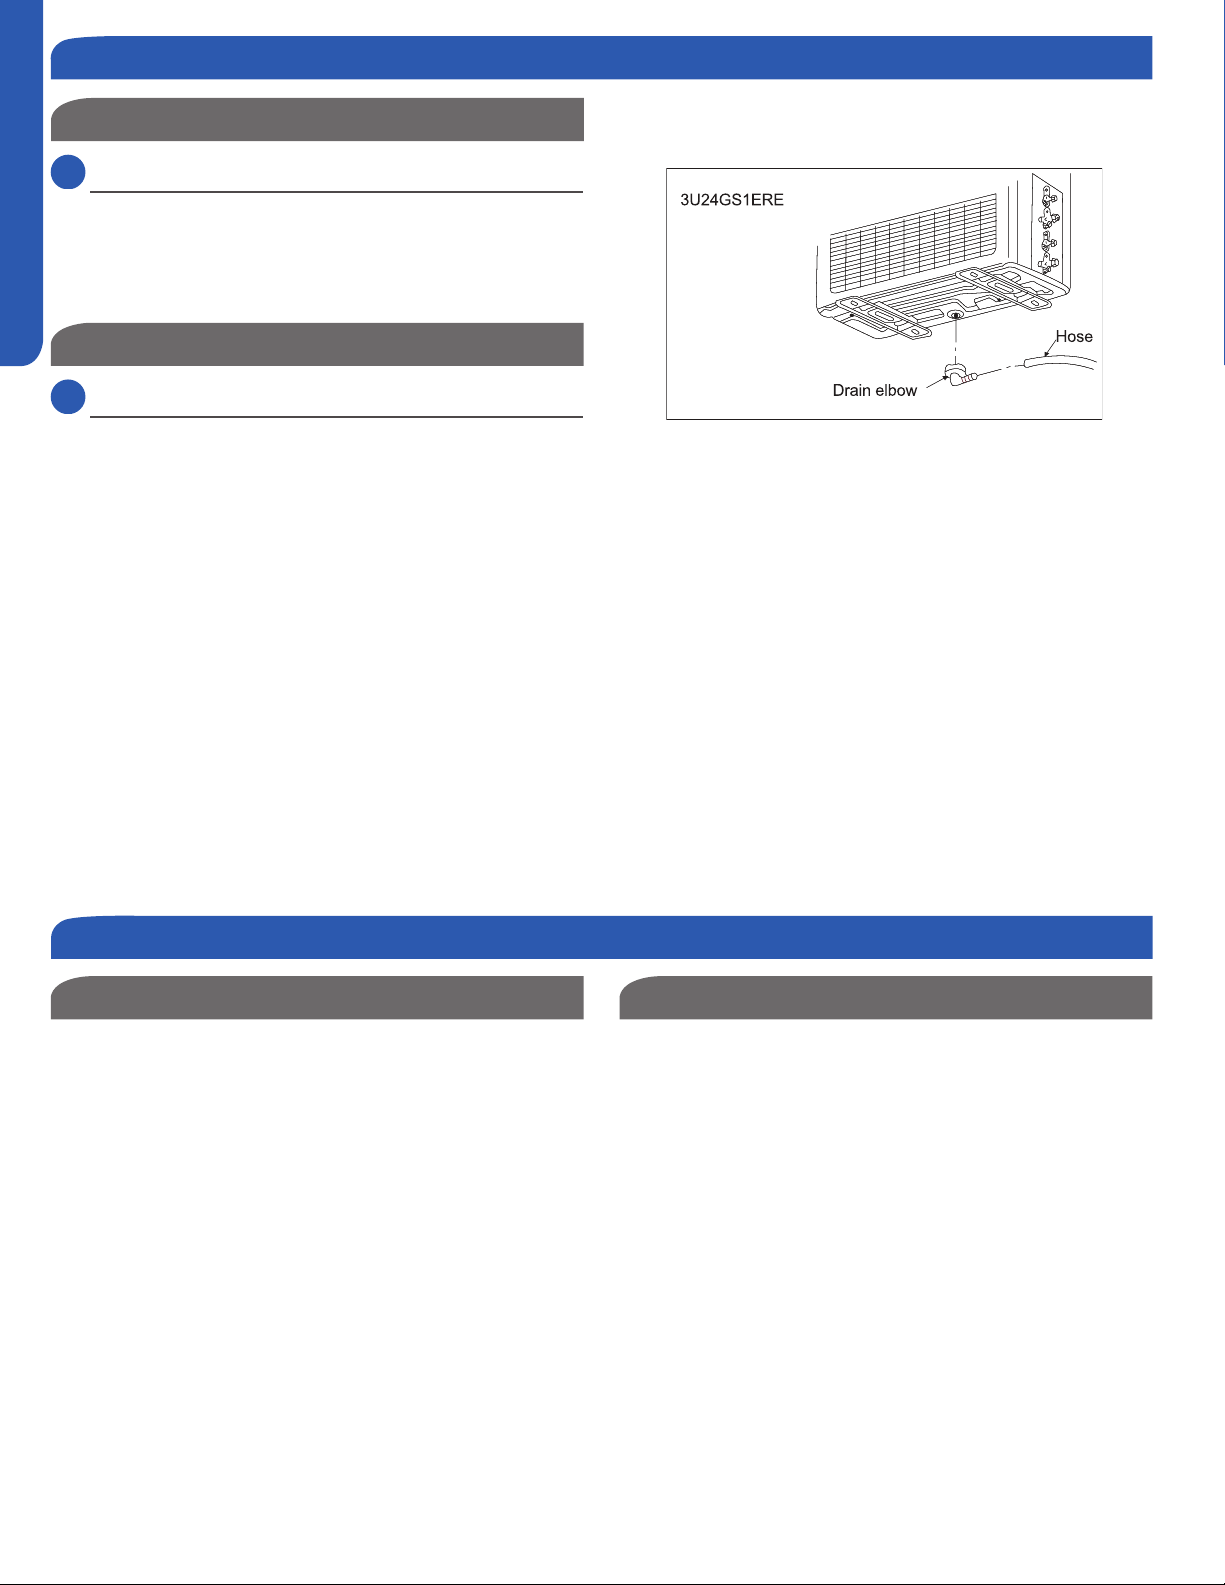
Attaching Drain Elbow to Outdoor Unit
2.2
Step - 2.2
If the unit is located in an area where freezing can occur, do
these instructions.
If attaching the supplied drain elbow to the outdoor unit,
do so prior to attaching the refrigerant lines and wiring.
Use drain plug for drainage.
surface, place additional foot bases of at least 1 1/6 in. in
height under the outdoor unit’s feet.
In cold areas, do not use a drain hose with the outdoor
unit. (Otherwise, drain water may freeze, impairing heating
performance.)
The maximum lift allowed between the outdoor unit and
COMBINED indoor units is 50 feet total of all installed units.
For example, 3 units with 15 elevation each is 45 feet.
The maximum allowable piping length for ALL INSTALLED
indoor units is a total of:
18K Outdoor Models: 100 Feet
24K Outdoor Models: 200 Feet
36K Outdoor Models: 230 Feet
The maximum refrigerant piping length allowable to a
Cassette unit is 82 feet.
Piping Limits Pipe Size
Use the refrigerant line size that is indicated in the
adapters to adapt size to the outdoor unit if necessary.
Step 2 - Installation of the Outdoor Unit
Step 3 - Refrigerant Line Connections
Loading ...
Loading ...
Loading ...