
Loading ...
Loading ...
Loading ...
English
11
Non-Through-Compound Mitering
This is a combination of non-through-bevel crosscutting and non-through-mitering. Follow the
instructions for both non-through-bevel crosscutting and non-through-mitering.
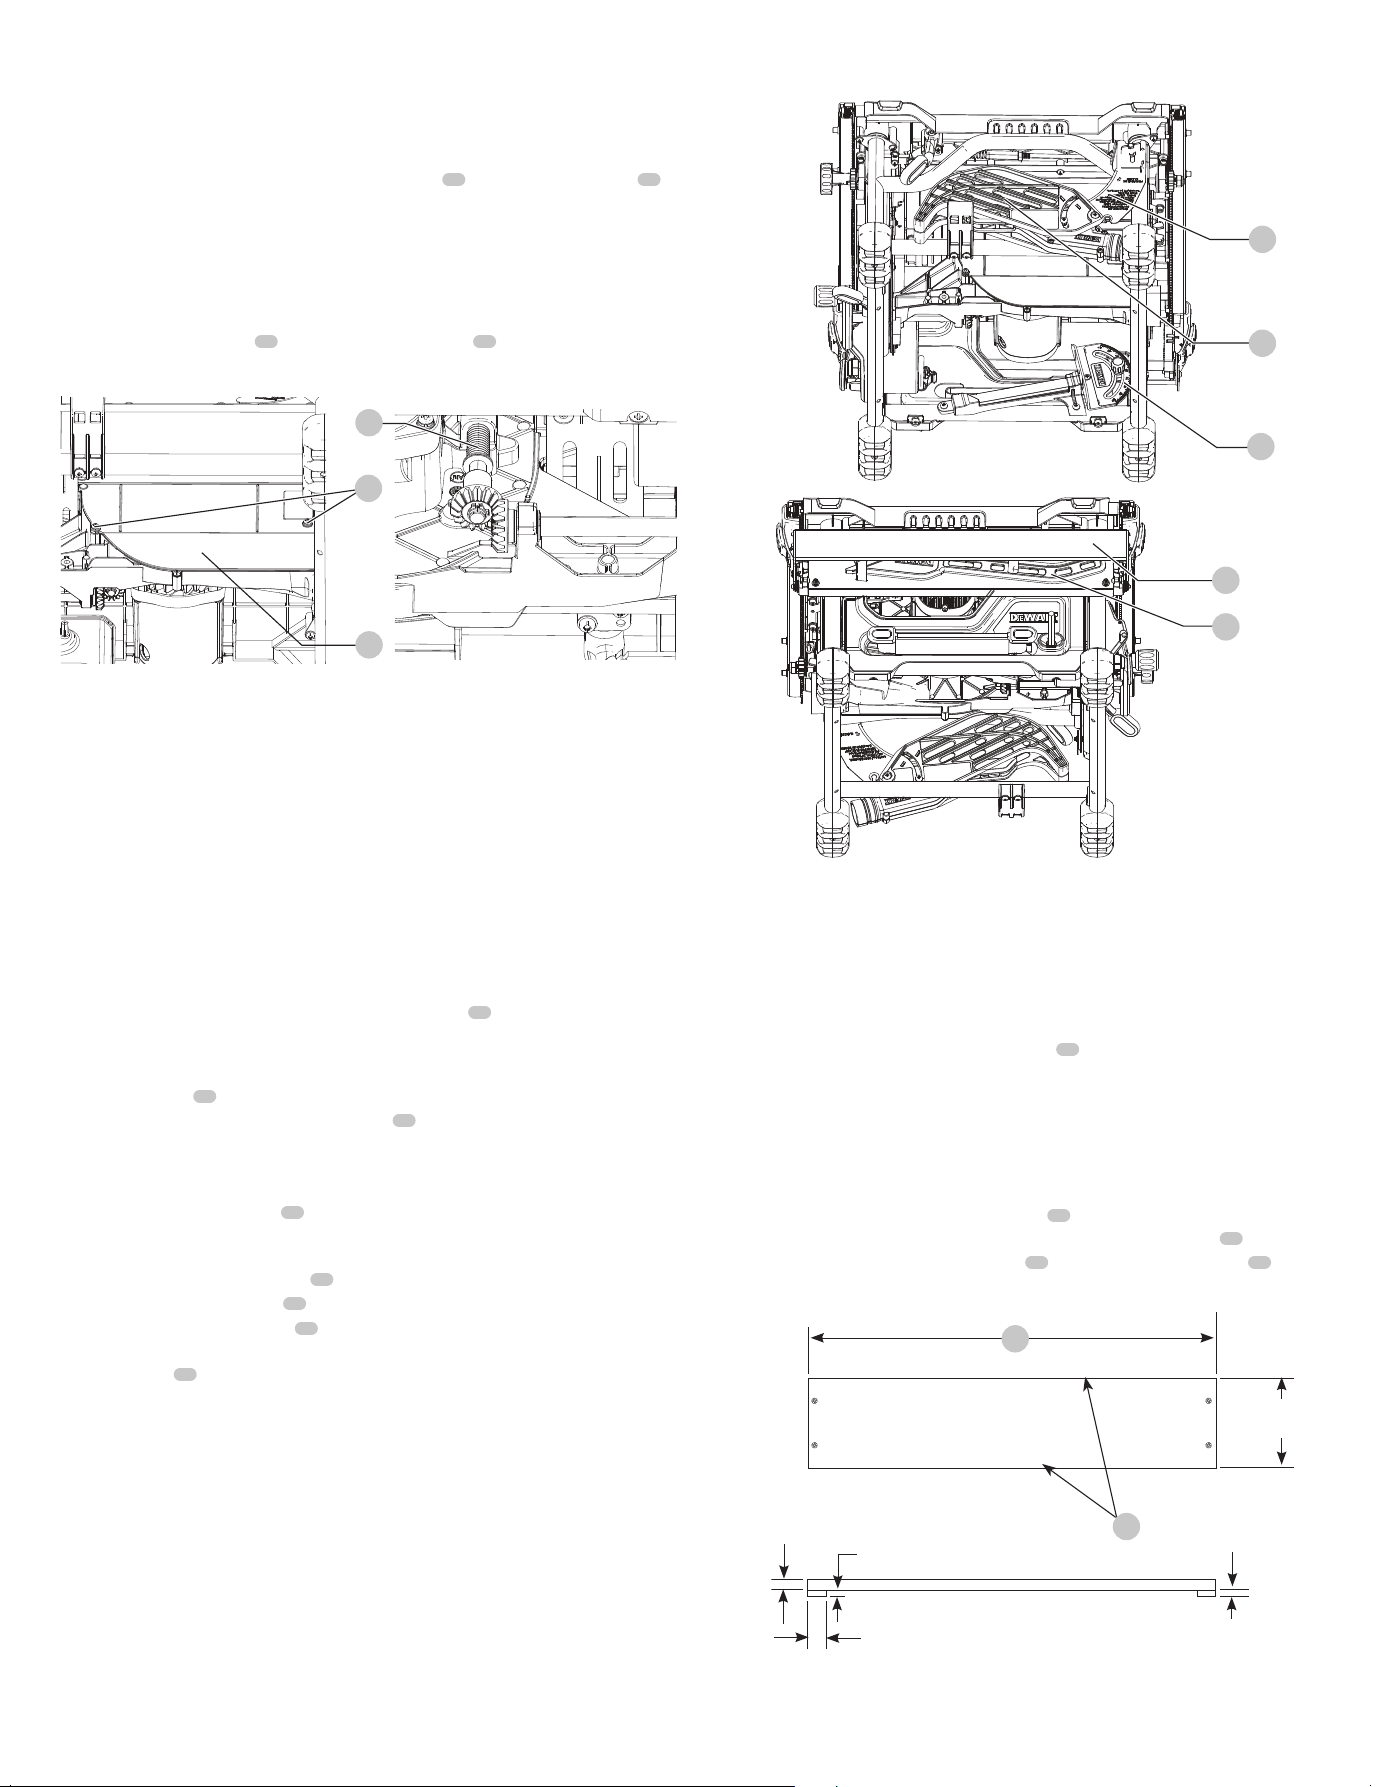
Dust Collection (Fig. A, X)
This table saw is equipped with a guard dust collection port
14
and a dust collection port
13
.
For best results, connect a vacuum to the port at the rear of the saw and on the guard using a Y
connector. The Y connector is available as an accessory at additional cost. Refer toAccessories.
NOTICE: Care should be taken to position hoses to not interfere with cuttingoperation.
WARNING: To prevent accidental start up, disconnect it from power source before cleaning
out dust collectionsystem.
1. Turn the saw on its side, so the bottom, open part of the unit isaccessible.
2. Open the dust access door
52
shown by removing 2 screws
53
and detaching the door.
Clean out the excess dust, and re-attach door, securing it with thescrews.
Fig. X
54
52
Fig. Y
53
Motor Overload and Power Loss Reset Switch
If power is interrupted by a circuit breaker trip, or power is lost, the saw contains a power loss
reset switch feature that will automatically reset to OFF position.
Circuit breaker overload is often the result of a dull blade. Change your blade on a regular basis to
avoid tripping your breaker. Disconnect the saw from power source and check your blade before
re-setting the circuit breaker and continuing to saw.
Lubrication (Fig. Y)
1. All motor bearings are permanently lubricated at the factory and no additional lubrication
isneeded.
2. The height adjustment screw may require periodic cleaning and lubrication. If you have
difficulty raising or lowering the blade:
a. Unplug the saw.
b. Turn the saw on its side, so the bottom, open part of the unit isaccessible.
c. Clean and lubricate the height adjustment screw threads
54
on the underside of this saw
with general purpose grease. Refer to FigureY.
Storage (Fig. A, Z)
1. Attach push stick
20
tofence.
2. Depress the stem on the anti-kickback assembly
12
to allow the assembly to slide from the
riving knifeslot.
3. Position anti-kickback assembly into storage as shown. While depressing stem, slide the anti-
kickback assembly across the storage bracket and release pin to lock intoplace.
4. Remove blade guard assembly
11
. Refer to Installing/Removing the Blade Guard
Assembly and Riving Knife. Place blade guard assembly into holder as shown, then turn lock
1/4 turn to lock inplace.
5. Slide closed end of blade wrenches
19
into catch then secure in place with wingnut.
6. Insert guide bar of miter gauge
10
into pocket until it bottomsout.
7. Non-through-cutting riving knife
21
can be installed on the saw (working position) or stored
along with the blade guard assembly as shown.
8. To store fence
16
, snap work support in stored position. Remove fence from rails. Reattach
fence upside down on left side of saw. Pivot fence lock latches tosecure.
Fig. Z
11
10
21
20
16
Transporting (Fig.A)
WARNING: To reduce the risk of serious personal injury, turn unit off and disconnect
it from power source before transporting the saw. An accidental start-up can
causeinjury.
WARNING: Always transport the machine with the upper blade guardfitted.
• Before transporting, lock the fence in place, lower the blade and lock thebevel.
• Always carry the machine using the carry handles
22
.
Accessory Construction for Alternative Operation Methods
(If not equipped with narrow ripping fence)
Narrow Rip Auxiliary Fence (Fig. AA–CC)
The narrow rip auxiliary fence should be used for a rip measuring 2" (51mm) or narrower. This
fence will allow the guard to remain on the saw when completing narrow ripping. This fence will
provide ample space for proper use of a push block (
58
, see Push Block).
1. Follow the diagram in Figure DD to construct the narrow rip auxiliary fence
55
.
nOTE: The length should be cut to fit the length
56
of the saw table top and sides
57
must
beparallel.
3/8"
(9.5 mm)
1"
(25 mm)
1/2"
(12.7 mm)
Fig. AA
4-3/4"
(121 mm)
3/8"
(9.5mm)
56
57
2. After the narrow rip auxiliary fence is constructed, slip it over the saw table top and place it
flush to the fence as shown in FigureFF.
Loading ...
Loading ...
Loading ...