Loading ...
Loading ...
Loading ...
www.SereneLifeHome.com
15
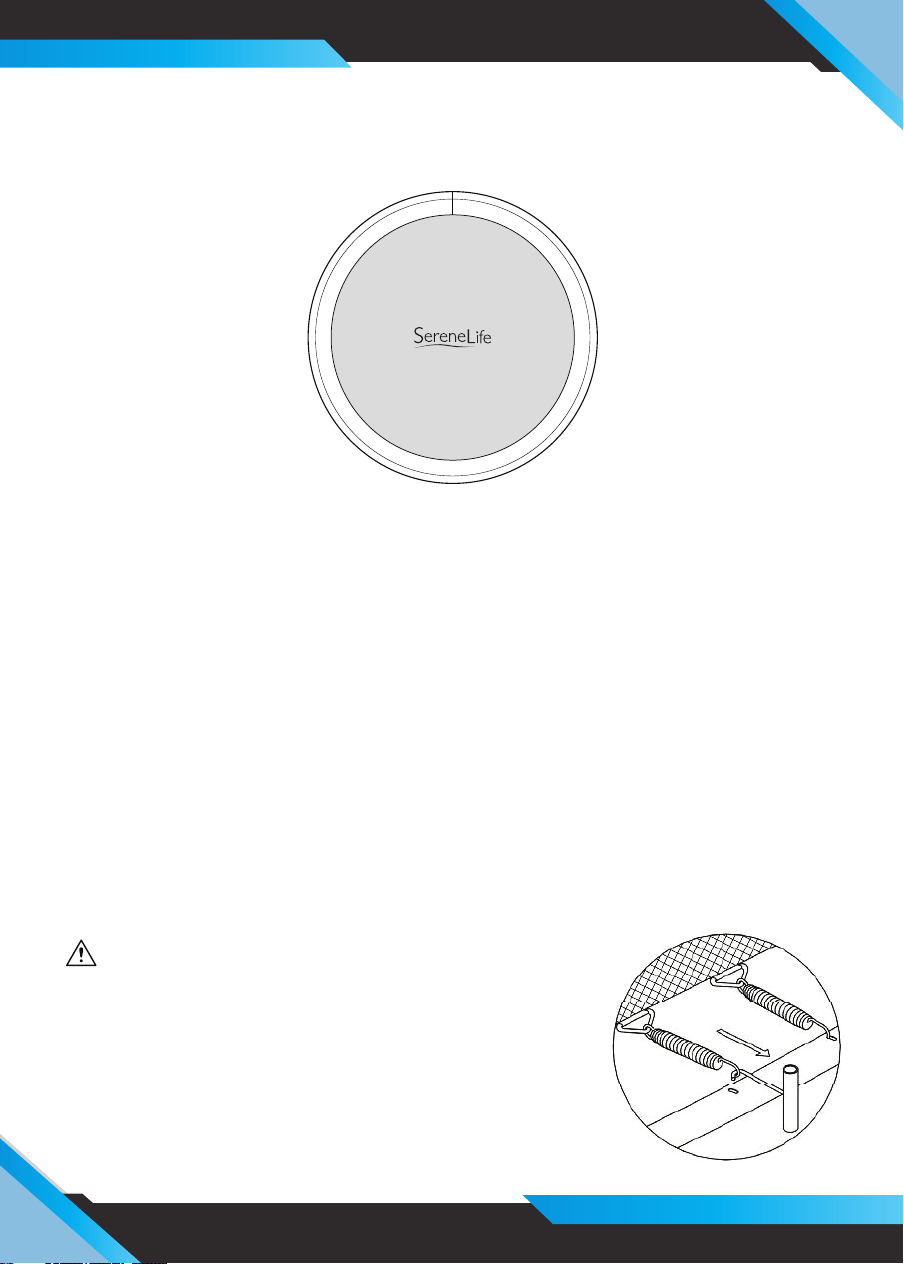
STEP 4 - Attaching the trampoline mat
A. Lay the trampoline mat (#1) in the frame. The logo must face upwards as shown in
FIGURE 5.
B. In total Jumper 180 has -> 36 triangular eyelets sewn on the mat and 36 holes in
the frame of the top bars. Jumper 251 has -> 48 triangular eyelets sewn on the mat
and 48 holes in the frame of the top bars. Jumper 305 has 64 triangular eyelets and
64 holes in the frame. Jumper 366 has 72 triangular eyelets and 72 holes in the
frame and Jumper 430 has 88 eyelets and 88 holes. None of these eyelets or holes
are numbered. Please carefully follow the instructions to ensure correct assembly.
c. Choose a random point on the frame of the top bars (call it ZERO), as shown in
FIGURE 5. First, attach the springs (#7) in the direction and angle (as shown) of the
main frame. The springs only t in one direction, so please be careful. Once you
have attached the hooks of the springs into the main frame, twist the springs in
the direction of the mat, as shown below. Use the specially enclosed tool to pull
together the springs and the mat and attach the hooks to the frame. Please note
the zero point as you will later use this point to attach the springs.
INSTRUCTIONS TO TENSE THE SPRINGS
CAUTION
• Two adults are needed for this step.
• CAUTION: While attaching the springs, do not put your
hands, legs or bodies close to the connection points.
The connection points can trap your hands as the
trampoline tenses.
• Wear heavy work gloves to protect your hands.
• Only use the special spring tension tool provided.
Figure 5
ZERO
Loading ...
Loading ...
Loading ...