Loading ...
Loading ...
Loading ...
ENGLISH
5
Figure C
10
2
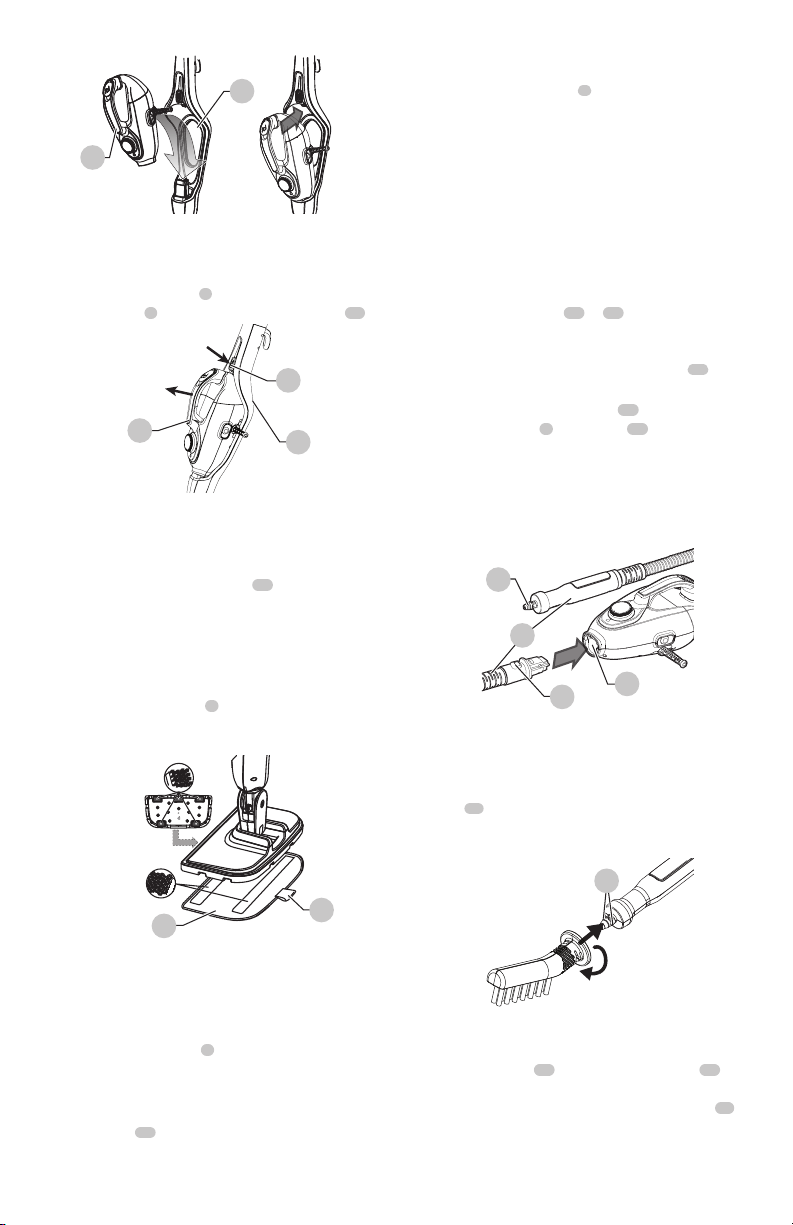
Removing the Hand-Held Steam Cleaner
(Fig. D)
• Push the release button
9
down and pull the hand-held
steam cleaner
2
away from the steam mop body
10
.
Figure D
9
2
10
Attaching a Cleaning Pad (Fig. A, E)
Replacement cleaning pads are available from your
BLACK+DECKER dealer (cat. no. SMP20).
• Place a micro-fiber cleaning pad
21
on the floor with
the ‘hook & loop’ side facingup.
• Press steam mop down onto the cleaning pad. You are
now ready to steam clean yourfloor.
NOTICE: Do not store with a wet pad as this can
damage your floor. Always place the steam mop
with the handle tube
6
in the upright position when
stationary and make sure the steam mop is turned off
and unplugged when not inuse.
Figure E
29
21
Removing a Cleaning Pad (Fig. E)
CAUTION: Always wear suitable shoes when
changing the cleaning pad on your steam mop. Do
not wear slippers or open-toedfootwear.
1. Return the handle tube
6
to the upright position and
turn the steam mop ‘OFF’.
2. Wait until it cools down. (approximately five minutes)
3. Place the front of your shoe onto the cleaning pad
removal tab
29
and press downfirmly.
4. Lift the steam mop up off the cleaningpad.
NOTICE: Do not store with a wet pad as this can
damage your floor. Always place the steam mop
with the handle tube
6
in the upright position when
stationary and make sure the steam mop is turned off
and unplugged when not inuse.
Hand-held Steam Cleaner Attachments
NOTICE: Remove the hand-held steam cleaner from
the steam body after turning off and unplugging the
steam mop, and after allowing the steam mop to
cooldown.
Attaching the Hose and Steam Glove
(Fig. F)
1. Firmly press the hose
(
11
or
14
)
onto the steam
nozzle of the hand-held steam cleaner such that it is
fullyseated.
2. To remove, depress the hose release button
30
, and
pull the hose out of the hand-held steamcleaner.
WARNING: Inspect the seal
31
on the handheld
steam cleaner
2
and the seal
32
at the end of the
hose before each use (Figure F). If the seal is missing
or damaged contact your nearest authorized repair
agent. Do not use theappliance.
CAUTION: Ensure that the hose is securely fastened
before using the hand-held steamcleaner.
Figure F
32
30
11
31
Attaching Other Accessories to the Hose
Fig. G)
1. For other accessories other than the steam nozzle, align the
lugs
33
on the hose with the recesses on theaccessory.
2. Press the accessory onto the hose and twist clockwise until
the accessory is fully seated and clicks intoplace.
Figure G
33
Attaching Steam Jet Nozzle (Fig. H)
1. Press in the clips
34
on the steam jet nozzle
24
.
2. Align the two keys on the inside flange of the steam jet
nozzle with the two slots at the end of the hose
11
.
3. Firmly press the steam jet nozzle onto the hose such that
it is fully seated, and release theclips.
Loading ...
Loading ...
Loading ...