Loading ...
Loading ...
Loading ...

8
5
Using Cat5e/6 cable, connect the RJ45 port on the transmitter unit
marked OUTPUT to the RJ45 port on the B126-110 repeater unit
marked INPUT.
6
Connect a monitor to the HDMI OUTPUT port on the repeater unit
using a Tripp Lite P568-Series High-Speed HDMI Cable.
7
Connect the external power supply to the repeater unit and plug the
repeater unit into a Tripp Lite Surge Suppressor, PDU or UPS. The
green power and the green RJ45 LEDs will illuminate to indicate that
the unit is receiving power from the external power supply.
Up to 4 units can be daisy-chained (3 repeaters and 1 active receiver). To
add additional repeater units, proceed to step 8. To finish your installation
with the B126-2A1 receiver unit, proceed to step 11.
8
Using Cat5e/6 cable, connect the RJ45 port on the repeater unit
marked OUTPUT to the RJ45 port on a second repeater unit marked
INPUT.
9
Connect a monitor to the HDMI OUTPUT port on the repeater unit
using a Tripp Lite P568-Series High-Speed HDMI Cable.
10
Connect the external power supply to the repeater unit and plug the
repeater unit into a Tripp Lite Surge Suppressor, PDU or UPS. The
green power and the green RJ45 LEDs will illuminate to indicate that
the unit is receiving power from the external power supply.
To add a third remote/repeater unit, repeat steps 8 through 10. To finish
your installation with the B126-2A1 receiver unit, proceed to step 11.
11
Using Cat5e/6 cable, connect the RJ45 port on the repeater unit
marked OUTPUT to the RJ45 port on the receiver unit marked INPUT.
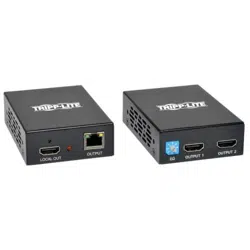
1 x 2 Extender Kit with
Remote/Repeater Installation
Loading ...
Loading ...
Loading ...
