Loading ...
Loading ...
Loading ...
36
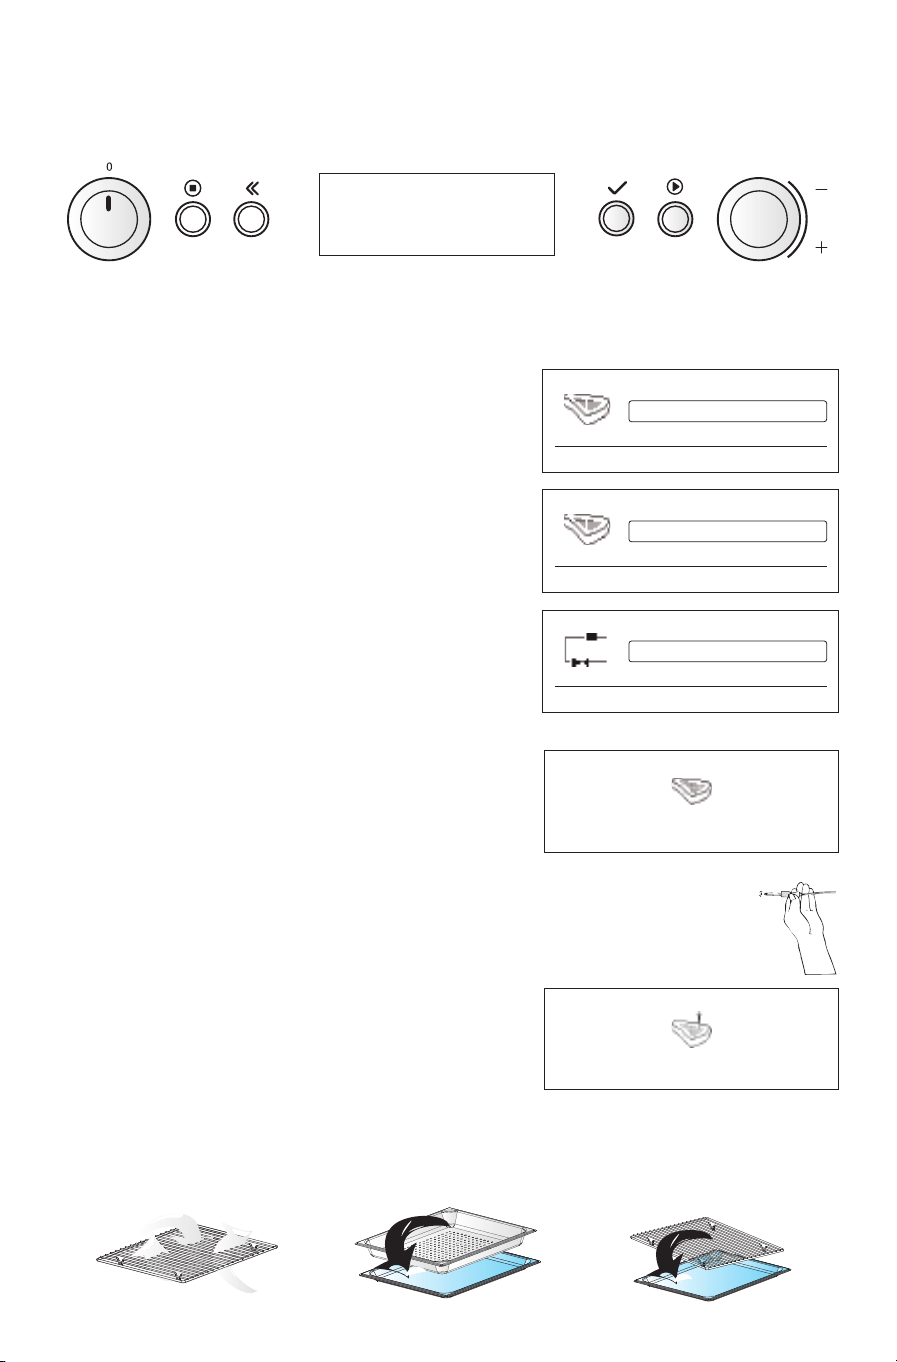
1. TURN THE MULTIFUNCTION KNOB until "Assisted Mode" is shown.
2. TURN THE ADJUST KNOB to select the food class.
3. PRESS THE OK / SELECT BUTTON to confirm.
4. TURN THE ADJUST KNOB to select the food.
5. PRESS THE OK / SELECT BUTTON to confirm.
6. TURN THE ADJUST KNOB to select "Food probe" or "No food
probe" cooking.
IF NO PROBE IS USED:
OPEN THE DOOR, insert food
7. TURN THE ADJUST KNOB to choose the setting you want to
change.
8. PRESS THE OK / SELECT BUTTON to confirm.
9. TURN THE ADJUST KNOB to change the setting.
10. PRESS THE OK / SELECT BUTTON to confirm.
(Repeat steps 7 – 10 if needed).
11. PRESS THE START BUTTON
IF PROBE IS USED:
OPEN THE DOOR, insert food (probe correctly inserted in food) and connect the probe plug to
the oven wall socket.
7. TURN THE ADJUST KNOB to choose the setting you want to change
8. PRESS THE OK / SELECT BUTTON to confirm.
9. TURN THE ADJUST KNOB to change the setting.
10. PRESS THE OK /SELECT BUTTON to confirm.
(Repeat steps 7 – 10 if needed).
11. PRESS THE START BUTTON
ALWAYS USE THE WIRE SHELF to put food on, to allow the air to
circulate properly around the food.
PLACE THE DRIP TRAY beneath the wire shelf or steam tray to collect any dripping water, fat and juices.
Assisted mode
q
w
r
e
s
u
t
i
y
o
a
AUTO
Assisted mode
Meat
Bread/cakes
Poultry
Roast beef
Hotdog
Roast pork
See instructions for use for more information
FOOD PROBE
NO FOOD PROBE
For probe assisted cooking
Roast beef
40:00
COOK TIME
200°C
TEMPERATURE
16:11
END TIME
Roast beef
55 °C
FOOD PROBE
200°C
TEMPERATURE
Loading ...
Loading ...
Loading ...