Loading ...
Loading ...
Loading ...
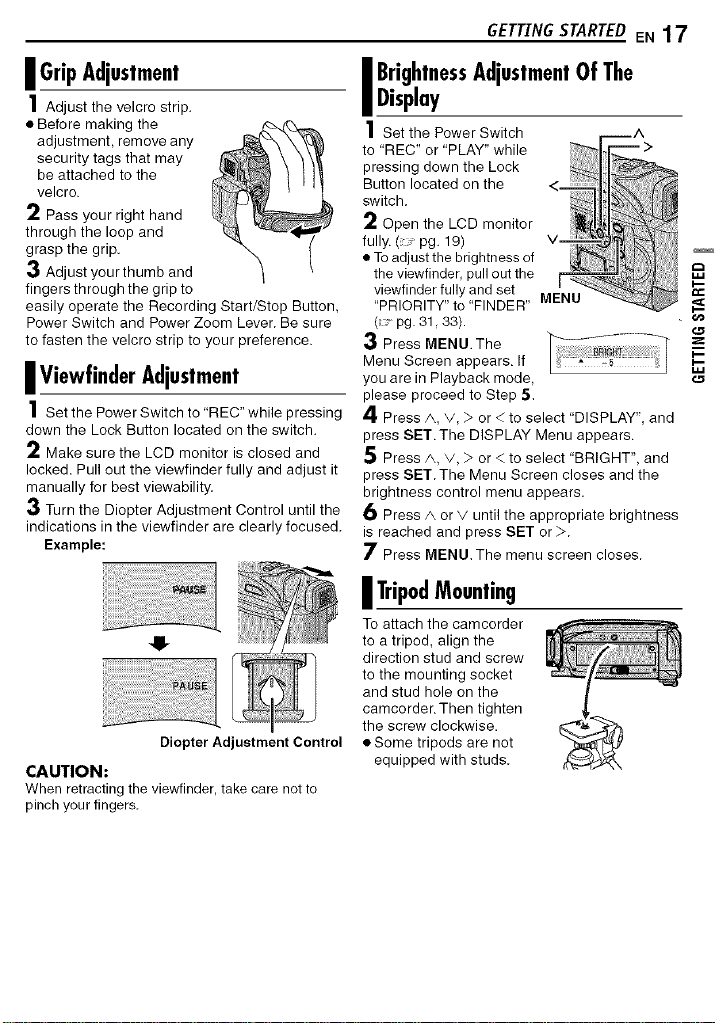
II GripAdjustment
1 Adjust the velcro strip.
• Before making the
adjustment, remove any
security tags that may
be attached to the
velcro.
2 Pass your right hand
through the loop and
grasp the grip.
3 Adjust your thumb and
fingers through the grip to
easily operate the Recording Start/Stop Button,
Power Switch and Power Zoom Lever. Be sure
to fasten the velcro strip to your preference.
IIViewfinderAdjustment
1 Set the Power Switch to "REC" while pressing
down the Lock Button located on the switch.
2 Make sure the LCD monitor is closed and
locked. Pull out the viewfinder fully and adjust it
manually for best viewability.
3 Turn the Diopter Adjustment Control until the
indications in the viewfinder are clearly focused.
Example:
41-
Diopter Adjustment Control
CAUTION:
When retracting the viewfinder,take care notto
pinch yourfingers.
GETTINGSTARTEDEN 17
_ BrightnessAdjustmentOf The
Display
1 Set the Power Switch
to "REC" or "PLAY" while
pressing down the Lock
Button located on the
switch.
2 Open the LCD monitor
fully.( "pg. 19) V=
• To adjust the brightness of
the viewfinder, pull out the
viewfinder fully and set
"PRIORITY" to "FINDER" MENU
( pg. 31 33).
3 Press MENU.The
Menu Screen appears. If
you are in Playback mode,
please proceed to Step 5.
4 Press/_, V, > or < to select "DISPLAY", and
press SET. The DISPLAY Menu appears.
5 Press/_, V, > or < to select "BRIGHT", and
press SET. The Menu Screen closes and the
brightness control menu appears.
6 Press/_ or V until the appropriate brightness
is reached and press SET or >.
7 Press MENU.The menu screen closes.
iiii'iiiliiii!iliiiliiiii_i;i@i_iiiii!i!i!ii_!i!ii_!i!ii'i!iiii!wE
IITripodMounting
To attach the camcorder
to a tripod, align the
direction stud and screw
to the mounting socket
and stud hole on the
camcorder. Then tighten
the screw clockwise.
eSome tripods are not
equipped with studs.
Loading ...
Loading ...
Loading ...