Loading ...
Loading ...
Loading ...
62
How to setup and
operate your camera
The usage of the menus and SET UP screen
items that are most frequently used for
“Advanced operations” is described below.
* MVC-CD400 only
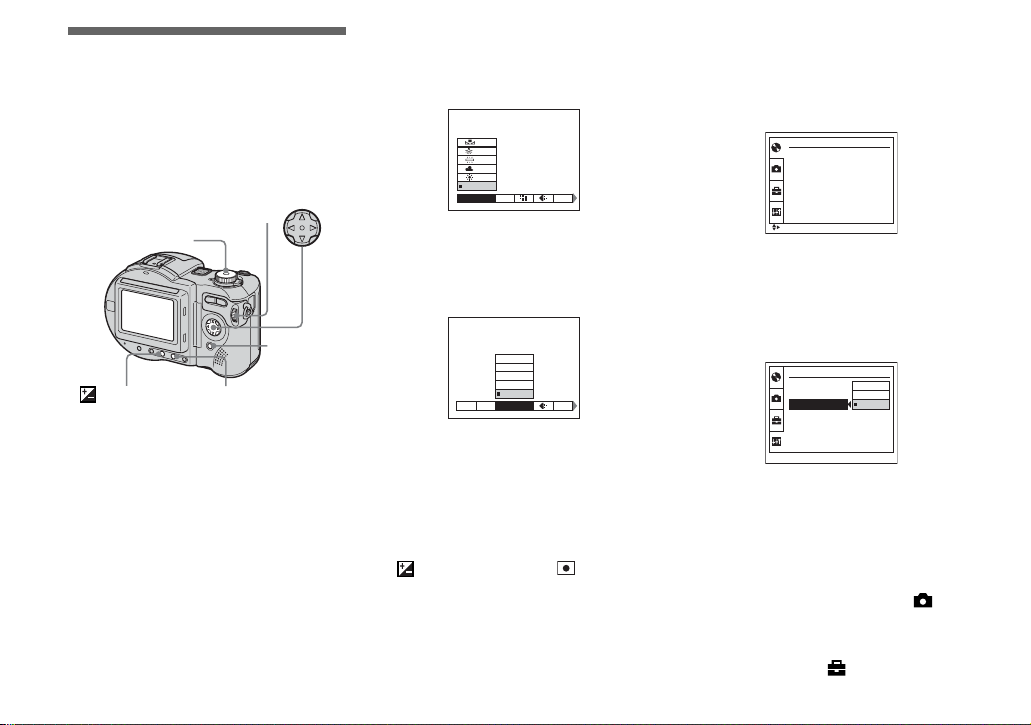
Changing the menu settings
a Press MENU.
The menu appears.
b Press b/B on the control
button to select the item you
want to set.
The selected item turns yellow.
c Press v/V on the control
button to select the desired
setting.
The frame of the selected setting turns
yellow, and the setting is entered.
• (EV), 9 (FOCUS) and (SPOT
METER) appear on the MVC-CD250 menu
(page 111).
To turn off the menu display
Press MENU.
Changing the items in the
SET UP screen
a Set the mode dial to SET UP.
The SET UP screen appears.
b Press v/V/b/B on the control
button to select the item you
want to set.
The frame of the selected item turns
yellow.
c Press z on the control button
to enter the setting.
• On MVC-CD250, the [HOLOGRAM AF]
(pages 31, 116) item is displayed as [AF
ILLUMINATOR] and the [BRACKET STEP]
(page 116) item is not displayed in
[CAMERA].
• On MVC-CD250, the [CONVERSION LENS]
(page 117) and [HOT SHOE] (page 117) items
are not displayed in [SETUP 1].
Mode dial
Control button
MENU
FOCUS*
Jog dial*
(Exposure)*
MODE
WHITE BAL
ISO
AUTO
MODE
640×480
1280×960
1600×1200
2272 (3:2)
2272×1704
WB
IMAGE SIZE
ISO
DISC TOOL
FINALIZE :
FORMAT :
INITIALIZE :
UNFINALIZE
:
SELECT
SETUP 2
OK
SHUTTER
ON
OFF
LCD BRIGHTNESS :
LCD BACKLIGHT :
BEEP :
VIDEO OUT :
z
Before
advanced
operations
Loading ...
Loading ...
Loading ...