Loading ...
Loading ...
Loading ...
Part No. 80106286
Revision C
35
Maintenance
Maintaining the Engine
1. Push the ON/OFF switch on the back of the
generator to the OFF (0) position.
2. Remove utility power to the generator to de-energize
the battery charger.
3. Unlock and open the roof as described in the Access
Panels section.
4. Remove the 15-amp fuse from the fuse holder located
below the controller.
5. Disconnect the negative (-) cable at the battery.
6. Clean the generator using the following steps:
• Wipe the exterior surfaces clean with a damp
cloth.
• Use a soft bristle brush and vacuum cleaner to
loosen and pick up dirt and debris. Use low-
pressure air (not to exceed 25 psi or 175 kPa) to
blow away dirt and debris.
• Clear any snow, leaves, or debris from the
air inlets and outlets. Keep these openings
unobstructed to prevent generator damage
caused by overheating.
7. Connect the negative (-) cable at the battery.
8. Install the 15-amp fuse into the fuse holder.
9. Close and lock the roof.
10. Restore utility power to the generator.
11. Push the ON/OFF switch on the back of the
generator to the ON (I) position.
12. Set the generator mode to auto.
Maintaining the Engine
Engine Oil
Use only Briggs & Stratton® 80028446 SAE 5W-30 full
synthetic engine oil. Other full synthetic high-quality
detergent oils are acceptable if classified for service SJ or
higher. Do not use special additives.
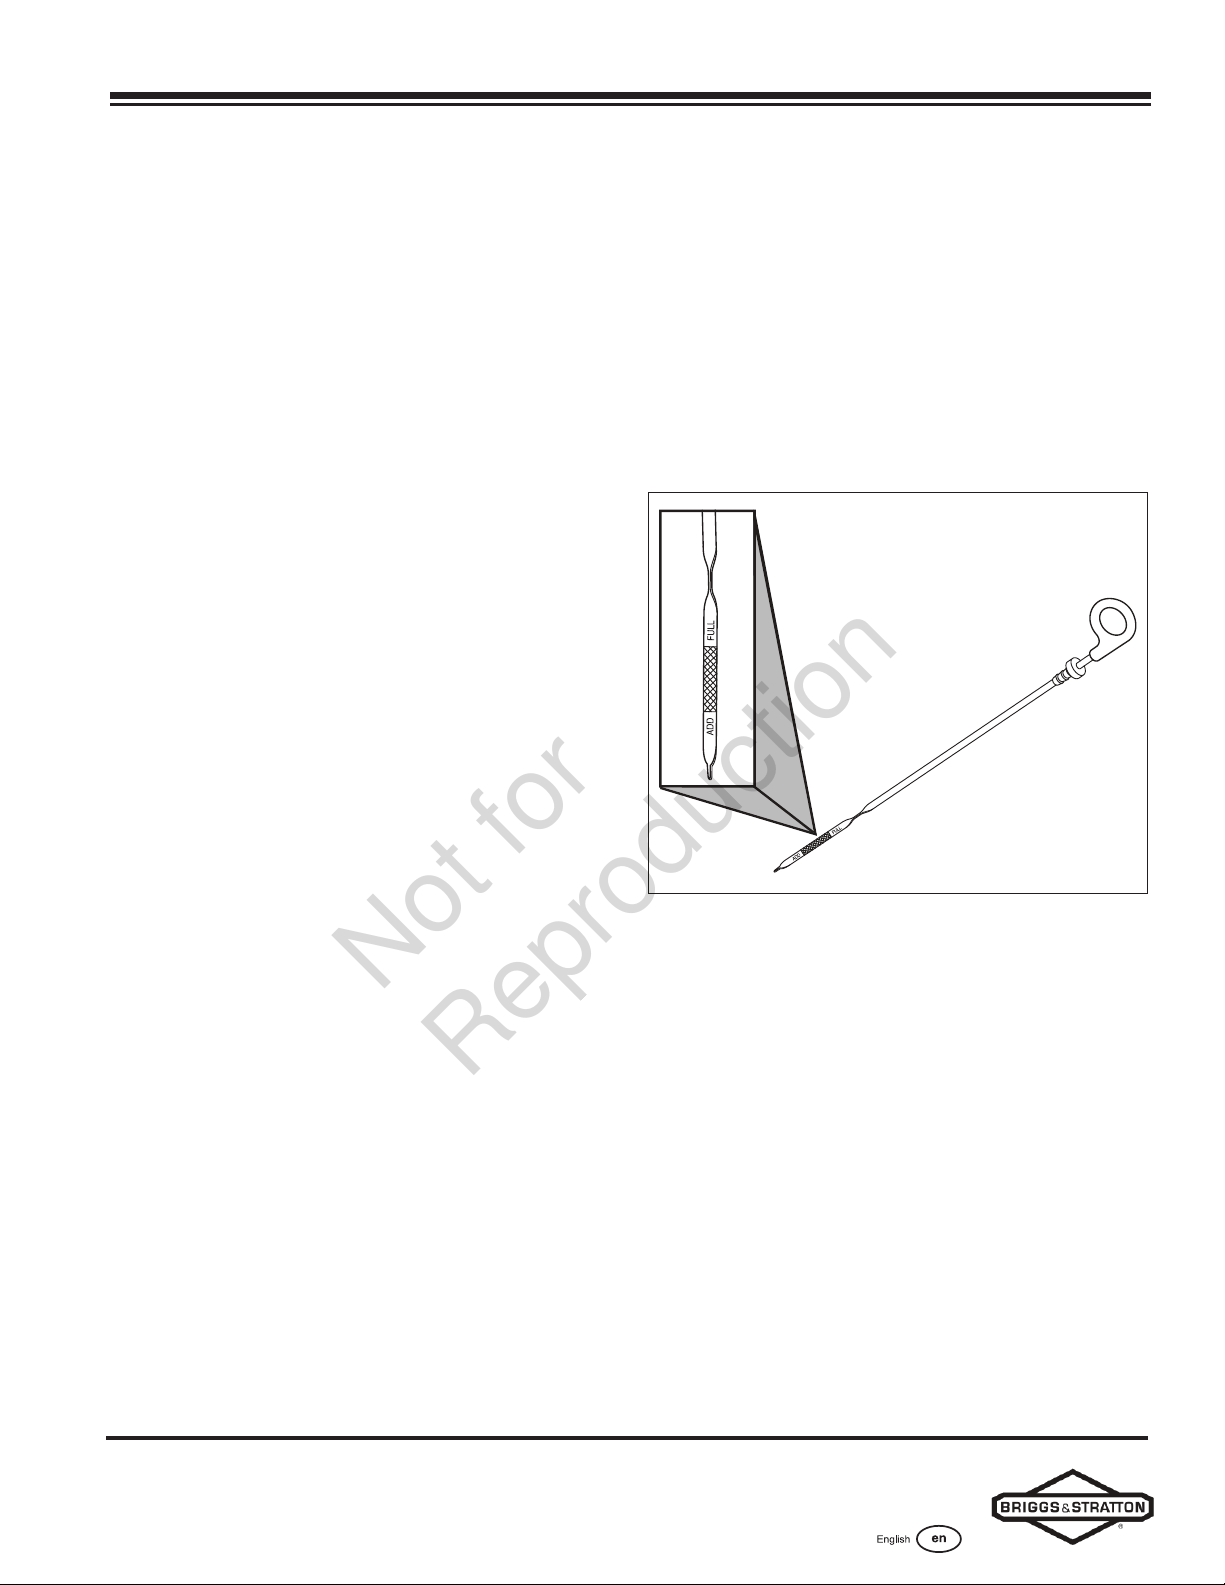
Checking the Engine Oil Level
Maintain the oil level somewhere between the “add”
and the “full” marks on the dipstick. Before checking the
oil level, follow these steps to ensure that an accurate
reading appears on the dipstick:
1. Push the ON/OFF switch on the back of the
generator to the OFF (0) position.
2. Remove utility power to the generator to de-energize
the battery charger.
3. Unlock and open the roof as described in the Access
Panels section.
4. Remove the 15-amp fuse from the fuse holder located
below the controller.
5. Disconnect the negative (-) cable at the battery.
6. Allow approximately five minutes for the oil to drain
back into the oil pan.
7. Remove the dipstick. Wipe it with a clean cloth or
paper towel. Then, push the dipstick all the way into
the dipstick tube.
8. Remove the dipstick and note the amount of oil on it.
The oil must reach a level somewhere between the
“add” and “full” marks on the dipstick.
9. If the oil level is below the “add” mark on the
dipstick, install the dipstick and proceed to step 10.
Figure 23
10. Remove the oil fill cap from the valve cover.
11. Add the required amount of oil to bring the level
up to (but not over) the “full” mark on the dipstick.
Install the oil fill cap on the valve cover and wipe up
any spilled oil.
12. Connect the negative (-) cable at the battery.
13. Install the 15-amp fuse into the fuse holder.
14. Close and lock the roof.
15. Restore utility power to the generator.
16. Push the ON/OFF switch on the back of the
generator to the ON (I) position.
17. Set the generator mode to auto.
Not for
Reproduction
Loading ...
Loading ...
Loading ...