Loading ...
Loading ...
Loading ...
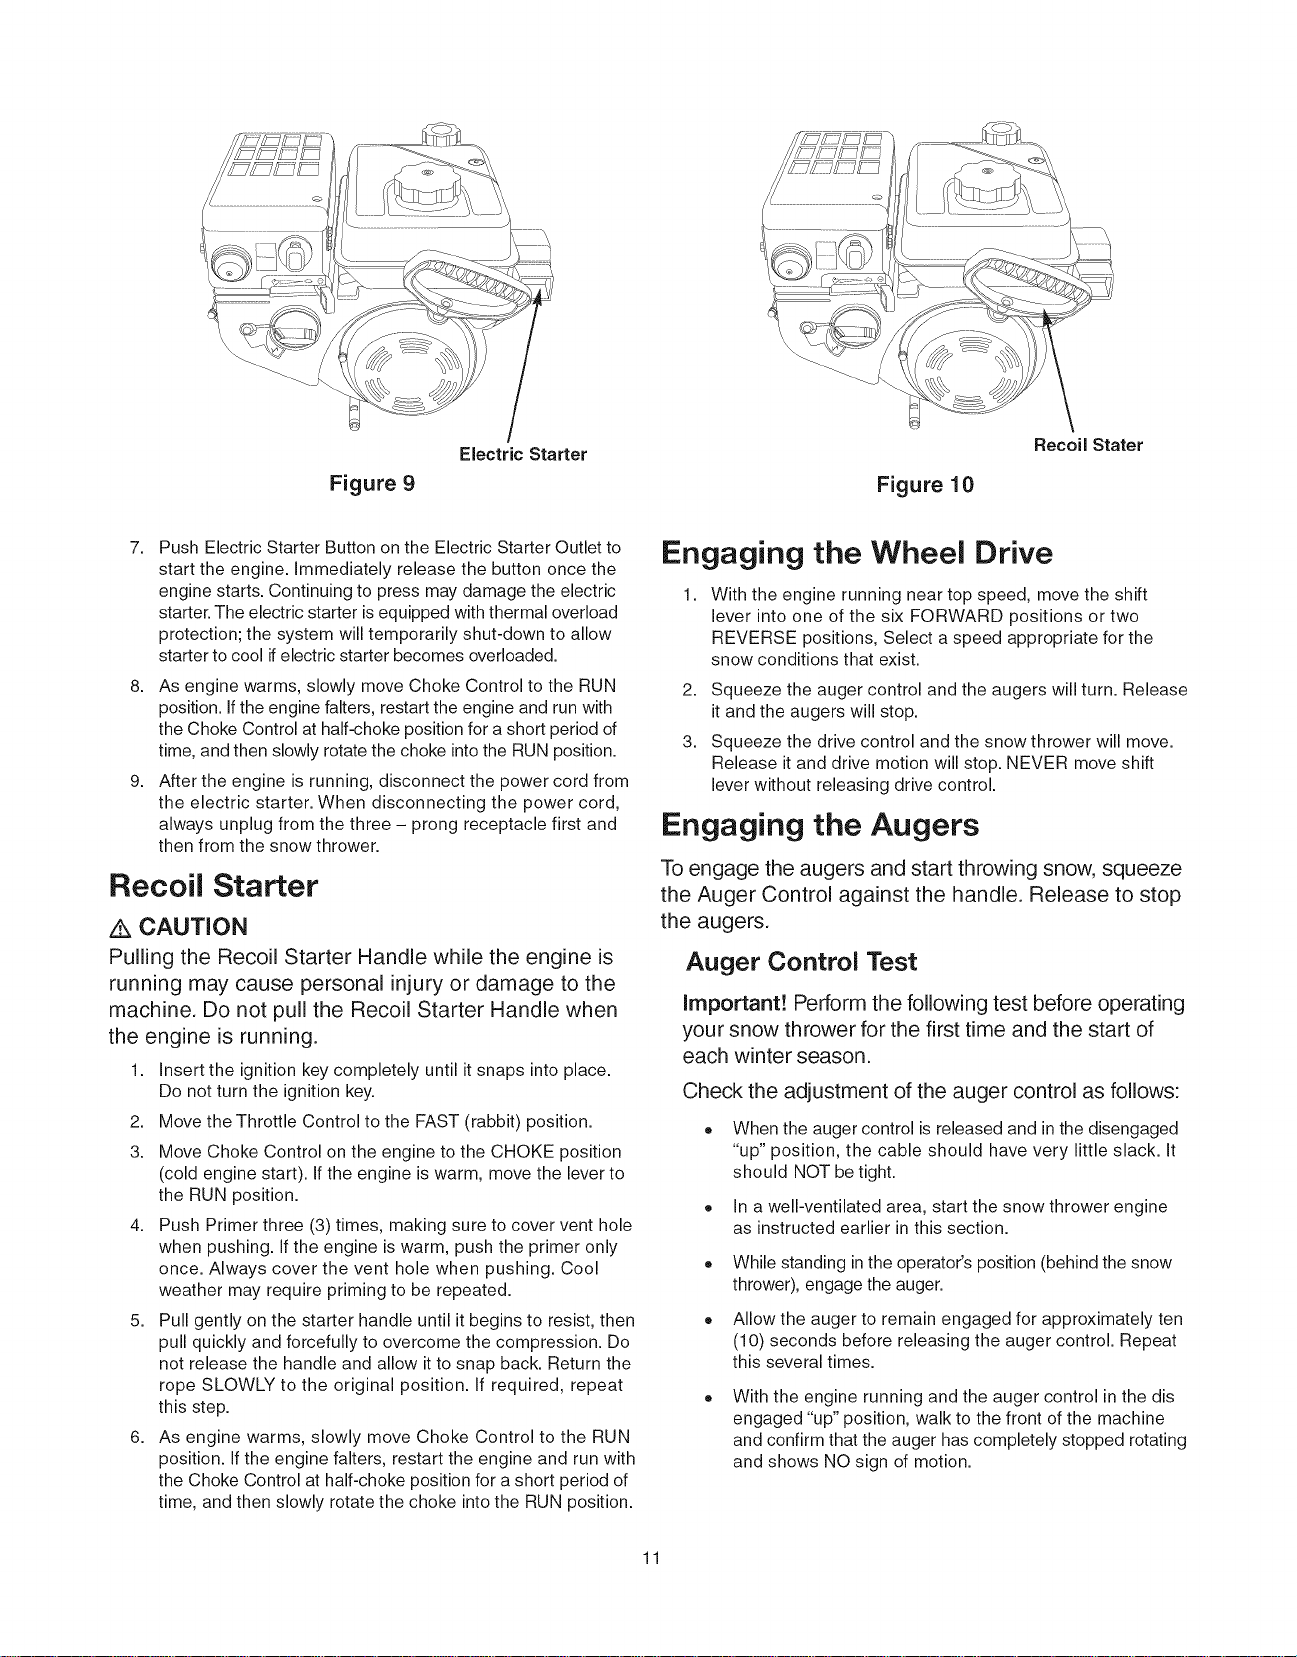
Figure 9
Electric Starter
Figure 10
Recoil Stater
7. Push Electric Starter Button on the Electric Starter Outlet to
start the engine. Immediately release the button once the
engine starts. Continuing to press may damage the electric
starter. The electric starter is equipped with thermal overload
protection; the system will temporarily shut-down to allow
starter to cool if electric starter becomes overloaded.
8. As engine warms, slowly move Choke Control to the RUN
position. Ifthe engine falters, restart the engine and run with
the Choke Control at half-choke position for a short period of
time, and then slowly rotate the choke into the RUN position.
9. After the engine is running, disconnect the power cord from
the electric starter. When disconnecting the power cord,
always unplug from the three - prong receptacle first and
then from the snow thrower.
Recoil Starter
CAUTION
Pulling the Recoil Starter Handle while the engine is
running may cause personal injury or damage to the
machine. Do not pull the Recoil Starter Handle when
the engine is running.
1. Insert the ignition key completely until it snaps into place.
Do not turn the ignition key.
2. Move the Throttle Control to the FAST (rabbit) position.
3. Move Choke Control on the engine to the CHOKE position
(cold engine start). If the engine is warm, move the lever to
the RUN position.
4. Push Primer three (3) times, making sure to cover vent hole
when pushing. If the engine is warm, push the primer only
once. Always cover the vent hole when pushing. Cool
weather may require priming to be repeated.
5. Pull gently on the starter handle until it begins to resist, then
pull quickly and forcefully to overcome the compression. Do
not release the handle and allow it to snap back. Return the
rope SLOWLY to the original position. If required, repeat
this step.
6. As engine warms, slowly move Choke Control to the RUN
position. If the engine falters, restart the engine and run with
the Choke Control at half-choke position for a short period of
time, and then slowly rotate the choke into the RUN position.
Engaging the Wheel Drive
With the engine running near top speed, move the shift
lever into one of the six FORWARD positions or two
REVERSE positions, Select a speed appropriate for the
snow conditions that exist.
2. Squeeze the auger control and the augers will turn. Release
it and the augers will stop.
3. Squeeze the drive control and the snow thrower will move.
Release it and drive motion will stop. NEVER move shift
lever without releasing drive control.
Engaging the Augers
To engage the augers and start throwing snow, squeeze
the Auger Control against the handle. Release to stop
the augers.
Auger Control Test
important! Perform the following test before operating
your snow thrower for the first time and the start of
each winter season.
Check the adjustment of the auger control as follows:
o When the auger control is released and in the disengaged
"up" position, the cable should have very little slack. It
should NOT be tight.
o In a well-ventilated area, start the snow thrower engine
as instructed earlier in this section.
While standing in the operator's position (behind the snow
thrower), engage the auger.
Allow the auger to remain engaged for approximately ten
(10) seconds before releasing the auger control. Repeat
this several times.
With the engine running and the auger control in the dis
engaged "up" position, walk to the front of the machine
and confirm that the auger has completely stopped rotating
and shows NO sign of motion.
11
Loading ...
Loading ...
Loading ...