Loading ...
Loading ...
Loading ...
4
Playback
86
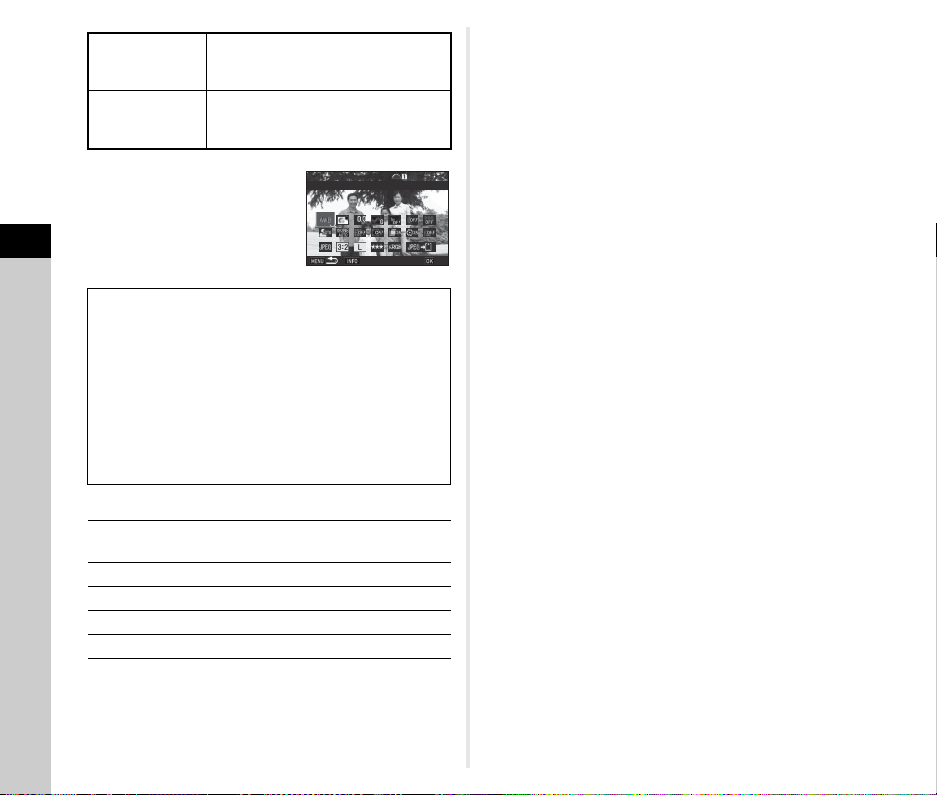
6 Select the setting item to
change.
Available operations
7 Use ABCD to select [JPEGu] or [TIFFu].
Turn R to change the file format.
8 Press E.
The save confirmation screen appears.
9 Select [Save to SD1] or [Save to SD2] and press
E.
When [Select single image] is selected, select [Continue] or
[Exit], and press E.
u Caution
• Only RAW images captured with this camera can be
developed.
• For RAW images captured when the drive mode is set to
[Multi-exposure] or [Interval Composite], the Lens Correction
features cannot be applied.
t Memo
• When [Select multiple images] or [Select a folder] is selected
in Step 2, a folder with a new number is created, and the
JPEG or TIFF images are stored in it.
• For [HDR Capture] and [Pixel Shift Resolution], the setting
item of which parameters can be changed varies depending
on the item used during shooting.
• With the provided software “Digital Camera Utility 5”, you can
develop RAW images on a computer.
Develop images
as shot
Allows you to change only File Format,
Aspect Ratio, JPEG Recorded Pixels,
JPEG Quality, and Color Space.
Develop images
with modified
settings
Allows you to change all setting items.
White Balance Distortion Correction
Custom Image Peripheral Illumin. Corr.
Sensitivity Lat-Chromatic-Ab Adj
Clarity Diffraction Correction
Skin Tone Color Fringe Correction
Digital Filter File Format
HDR Capture/ Aspect Ratio
Pixel Shift Resolution JPEG Recorded Pixels
Shadow Correction JPEG Quality
High-ISO NR Color Space
Q
Selects a different image (when in single
image display).
ABCD
Selects a setting item.
R
Changes the value.
G
Reviews the image.
E
Makes detailed settings.
100-0001
100-0001
White Balance
White Balance
Check
Check
OK
OK
Loading ...
Loading ...
Loading ...