Loading ...
Loading ...
Loading ...
3
Shooting
75
1 Press 4.
2 Select [ASTROTRACER] in A3 menu and press
D.
The [ASTROTRACER] screen appears.
3 Select [ASTROTRACER] and press D.
4 Select [ON] and press E.
5 Select [Precise Calibration] and press D.
The [Precise Calibration] screen appears.
Refer to “Performing a Calibration” (p.73) for how to perform
a calibration.
6 Press E.
The [ASTROTRACER] screen reappears.
7 Press F twice.
The camera returns to standby mode.
u Caution
• As the magnetic field environment varies depending on the
shooting location, a precise calibration must be performed at
each location when shooting images of celestial bodies with
ASTROTRACER.
• Changing the lens or the angle of the monitor after performing
a precise calibration may have some effect on the magnetic
field environment. In this case, perform a precise calibration
again.
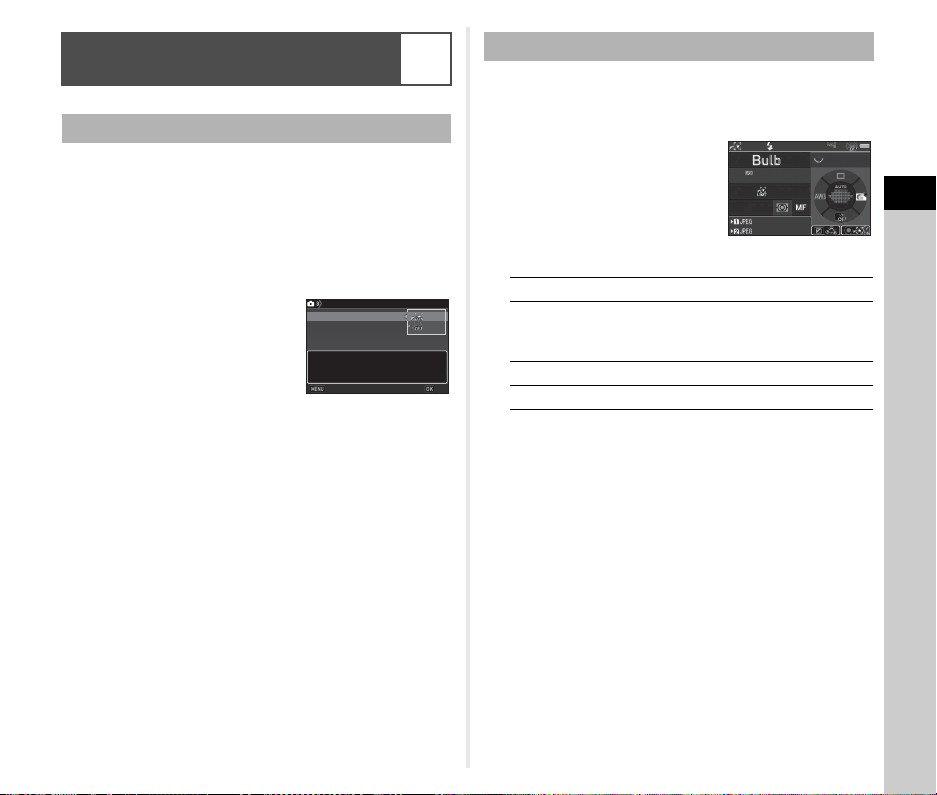
1 Set the Exposure Mode to M and set the Focus
Method to w.
2 Set the shooting
conditions.
Available operations
3 Adjust the focus and press 0 fully.
Shooting starts.
4 Press 0 fully again.
Shooting stops.
When the timed exposure is enabled, shooting stops
automatically after the set time has elapsed.
u Caution
• This function cannot be used in combination with some other
functions. (p.107)
Shooting Celestial Bodies
(ASTROTRACER)
A3
Setting the ASTROTRACER
Enables ASTROTRACER function
Enables ASTROTRACER function
in Bulb mode to eliminate star
in Bulb mode to eliminate star
trails during timed exposures
trails during timed exposures
ASTROTRACER
ASTROTRACER
ASTROTRACER
ASTROTRACER
Precise Calibration
Precise Calibration
Cancel
Cancel
OK
OK
Shooting with the ASTROTRACER
M Enables/Disables the timed exposure.
Q Changes the exposure time within the range
from 0'10" to 5'00" when the timed exposure
is enabled.
R Changes the aperture value.
J Performs a precise calibration.
1600
1600
F
F
8.0
8.0
99 999
99999
99 999
99999
-´--˝
-´--˝
Loading ...
Loading ...
Loading ...