Loading ...
Loading ...
Loading ...
Installation instructions en
45
To ensure that the appliance door can be opened, you
must take the minimum dimensions into consideration
when installing in a corner. The dimension
is de-
pendent on the thickness of the unit front and the
handle.
21.9 Electrical connection
In order to safely connect the appliance to the elec-
trical system, follow these instructions.
WARNING‒Danger: Magnetism!
The appliance contains permanent magnets. These
may affect electronic implants, e.g. heart pacemakers
or insulin pumps.
▶ Persons with electronic implants must stay at least
10cm away from the appliance.
¡ The appliance corresponds to protection class I and
must only be operated with a protective earth con-
nection.
¡ The fuse protection must correspond to the power
rating specified on the appliance's rating plate and
to the local regulations.
¡ The appliance must be disconnected from the
power supply whenever installation work is being
carried out.
¡ If the power cable is damaged, it must be replaced
by the manufacturer, customer service or a person
with equivalent qualifications in order to eliminate
any risks.
¡ Contact protection must be guaranteed by the in-
stallation.
Connecting the appliance to the electricity
supply
Note:The appliance must only be connected to a pro-
tective contact socket that has been correctly installed.
1.
Insert the non-heating appliance plug of the power
cable into the appliance.
Check that the non-heating appliance plug is inser-
ted properly.
2.
Insert the mains plug of the appliance into a nearby
socket.
Ensure that the mains plug of the mains power
cable is easily accessible after installation of the ap-
pliance. If free access to the mains plug of the
power cable is not possible, an all-pole isolating
switch must be installed in the permanent electrical
installation according to the installation regulations.
Electrically connecting an appliance without a
protective contact plug
Note:Only a licensed professional may connect the ap-
pliance. Damage caused by incorrect connection is not
covered under the warranty.
An all-pole isolating switch must be integrated into the
permanent electrical installation according to the install-
ation regulations.
1.
Identify the phase and neutral conductors in the
socket.
The appliance may be damaged if it is not connec-
ted correctly.
2.
Connect the hob in accordance with the connection
diagram.
See the rating plate for the voltage.
3.
Connect the wires of the mains power cable accord-
ing to the colour coding:
‒ Green/yellow = Protective conductor
‒ Blue = Neutral conductor
‒ Brown = Phase (external conductor)
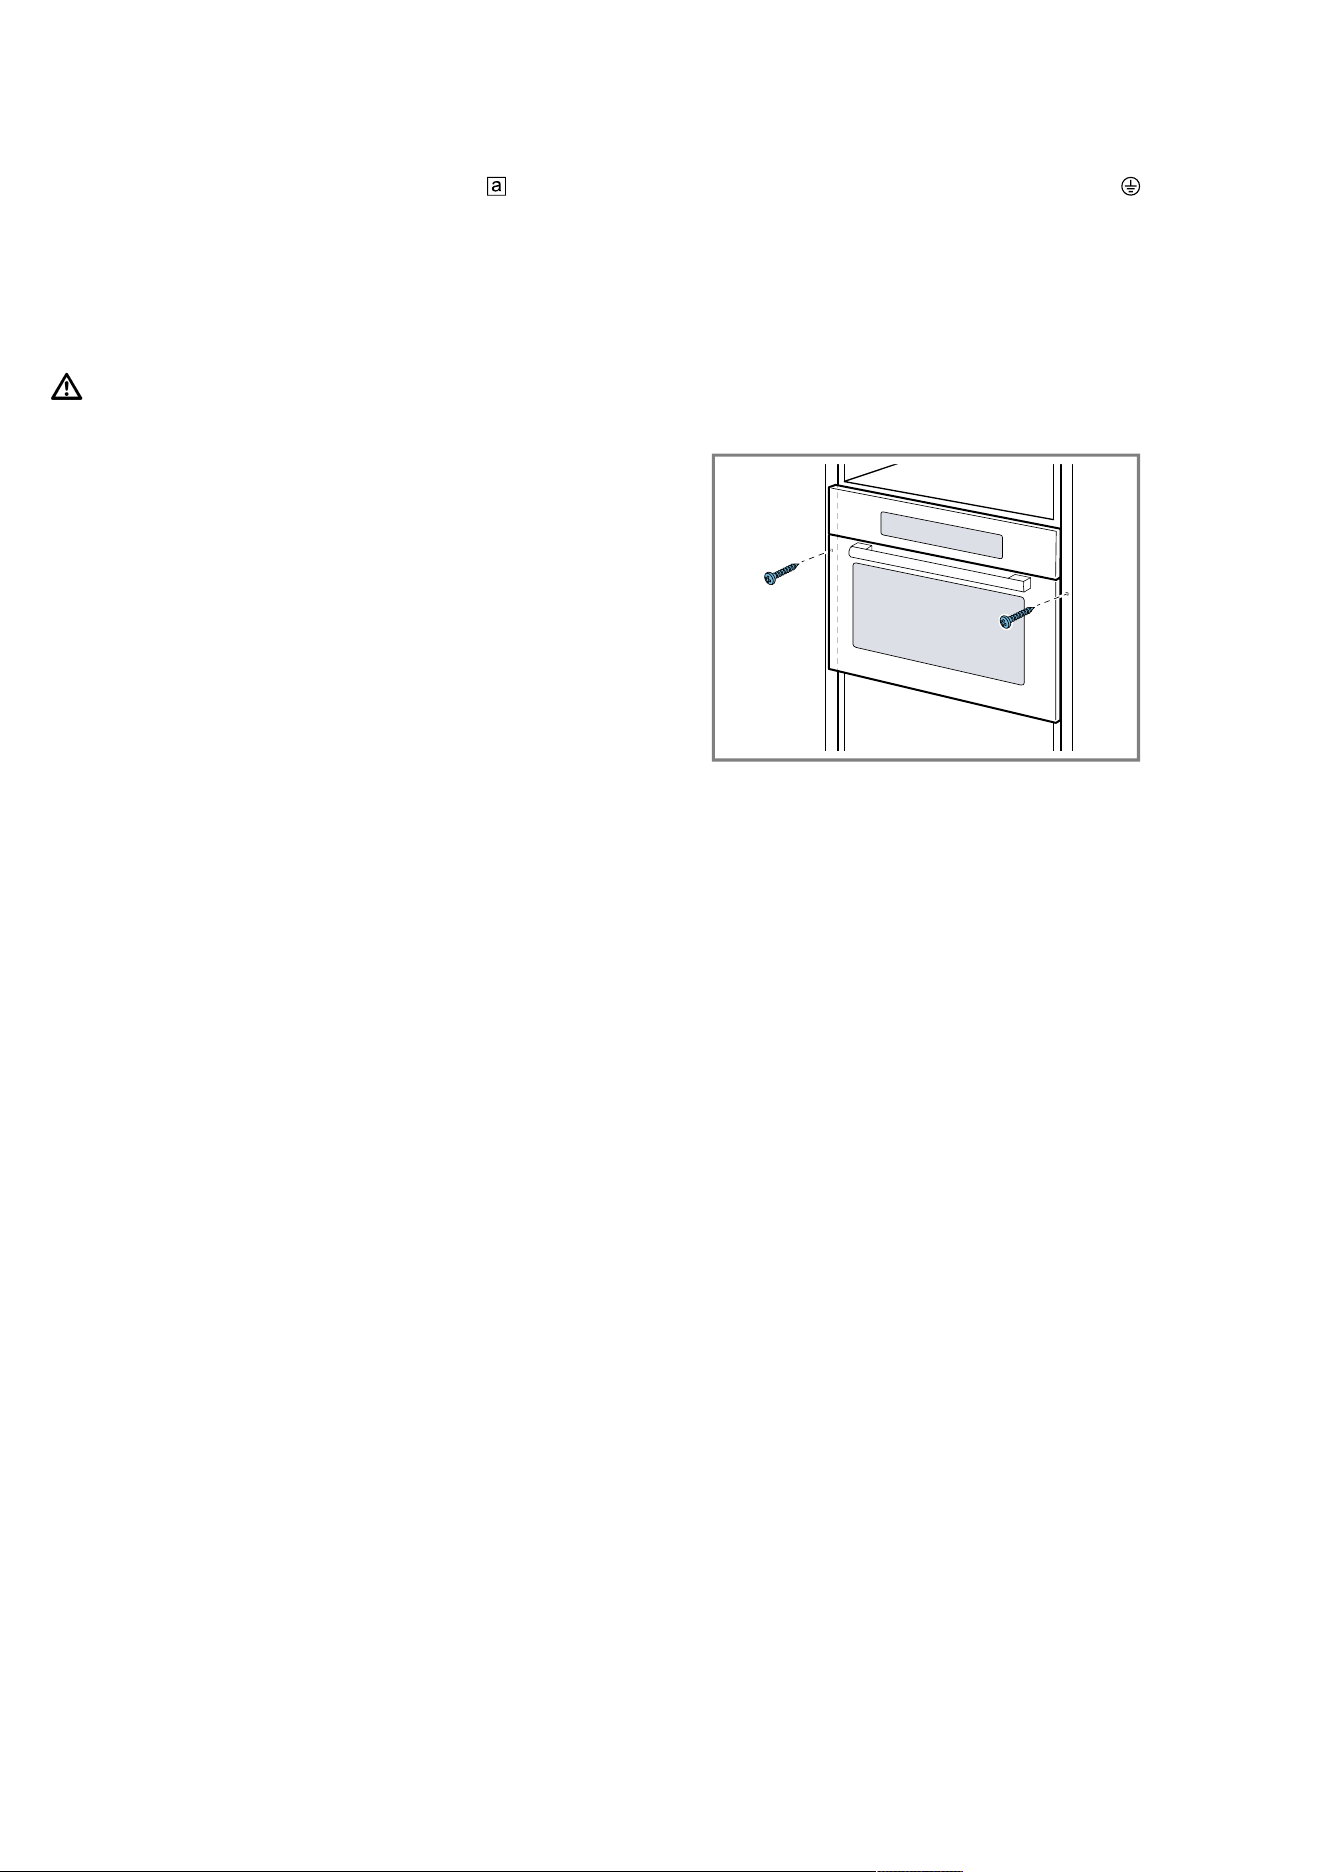
21.10 Installing the appliance
1.
Use a spirit level to adjust the appliance so that it is
perfectly level.
2.
Push the appliance in fully.
3.
Align the appliance horizontally and centrally.
4.
Screw the appliance tightly onto the unit.
5.
Remove any packaging material and adhesive film
from the cooking compartment and the door.
Note:Do not close the gap between the worktop and
the appliance using additional battens.
Do not attach any thermal insulation strips to the side
panels of the surround unit.
21.11 Removing the appliance
1.
Disconnect the appliance from the power supply.
2.
Undo the fastening screws.
3.
Lift the appliance slightly and pull it out completely.
Loading ...
Loading ...
Loading ...