Loading ...
Loading ...
Loading ...
NOTE:Your grill may NOT be equipped with a
Sideburner!
SidebumerignitorLighting
• Do not lean overgrill while lighting.
1. TurnO OFF gas burnercontrol valves.
2. TurnON gasat LPcylinder.
3. Open sideburner lid.
4. Turnsideburnerknobto the _ HIGHposition,push
and holdELECTRONICIGNITORbutton.
5. If sideburnerdoes NOTlight within 5 seconds,turn
knobto O OFF, wait 5 minutes,then repeat lighting
procedure.
Sideburner MatchLighting
• Donot leanover grill whilelighting.
1. TurnO OFF gas burnercontrol valves.
2. TurnON gasat LPcylinder.
3. Open sideburner lid.
4. Placelit match near burner.
5. Turnsideburnerknobto the _ HIGHposition. Be sure
burnerlightsand stayslit.
Burner FlameCheck
, Removecooking gratesand heattents. Lightburners,
rotateknobsfrom HIGHto LOW. Youshouldseea
smallerflame in LOW positionthan seen on HIGH.
Performburner flame checkon side burner,also.Always
checkflame priorto each use.If onlylow flame is seen
referto "Suddendrop or lowflame" inthe
TroubleshootingSection.
HIGH
LOW
Turning Grill Off
, Turnall knobsto the O OFF position.TurnLP cylinder
OFF byturning hand-wheelclockwiseto a full stop.
Ignitor Check
• Turngas off at LPcylinder. Pressand hold
electronicignitor button. "Click" shouldbe heardand
spark seen eachtime ineach collector box or
betweenburner andelectrode.See "Troubleshooting"
if no click or spark.
Valve Check
• Important: Makesure gas isoff at LP cylinder
before checking valves. Knobslock in OFF position.
Tocheckvalves,firstpushin knobs and release,knobs
shouldspring back. If knobsdo not spring back,
replacevalve assemblybeforeusing grill. Turnknobs
to LOWpositionthenturn backto OFF position.Valves
shouldturn smoothly.
HoseCheck
• Beforeeach use, checkto see if hoses are cut orworn
or kinked.Replacedamagedhoses beforeusing grill.
Use only valvelhose/regulatorspecifiedby
manufacturer.
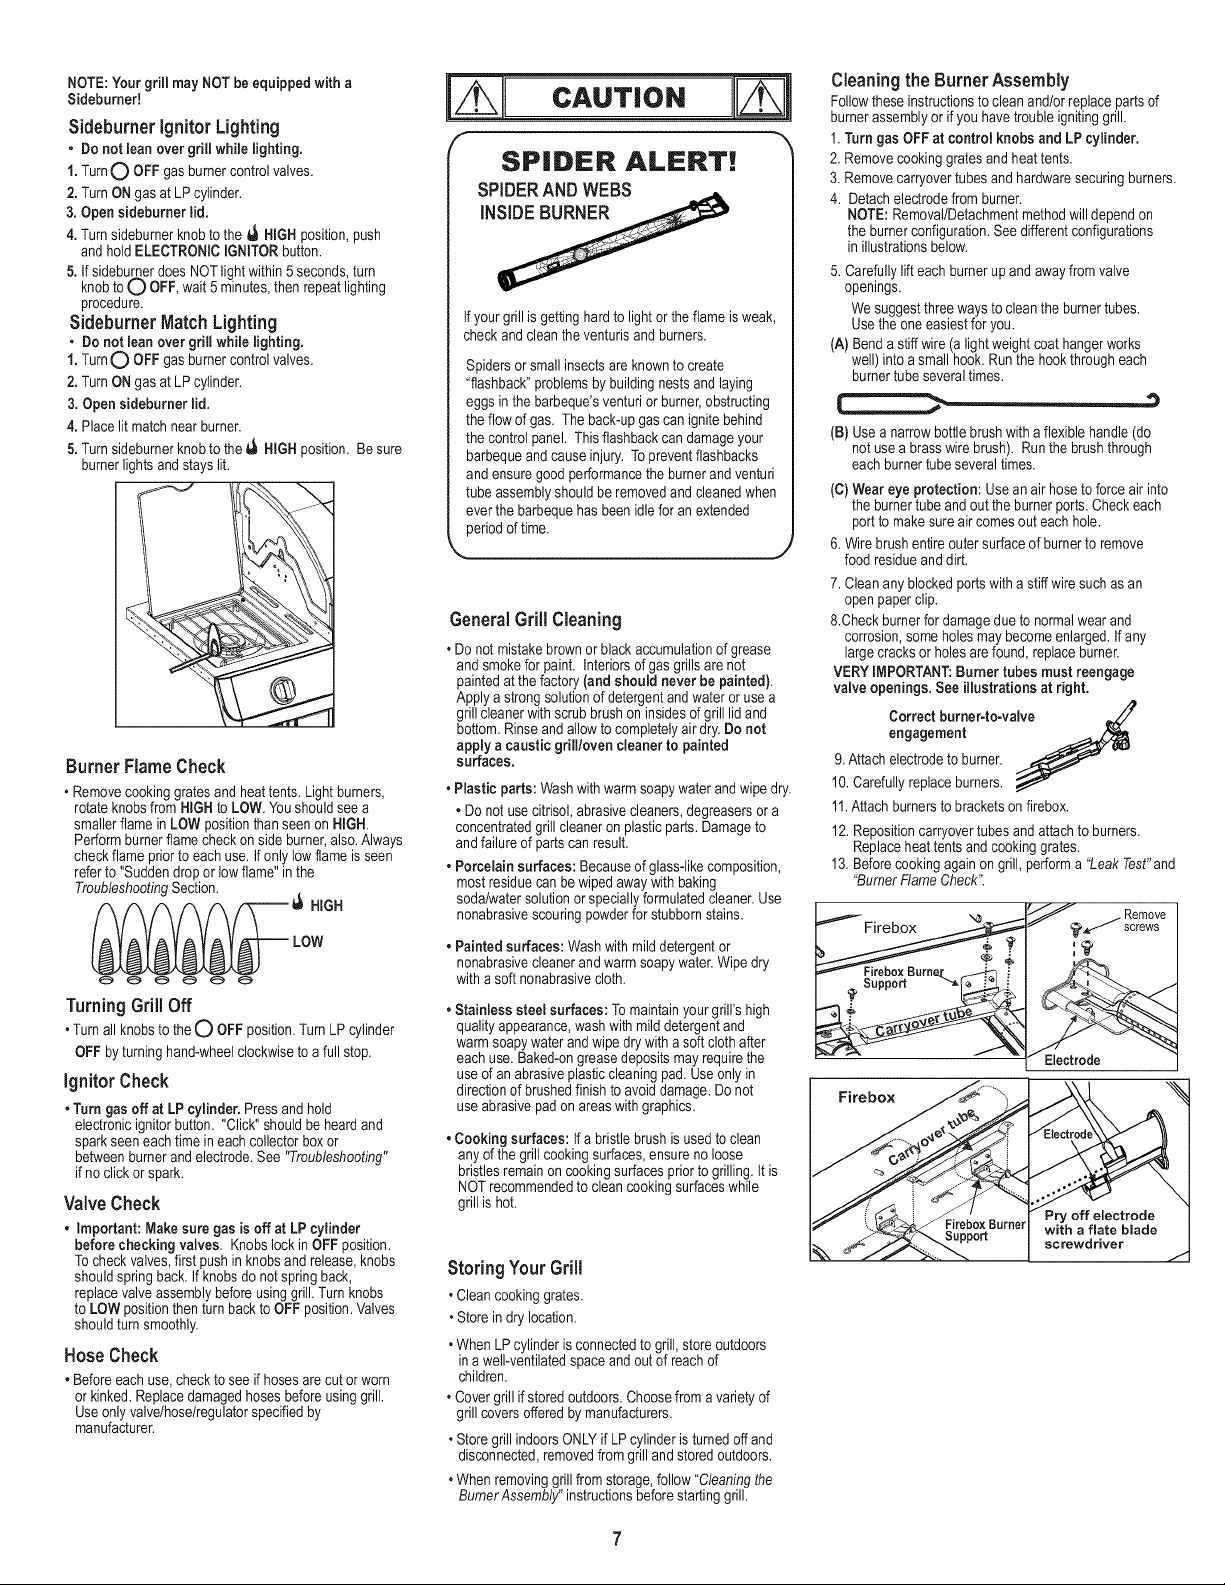
SPIDER ALERT!
SPIDERAND WEBS
If your grill is gettinghard to lightor the flame is weak,
checkand cleanthe venturisand burners.
Spidersorsmall insectsare known to create
"flashback"problemsby building nestsand laying
eggsinthe barbeque'sventurior burner,obstructing
the flow of gas. The back-upgascanignite behind
the controlpanel. Thisflashbackcan damageyour
barbequeand causeinjury. Topreventflashbacks
and ensuregood performancethe bumer and venturi
tube assemblyshouldbe removedand cleanedwhen
everthe barbequehasbeen idlefor an extended
periodof time.
.............................................................................. J
GeneralGrill Cleaning
, Do not mistakebrown or blackaccumulationof grease
and smokefor paint. Intedorsof gas grillsare not
paintedat the factory (and should never be painted).
Applya strongsolutionof detergentandwater oruse a
grill cleanerwith scrubbrush on insidesof grill lid and
bottom.Rinseand allow to completelyair dry. Do not
apply a caustic grill/oven cleaner to painted
surfaces.
. Plastic parts: Washwithwarm soapywater andwipe dry.
• Do not usecitrisol, abrasivecleaners,degreasersora
concentratedgrill cleaneron plasticparts.Damageto
and failure of partscan result.
• Porcelain surfaces: Becauseof glass-likecomposition,
mostresiduecan bewiped awaywithbaking
soda!watersolutionor speciallyformulatedcleaner.Use
nonabrasivescouringpowderfor stubbornstains.
• Painted surfaces:Wash withmild detergentor
nonabrasivecleaner andwarm soapywater. Wipe dry
witha softnonabrasivecloth.
• Stainless steelsurfaces:To maintainyourgrill's high
qualityappearance,washwith milddetergentand
warm soapywater andwipe dry with a soft cloth after
eachuse. Baked-ongreasedepositsmayrequirethe
useof an abrasiveplastic cleaningpad. Useonly in
directionof brushedfinishto avoiddamage.Do not
useabrasivepad on areaswithgraphics.
• Cooking surfaces: If a bristlebrush is used to clean
any of the grill cooking surfaces,ensureno loose
bristlesremainon cookingsurfacesprior to grilling. It is
NOTrecommendedto clean cookingsurfaceswhile
grill is hot.
Storing YourGrill
, Cleancookinggrates.
, Store indry location.
, WhenLPcylinder is connectedto grill, storeoutdoors
ina well-ventilatedspace and outof reachof
children.
, Covergrill if storedoutdoors.Choosefrom a variety of
grill coversofferedby manufacturers.
, Storegrill indoorsONLYif LPcylinderis turned off and
disconnected,removedfrom grill and storedoutdoors.
, Whenremovinggrillfrom storage,follow "Cleaningthe
BumerAssembly' instructionsbeforestartinggrill.
Cleaning the Burner Assembly
Followtheseinstructionsto clean and!orreplace partsof
burnerassemblyor if youhave troubleigniting grill.
1.Turn gas OFFat control knobs and LP cylinder.
2. Removecookinggratesand heattents.
3. Removecarryovertubesandhardware securingburners.
4. Detachelectrodefrom burner.
NOTE: Removal!Detachmentmethodwill dependon
the burnerconfiguration.See differentconfigurations
in illustrationsbelow.
5. Carefullylift eachburner up and away from valve
openings.
We suggestthree ways to cleanthe burnertubes.
Usethe oneeasiestfor you.
(A) Benda stiff wire (alight weightcoathangerworks
well) intoa small hook.Runthe hookthrougheach
burnertube severaltimes.
(B) Usea narrowbottle brushwith a flexible handle(do
notuse a brass wire brush). Runthe brushthrough
eachburner tube severaltimes.
(C) Wear eye protection: Usean air hose to force air into
the burnertube andout the burner ports.Check each
portto make sureair comesout each hole.
6. Wirebrushentire outersurface of burnerto remove
food residue anddirt.
7. Clean any blocked portswitha stiff wire suchas an
openpaper clip.
&Check burner for damagedue to normalwear and
corrosion,some holes may becomeenlarged.If any
largecracksor holesarefound, replaceburner.
VERY IMPORTANT:Burner tubes must reengage
valve openings. See illustrationsat right.
Correct burner-to-valve J
engagement
9.Attach electrodeto burner.
10. Carefullyreplaceburners.
11.Attachburnersto bracketson firebox.
12. Repositioncarryovertubes andattach to burners.
Replaceheat tents and cookinggrates.
13. Beforecookingagainon grill, perform a "Leak Test"and
"BurnerFlameCheek".
Firebox
Suppo_
Loading ...
Loading ...
Loading ...