Loading ...
Loading ...
Loading ...
Careand cleaning oftherange, gecom
Be sure all controls are off and all surfaces are cool before cleaning any part of the range.
If your range is removed for cleaning, servicing or any reason, be sure the anti-tip
device is re-engaged properly when the range is replaced. Failure to take this
precaution could result in tipping of the range and cause injury.
How toRemoveProtectiveShippingFilmand Packaging Tape
Caretully grasp a corner at tile protective
shipping fihn with your finge_ and slowly
peel it fl'on/ tile appliance sm_i_ce. Do not
use any shaq) items to remove tile fihn.
Remove all of tile fihn betore using tile
appliance fi)r tile fi_t time.
To _lSStlI'e no d_lIll_lge is done to tile
finish of tile product, tile safest way to
remove tile adhesive ti'om packaging tape
on new appliances is an application (ff a
household liquid dishwashing dem_gent.
Apply with a sott cloth and allow to soak.
NOTE."Theadhesivemustbe removed fromall
paris. Itcannotbe removedif it is bakedon.
Control Knobs
Thecontrolknobsmay be removed for easier
cleaning.
Make sure tile knobs are in tile OFF
positions and pull them straight off tile
stems ti)r cleaning.
Tile knobs can be cleaned in a
dishwasher or tile}' may also be washed
with soap and water: Make sure tile inside
of tile knobs are dry before repladng.
Replace tile knobs in tile OFFposition to
ensure proper placement.
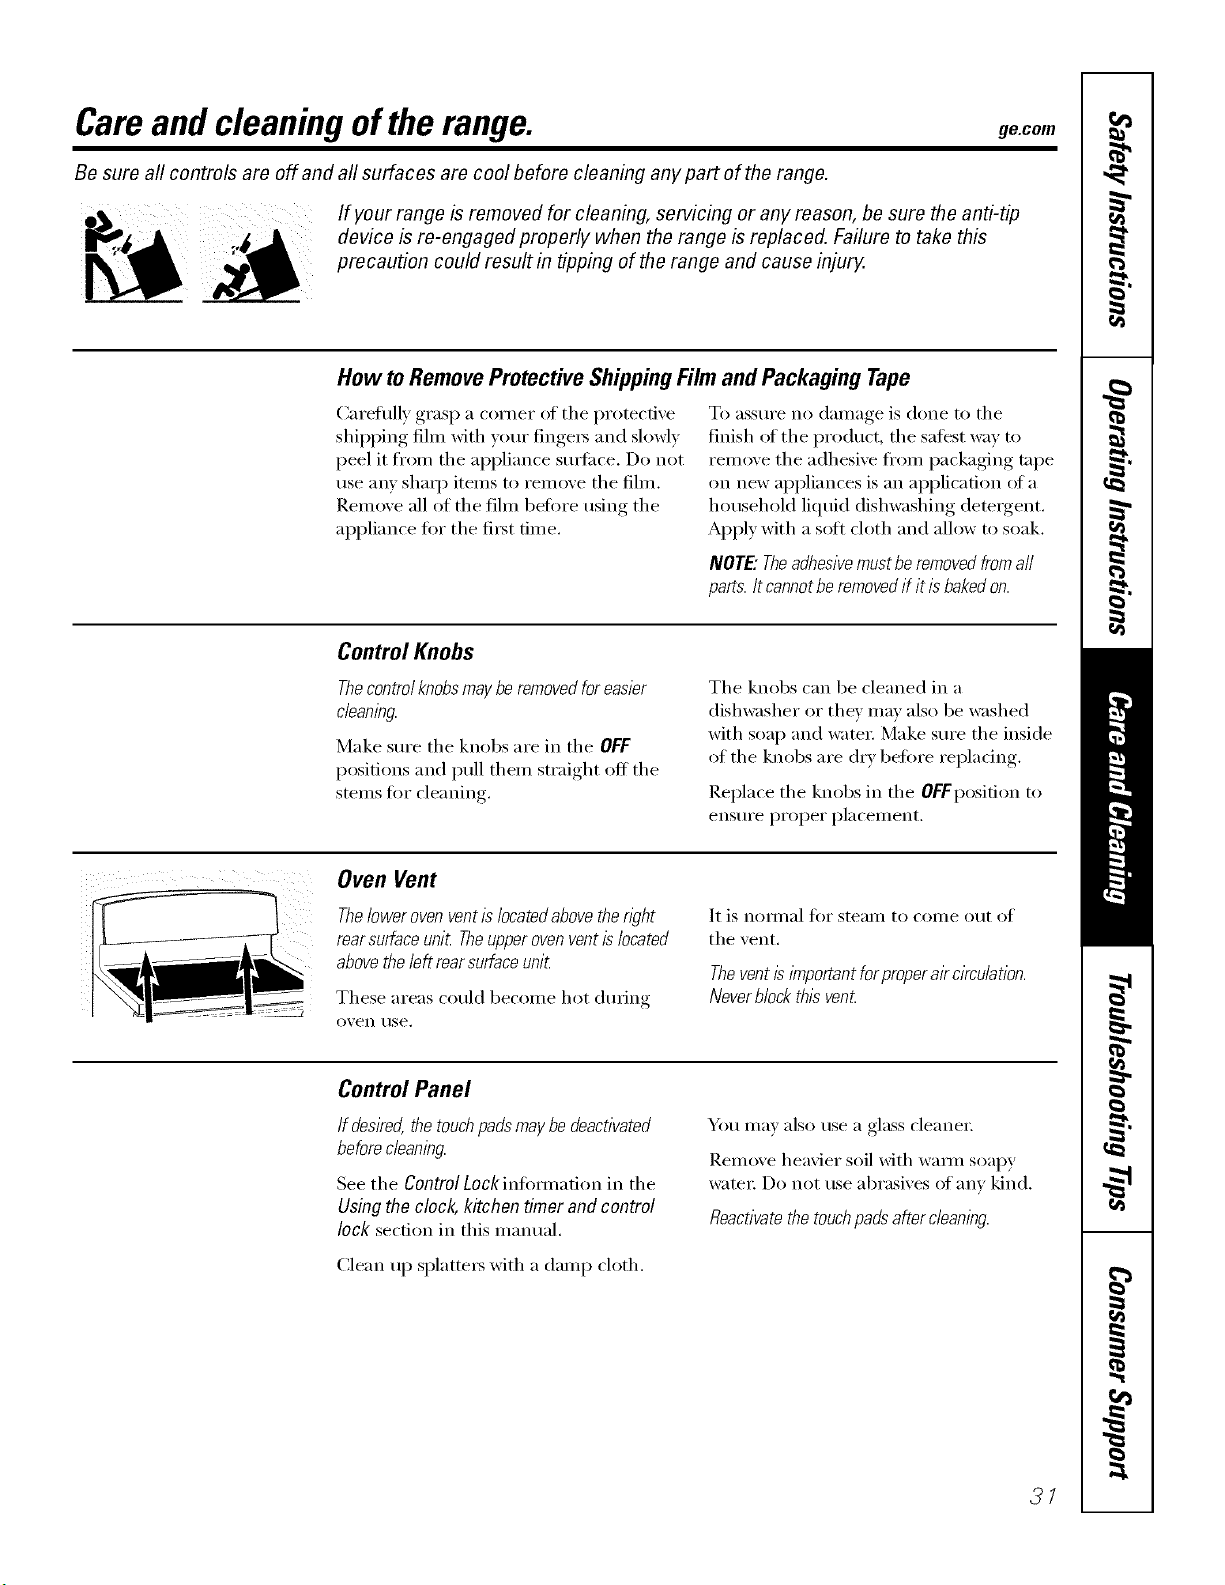
Oven Vent
Theloweroven ventis locatedabovethe n)ht
rear surfaceunit Theupperovenventis located
abovethe left rearsurface unit
These areas could become hot dm_ing
o'_en rise.
It is nof///_ll t()I" ste}llll to COIlle o[It of
tile vent.
Thevent is lYnportantforproperair circulation.
Neverblock this vent
Control Panel
If desired,thetouchpadsmaybedeactivated
beforecleaning.
See tile ControlLockintom/adon in tile
Usingthe clock,kitchentimer and control
lock secdon in this manual.
Clean up splatte_ with a damp cloth.
_Otl ill,iv also rise a glass cleaner
Remove heavier soil with wmm soapy
wateI: Do not use abrasives of any kind.
Reactivatethe touchpads after cleaning.
3/
Loading ...
Loading ...
Loading ...