Loading ...
Loading ...
Loading ...
19
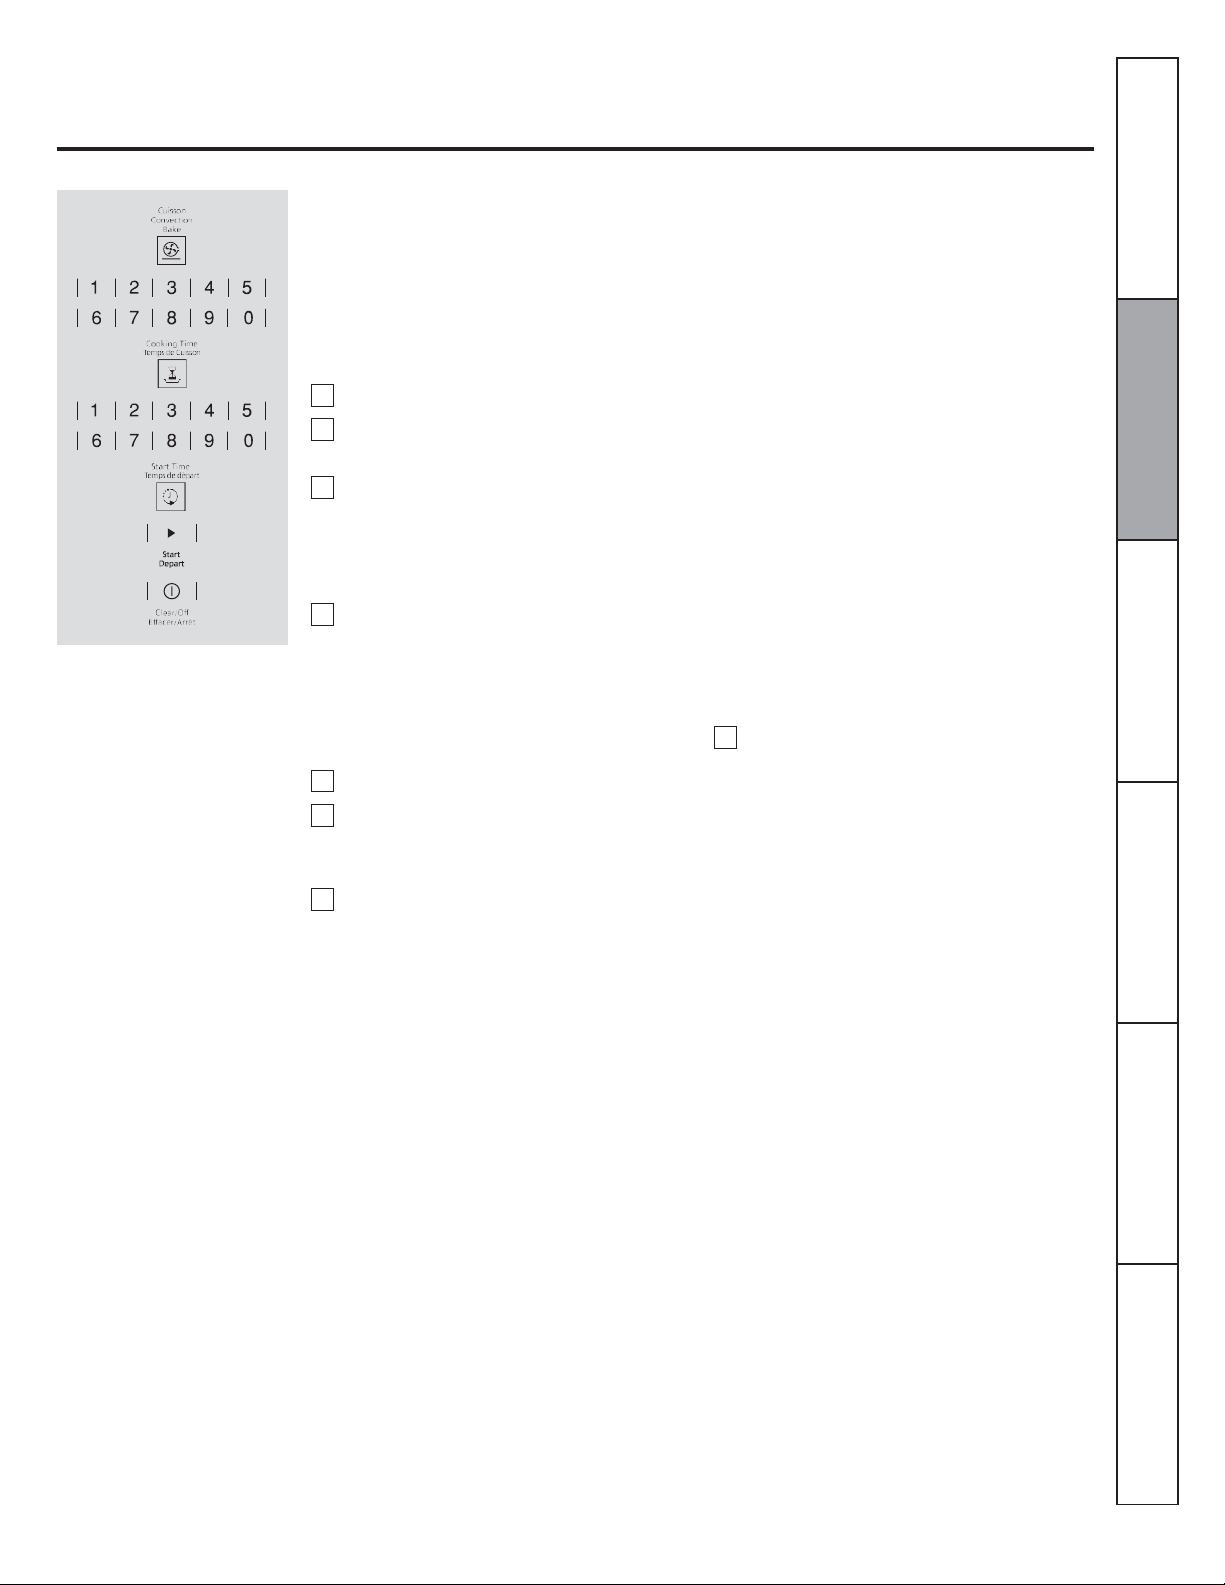
Using the oven timed convection baking features.
How to Set a Delayed Start and Automatic Stop
The oven will turn on at the time of day you
set, cook for a specific length of time and
then turn off automatically.
Make sure the clock shows the correct time
of day.
Touch the CONVECTION BAKE pad.
Touch the number pads to set the desired
oven temperature.
Touch the COOKING TIME pad.
NOTE: If your recipe requires preheating, you
may need to odd additional time to the length of
the cooking time.
Touch the number pads to set the desired
length of cooking time. The minimum
cooking time you can set is 1 minute.
The oven temperature that you set and
the cooking time that you entered will be
in the display.
Touch the START TIME pad.
Touch the number pads to set the time of
day you want the oven to turn on and
start cooking.
Touch the START pad.
NOTE: If you would like to check the times you
have set, touch the START TIME pad to check
the start time you have set or touch the
COOKING TIME pad to check the length of
cooking time you have set.
When the oven turns ON at the time of day you
set, the display will show the cooking time
countdown and the changing temperature starting
at 100°F. (The temperature display will start to
change once the oven temperature reaches
100 °F. When the oven reaches the temperature
you set, 3 beeps will sound.
The oven will continue to cook for the set amount
of time, then turn off automatically, unless the
Cook and Hold feature was set. See the Special
features of your oven control section.
After the oven turns off, the end-of-cycle tone will
sound.
Touch the CLEAR/OFF pad to clear
the display if necessary. Remove the
food from the oven. Remember, even
though the oven turns off automatically,
food left in the oven will continue
cooking after the oven turns off.
1
2
3
4
5
6
8
7
Instructions
Safety Instructions
Operating
Instructions
Care and Cleaning
Installation
Troubleshooting Tips
Consumer Support
Loading ...
Loading ...
Loading ...