Loading ...
Loading ...
Loading ...
16
Using the convection oven.
Cookware for Convection Cooking
Before using your convection oven, check to
see if your cookware leaves room for air
circulation in the oven. If you are baking
with several pans, leave space between
them. Also, be sure the pans do not touch
each other or the walls of the oven.
Paper and Plastic
Heat-resistant paper and plastic containers
that are recommended for use in regular
ovens can be used in convection ovens.
Plastic cookware that is heat-resistant to
temperatures of 400°F can also be used,
when oven is below 400°F.
Metal and Glass
Any type of cookware will work in your
convection oven. However, metal pans heat
the fastest and are recommended for
convection baking.
Darkened or matte-finished pans will bake
faster than shiny pans.
Glass or ceramic pans cook more slowly.
When baking cookies, you will get the best
results if you use a flat cookie sheet instead
of a pan with low sides.
For recipes like oven-baked chicken, use a
pan with low sides. Hot air cannot circulate
well around food in a pan with high sides.
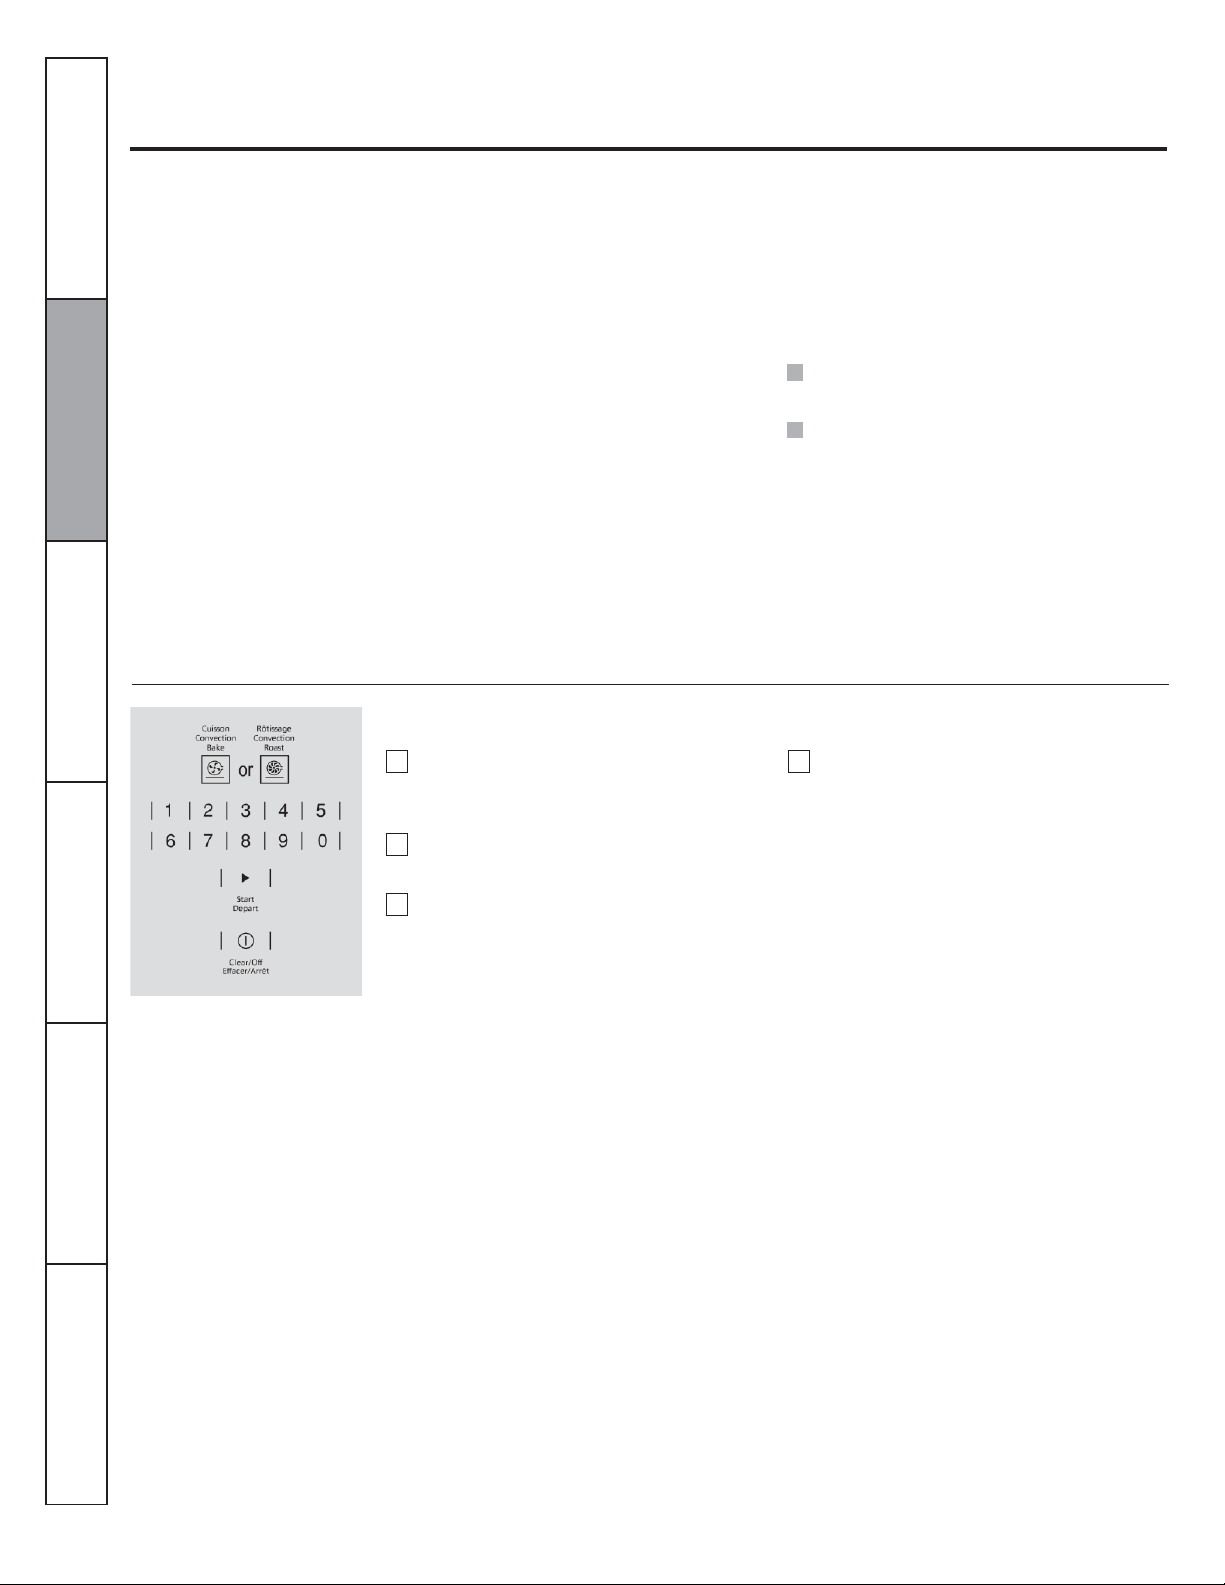
How to Set the Oven for Convection Baking or Roasting
Touch the CONVECTION
BAKE or CONVECTION
ROAST pad.
Touch the number pads to set the desired
oven temperature.
Touch the Start pad.
To change the oven temperature, touch the
CONVECTION BAKE or
CONVECTION ROAST pad and then the
number pads to set the new temperature.
When the oven starts to heat, the changing
temperature, starting at 100°F, will be
displayed. When the oven reaches the
temperature you set, 3 beeps will sound.
Touch the CLEAR/OFF pad when finished.
NOTE: You will hear a fan while cooking with
convection. The fan will stop when the door is
opened, but the heat will not turn off.
The fan will not start until the preheat
temperature is reached.
1
2
3
4
Instructions
Safety
Instructions
Operating
Instructions
Care
and Cleaning
Installation
Troubleshooting
Tips
Consumer
Support
Loading ...
Loading ...
Loading ...