Loading ...
Loading ...
Loading ...
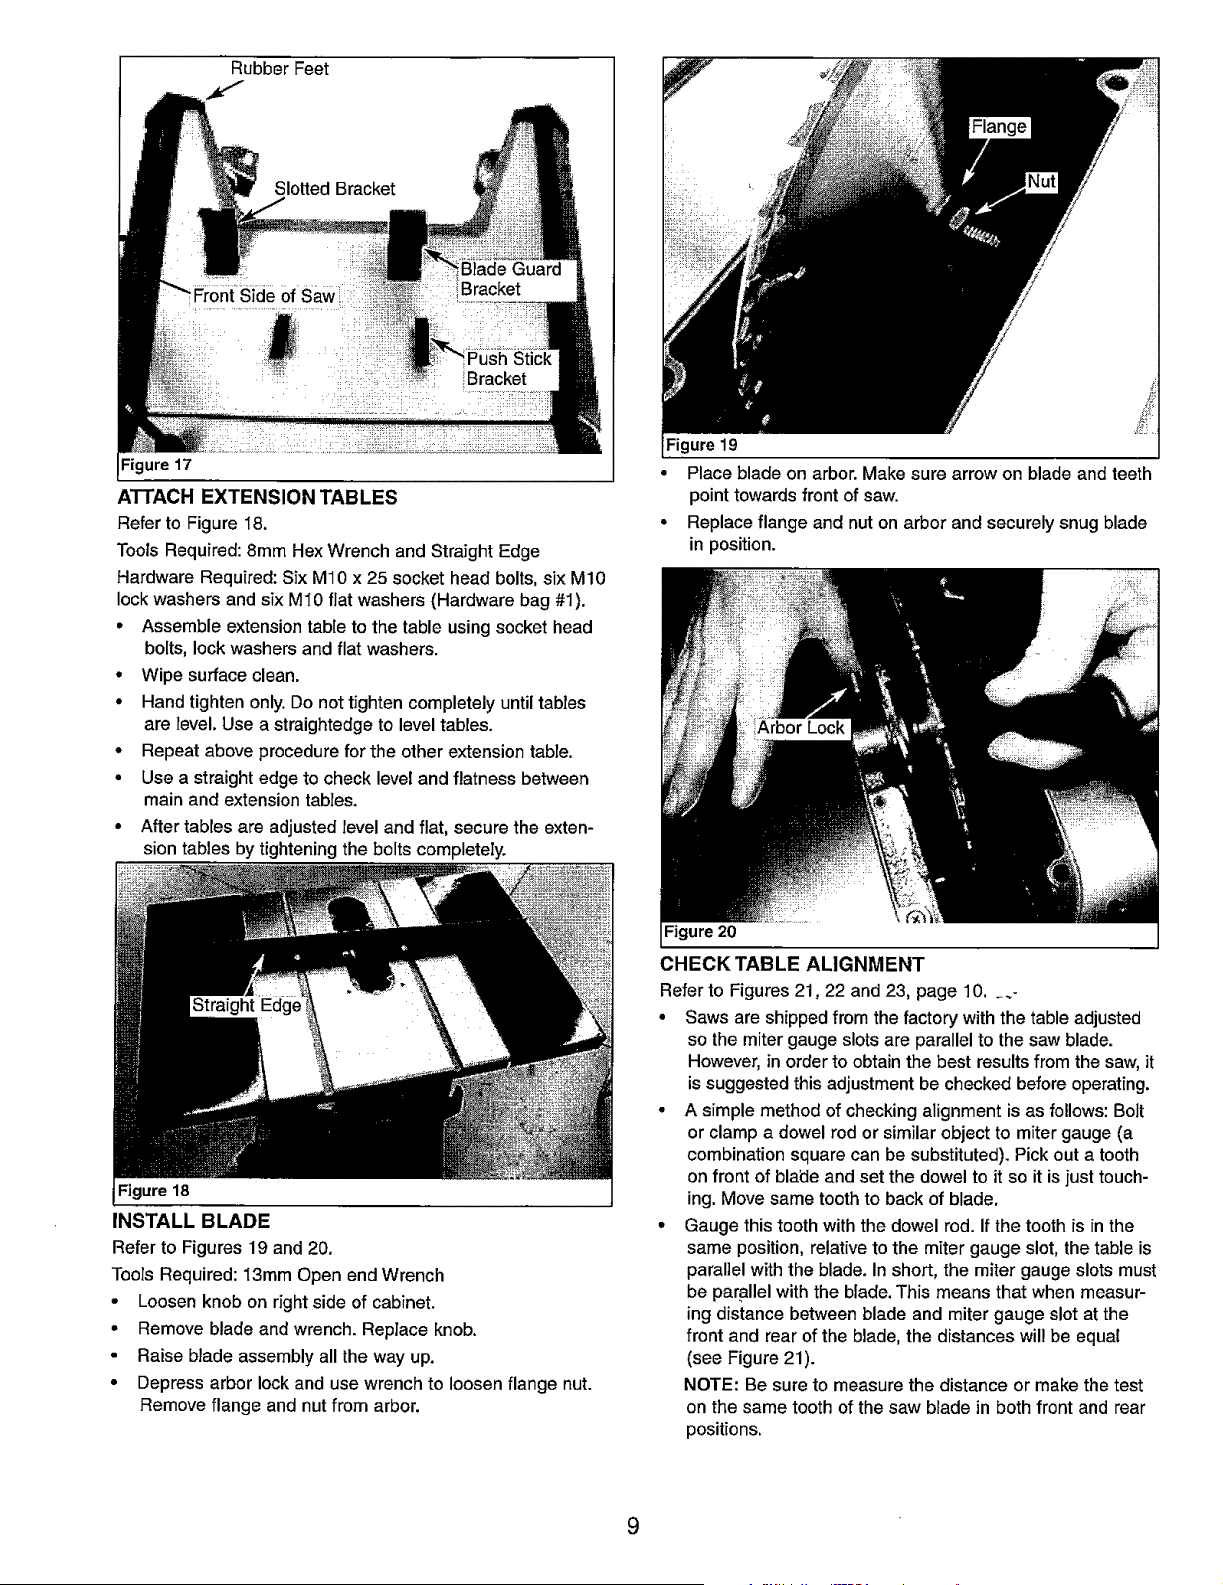
Rubber Feet
Slotted Bracket
Figure 17
ATTACH EXTENSION TABLES
Referto Figure I8.
ToolsRequired:8ram HexWrench andStraightEdge
HardwareRequired:Six M10 x 25 socketheadbolts,six M10
lockwashersand six MI0 flat washers(Hardware bag#1).
• Assemble extension tableto the table usingsockethead
bolts,lockwashersand flat washers.
• Wipe surfaceclean.
• Hand tightenonly.Do not tightencompletelyuntil tables
are level. Use a straightedge to leveltables.
° Repeatabove procedure for the other extensiontable.
° Use a straight edgeto checklevel andflatnessbetween
main and extension tables.
° After tables are adjusted level and flat, secure the exten-
sion tables by tightening the bolts completely.
Figure 18
INSTALL BLADE
Referto Figures19 and 20.
ToolsRequired:13ram Open end Wrench
- Loosen knob on right side of cabinet.
• Remove blade and wrench. Replace knob.
• Raise blade assembly all the way up.
• Depress arbor lock and use wrench to loosen flange nut.
Remove flange and nut from arbor.
Figure19
° Place blade on arbor. Make sure arrow on blade and teeth
point towards front of saw.
• Replace flange and nut on arbor and securely snug blade
in position.
Figure 20
CHECK TABLE ALIGNMENT
Refer to Figures 21, 22 and 23, page 10. _.-
• Saws are shipped from the factory with the tableadjusted
so the mitergaugeslotsare parallel to the saw blade.
However,in orderto obtainthe best resultsfrom the saw, it
is suggested this adjustmentbe checkedbeforeoperating.
• A simple method of checkingalignment isas follows: Bolt
orclamp a dowelrod or similar objectto mitergauge (a
combinationsquarecan be substituted). Pick outa tooth
onfront of bla_leand set the dowel to it so it isjusttouch-
ing.Move sametoothto backof blade.
• Gauge thistoothwiththe dowel rod. If the tooth is in the
same position,relative to the miter gauge slot, the tableis
paral]elwiththe blade. In short, the mitergauge slots must
be parallelwith the blade. This means that whenmeasur-
ing distancebetween blade and mitergauge slot at the
front and rear of the blade, the distanceswillbe equal
(see Figure21).
NOTE: Be sure to measure the distance or make the test
onthe same toothof the saw blade in both front and rear
positions.
9
Loading ...
Loading ...
Loading ...