Loading ...
Loading ...
Loading ...
ATTACH CORD WRAP HOOKS
Refer to Figure 13.
Tools Required: 4mm Hex Wrench
Hardware Required: Two M6 x 16 socket pan head bolts, two
M6 flat washers and two M6 hex nuts (Hardware bag #4).
• Insert a bolt into a cord wrap hook and place against the
holes on the left side of the saw cabinet.
° Secure hook in position using flat washer and hex nut.
° Repeat for other hook.
Figure 13
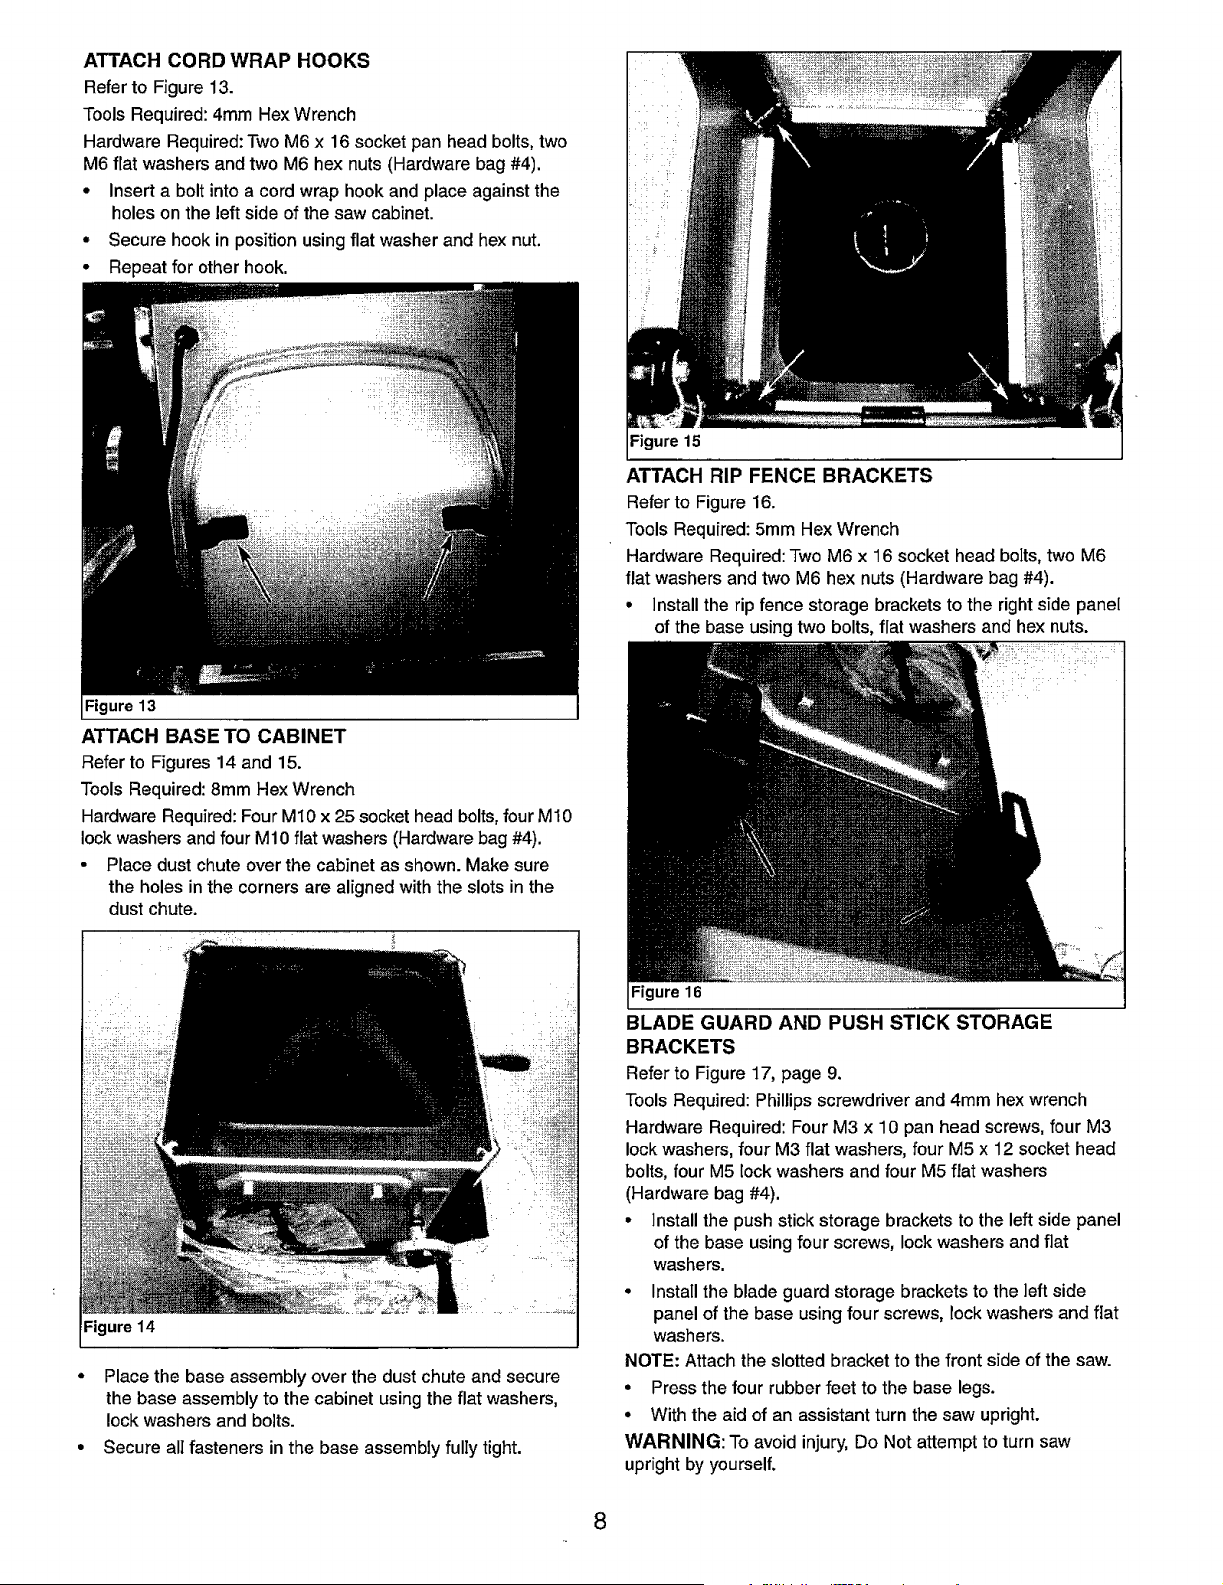
ATTACH BASE TO CABINET
Refer to Figures 14 and 15.
Tools Required: 8mm Hex Wrench
Hardware Required: Four Mt0 x 25 socket head bolts,four M10
lock washers and four M10 flat washers (Hardware bag #4).
• Place dust chute over the cabinet as shown. Make sure
the holes in the corners are aligned with the slots in the
dust chute.
Figure 14
• Place the base assembly over the dust chute and secure
the base assembly to the cabinet using the flat washers,
lock washers and bolts.
• Secure all fasteners in the base assembly fully tight.
Figure 15
ATTACH RIP FENCE BRACKETS
Refer to Figure 16.
Tools Required: 5mm Hex Wrench
Hardware Required: Two M6 x 16 socket head bolts, two M6
flat washers and two M6 hex nuts (Hardware bag #4).
° Install the rip fence storage brackets to the right side panel
of the base using two bolts, fiat washers and hex nuts.
Figure 16
BLADE GUARD AND PUSH STICK STORAGE
BRACKETS
Refer to Figure 17, page 9.
Tools Required: Phillips screwdriver and 4ram hex wrench
Hardware Required: Four M3 x 10 pan head screws, four M3
lock washers, four M3 flat washers, four M5 x 12 socket head
bolts, four M5 lock washers and four M5 fiat washers
(Hardware bag #4).
• Install the push stick storage brackets to the left side panel
of the base using four screws, lock washers and flat
washers.
• Install the blade guard storage brackets to the ]eft side
panel of the base using four screws, lock washers and flat
washers.
NOTE: Attach the slotted bracket to the front side of the saw.
• Press the four rubber feet to the base legs.
• With the aid of an assistant turn the saw upright.
WARNING: To avoid injury, Do Not attempt to turn saw
upright by yourself.
8
Loading ...
Loading ...
Loading ...