
Loading ...
Loading ...
Loading ...
4._Fusesmay"blow"or circuitbreakersmaytrip fre_
quentlyif:
aMotor Is Overloaded. Ovedoading can occur' if you
feed too rapidly or' make too many start/stops in a
short time.
b.Voltages not more than 10% above or below the
nameplate voltage can handle normal loads. For
heavy loads, however, the voltage at motor terminals
must equal the voltage specified on nameplate.
Overload Protection
Your saw features a reset overload relay button. If the
motor stops running or fails to start (due to feed pres-
sure too fast, dull blade or' low voltage), turn switch
"OFF", let the motor cool three to five minutes and
push the reset button, which resets the overload
device and allows you to turn the saw back on.
WARNING: The ON/OFF switch should be in the off
position, and the plug removed from the power
source while the cool down takes place to prevent
accidental starting when the reset button is
pushed. Overheating may be caused by misaligned
parts or dull blade, Inspect your saw for proper
setup before using it again.
Table of Contents
5, Most motor tmubtes may be traced to loose or incor-
rect connections, overload, low voltage (such as small
size wire in the supply circuit) or to overly long supply
circuit wire.. Always check the connections, the load
and the supply circuit whenever motor' doesn't work
well Check wire sizes and lengttl with the Wire Size
Chart.
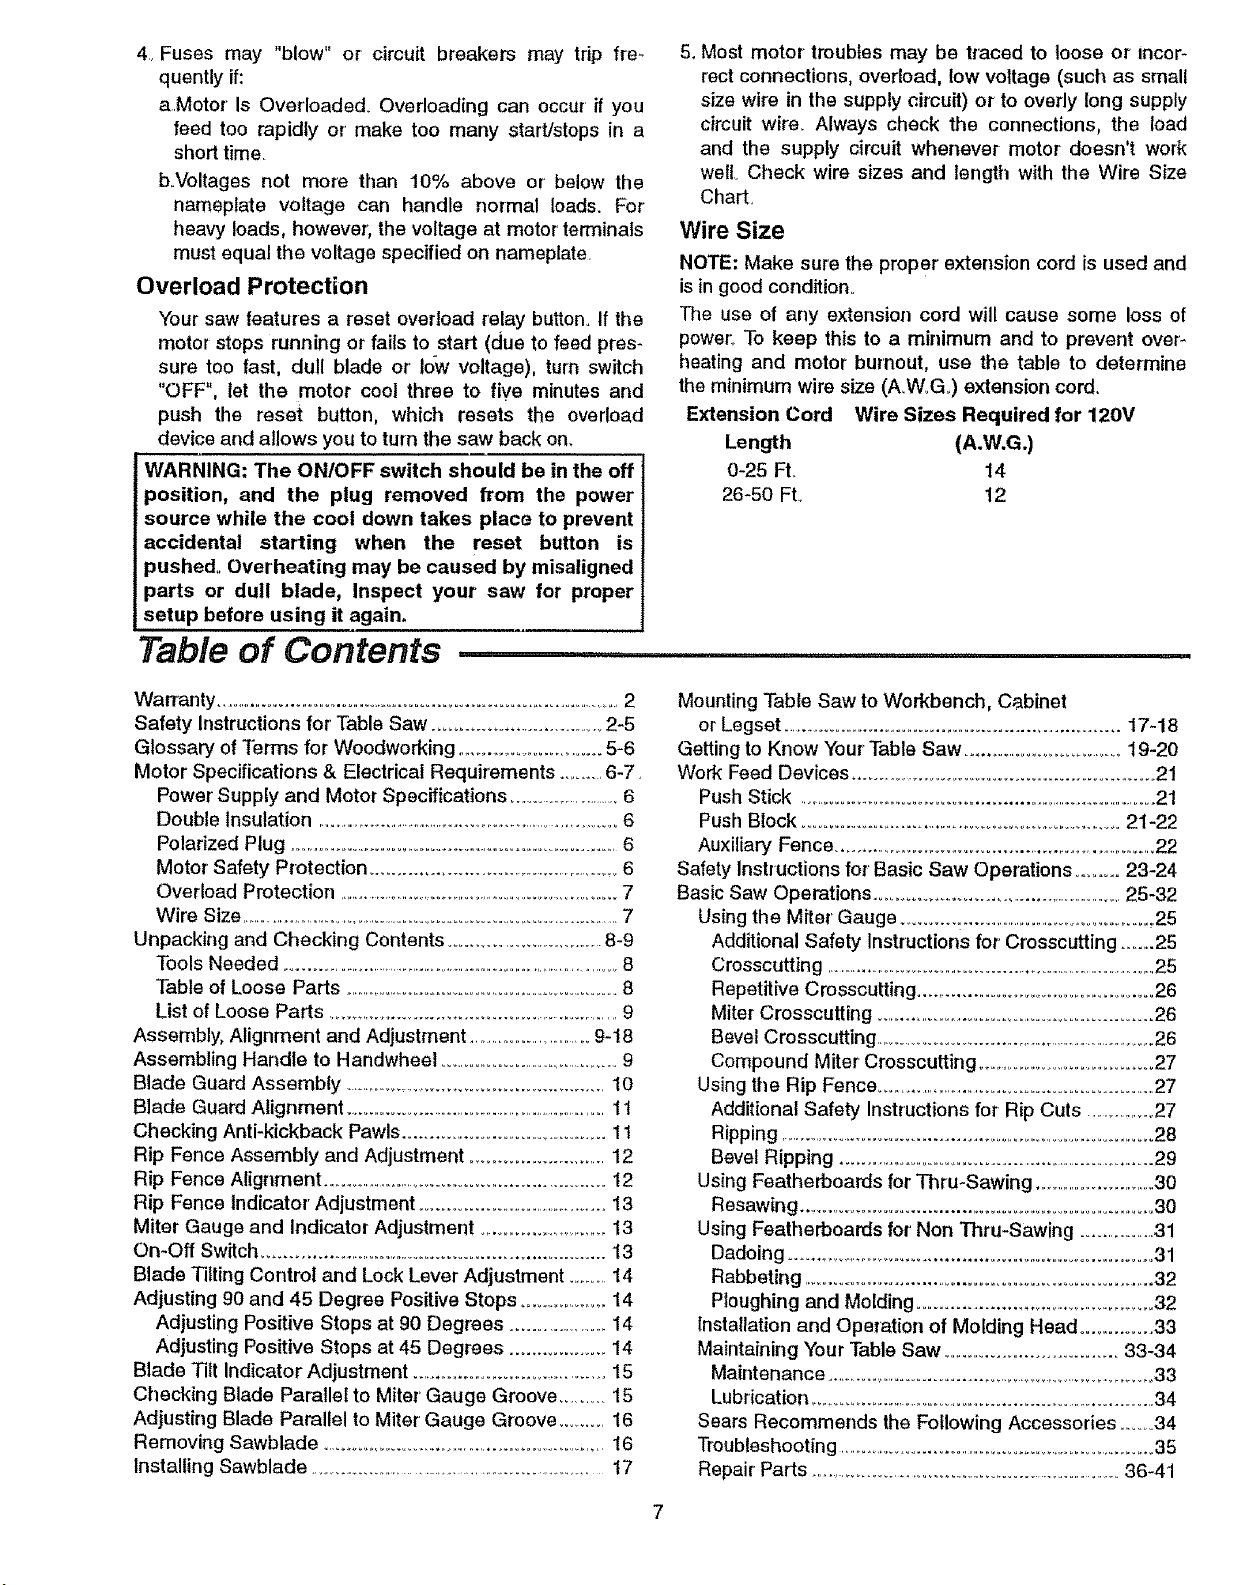
Wire Size
NOTE: Make sure the proper extension cord is used and
is in good condition°
The use of any extension cord will cause some loss of
power, To keep this to a minimum and to prevent over'-
heating and motor burnout, use the table to determine
the minimum wire size (A_W,G,.)extension cord.
Extension Cord Wire Sizes Required for 120V
Length (A.W.G.)
0-25 FL 14
26-50 FL 12
Warranty ..........................................................................................2
Safety Instructions for' Table Saw ....................................2-5
Glossary of Terms for Woodworking ...................................5-6
Motor Specifications & Electrical Requirements ............6-7.
Power Supply and Motor Specifications ..............................6
Double Insulation .................................................................................6
Polarized Plug .........................................................................6
Motor Safety Protection ....................................................6
Overload Protection .......................................................................7
Wire Size ...........................................................................................7
Unpacking and Checking Contents ...................................8-9
Tools Needed ..........................................................................................8
Table of Loose Parts ....................................................................8
List of Loose Parts .................................................................9
Assembly, Alignment and Adjustment ............................9-18
Assembling Handle to Handwheel ........................................9
Blade Guard Assembly ......................................................10
Blade Guard Alignment ................................................................1t
Checking Anti-kickback Pawls ..........................................11
Rip Fence Assembly and Adjustment ............................12
Rip Fence Alignment ...................................................................... 12
Rip Fence Indicator' Adjustment ..........................................13
Miter Gauge and Indicator Adjustment ...............................13
On-Off Switch ........................................................................13
Blade Tilting Control and Lock Lever Adjustment ...........14
Adjusting 90 and 45 Degree Positive Stops ......................14
Adjusting Positive Stops at 90 Degrees ................... 14
Adjusting Positive Stops at 45 Degrees ................... 14
Blade Tilt Indicator Adjustment ............................................15
Checking Blade Parallel to Miter' Gauge Groove ...........15
Adjusting Blade Parallel to Miter Gauge Groove ........ 16
Removing Sawbiade .............................................................16
Installing Sawblade .................................................................17
Mounting Table Saw to Workbench, Cabinet
or Legset ......................................................................17-18
Getting to Know Your Table Saw ......................................19-20
Work Feed Devices .............................................................21
Push Stick .......................................................................................21
Push Block .......................................................................21-22
Auxiliary Fence ..........................................................................22
Safety Instructions for Basic Saw Operations ........ 23-24
Basic Saw Operations .........................................................25-32
Using the Miter' Gauge .......... :.............................................25
Additional Safety Instructions for Crosscutting .........25
Crosscutting ....................................................................................25
Repetitive Crosscutting .................................................26
Miter Crosscutting ........................................................26
Bevel Crosscutting ..........................................................................26
Compound Miter Crosscutting ......................................27
Using tile Rip Fence ........................................................27
Additional Safety Instructions for Rip Cuts ..................27
Ripping ...............................................................................28
Bevel Ripping ......................................................................29
Using Featherboards for Thru-Sawing ......................................30
Resawing ............................................................................30
Using Featherboards for'Non Thru-Sawing ..................31
Dadoing ...........................................................................31
Rabbeting .................................................................... 32
Ploughing and Molding ....................................................32
Installation and Operation of Molding Head .............. 33
Maintaining Your Table Saw ............................... 33-34
Maintenance .......................................................................33
Lubrication .................................................................................... 34
Sears Recommends the Following Accessories ........34
Troubleshooting ......................................................................35
Repair Parts .....................................................................36-41
Loading ...
Loading ...
Loading ...