
Loading ...
Loading ...
Loading ...
Getting to Know Your Table Saw (continued) ...........
1. On-Off Switch.
I CAUTION: Before turning switch "oN;;; _
the blade guard is correctly installed and operating I
properly.
I
The On-Off Switch has a locking feature, This feature is
intended to help prevent unauthorized and possible haz-
ardous use by children and others,,
2. Overload Protection
Your saw features an overload relay reset button° tf the
motor stops running or fails to start (due to feed pressure
too fast, dutl blade or' low voltage), turn switch =OFF"..
Unplug the saw° Let the motor cool three to five minutes
and push the reset button, which resets the overloaded
device and allows you to turn the saw back on.
WARNING: The on/off switch should be in the off J
position, and the plug removed from the power I
source while the cool down takes place to prevent I
accidental starting when the reset button is pushed. J
3. Sawdust Ejection Port
Your table saw isequipped with a vacuum hookup°This fea-
ture will allow you to attach any standard 2-1/2 inch diame-
ter wet/dry vacuum hose into the hole provided for
convenient sawdust removal
WARNING: Sawdust can clog motor. Motor could]
ignite sawdust. Even if saw is connected to vac-
uum, blow out sawdust regularly.
4. Table
Provides large working surface to support workpiece_
5. Base
Supports table For additional stability, holes are provided
in base to bolt the saw to a workbench or stand_
\
6. Blade Tilt Lock Lever
Clamps the tilt mechanism after the blade is adjusted to
desired position. Use handwheel as a lever to tilt blade.
7. Handwheel
Elevates or'lowers the blade. Also used as a lever' to tilt
the blade from 0 to 45 degrees_
8. Blade Tilt Scale
Shows the degree the blade istilted.
9. Wrench Storage
Conveniently stores shaft and arbor nut wrerlches.
10. Rip Fence
Exclusive self-aligning, quick-set rip fence can be easily
moved or locked in place by simply raising or lowering
lock handle. Holes are provided in the rip fence for
attaching a woad facing..
Select a piece of smooth straight wood approximately 3/4
inch thick, at least as along as the rip fence, and at least
7-1/2" wide (high) to permit clamping of featherboards
Attach it to the fence with two round head #10 wood
screws 1-5/8" long.
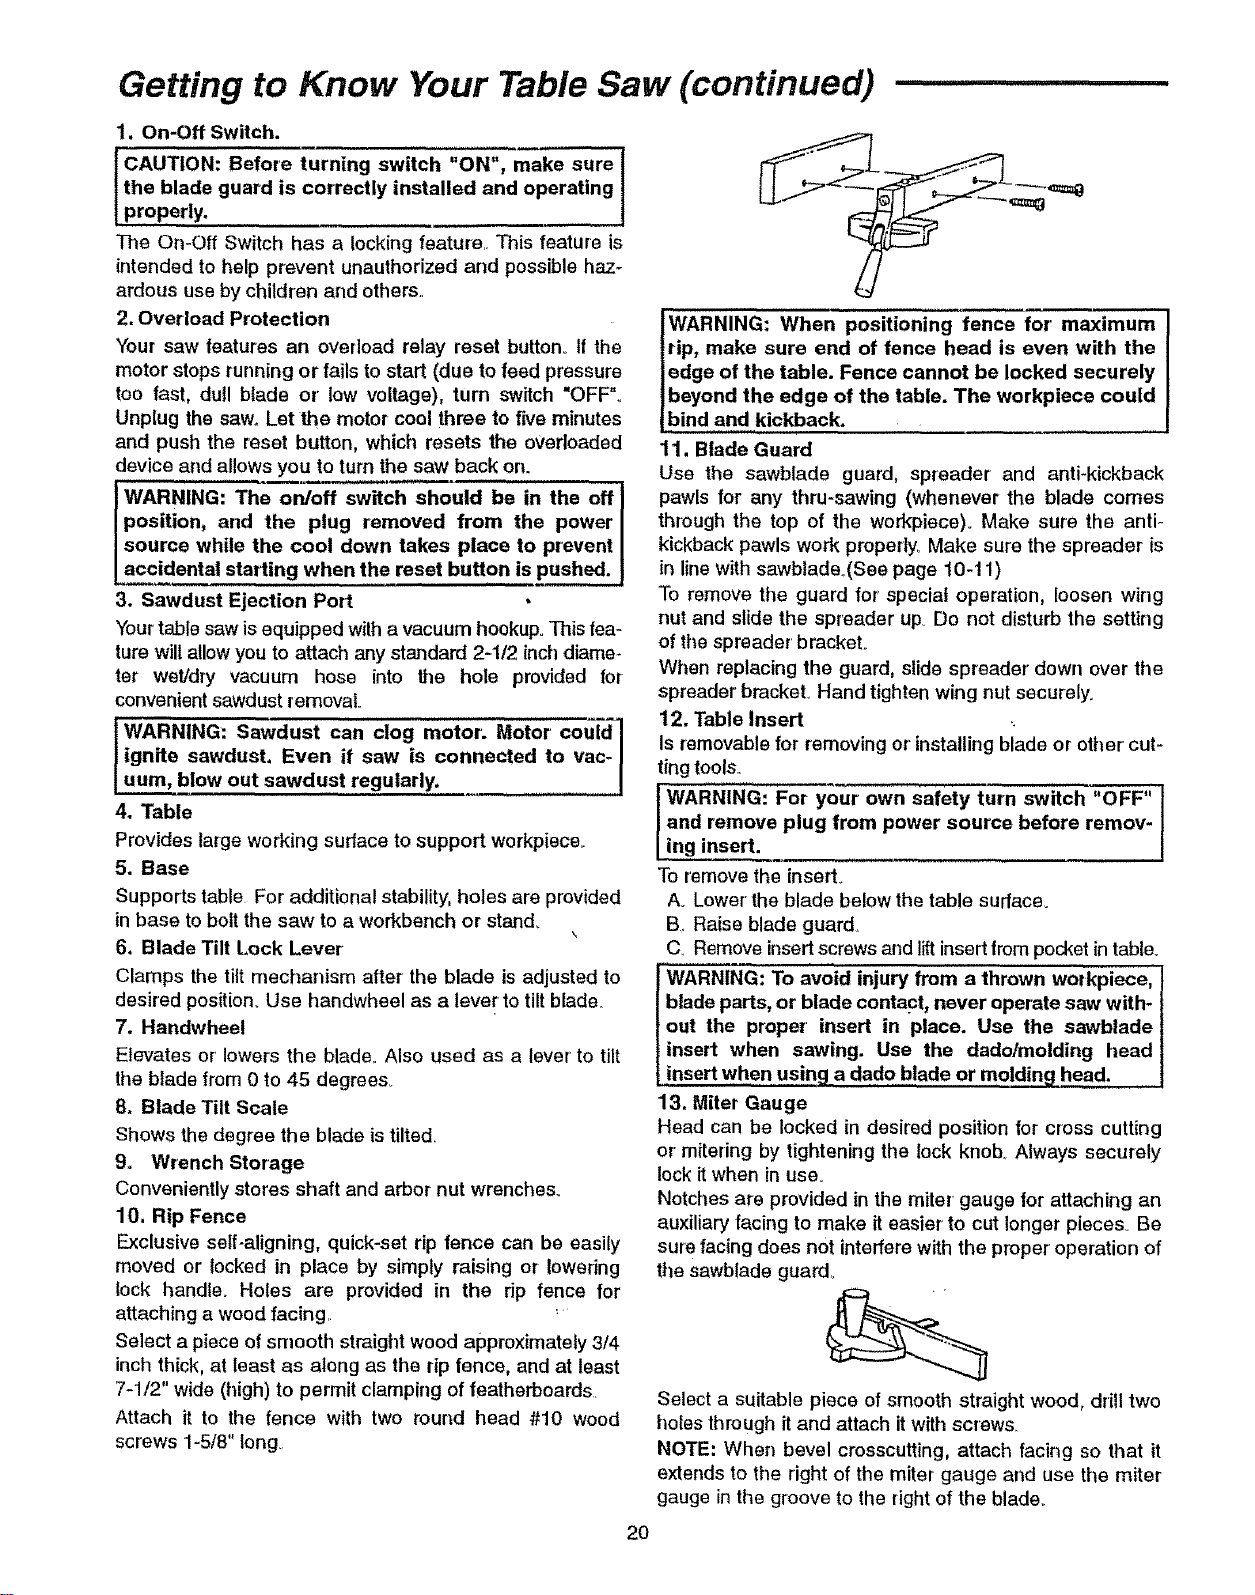
JWARNING: When positioning for'
fence maximum
rip, make sure end of fence head is even with the
edge of the table. Fence cannot be locked securely
beyond the edge of the table. The workpiece could
bind and kickback.
11. Blade Guard
Use the sawblade guard, spreader and anti-kickback
pawls for any thru-sawing (whenever the blade comes
through the top of the workplace). Make sure the anti-
kickback pawls work properly, Make sure the spreader is
in linewith sawblade_(See page 10-11)
To remove the guard for special operation, loosen wing
nut and slide the spreader up, Do not disturb the setting
of the spreader' bracket°
When replacing the guard, slide spreader down over the
spreader bmcketo Hand tighten wing nut securely.
12, Table Insert
Is removable for removing or installing blade or other cut-
ting tools
JWARNING: For your 0wn safety turn switch "OFF" !
and remove plug from power source before remov-
ing insert.
To remove the insert.
Ao Lowerthe blade below the table surface_
B Raise blade guard
C Removeinsertscrews and liftinsertfrompocketin table.
t WARNING: To avoid injury from a thrown workpiece,
blade parts, or blade contact, never operate saw with-
out the proper insert in place. Use the sawblade
insert when sawing. Use the dado/moiding head
insert when using a dado blade or moldin£1 head.
13. Miter Gauge
Head can be locked in desired position for cross cutting
or mitering by tightening the lock knob, Always securely
lock itwhen in use°
Notches are provided in the miter gauge for attaching an
auxiliary facing to make it easier to cut longer pieces° Be
sure facing does not interfere with the proper operation of
ttle sawblade guard,
Select a suitable piece of smooth straight wood, drill two
holes through it and attach itwith screws_
NOTE: When bevel crosscutting, attach facing so that it
extends to the right of the miter gauge and use the miter
gauge in the groove to the rightof the blade
20
Loading ...
Loading ...
Loading ...