Loading ...
Loading ...
Loading ...
Use & Installation Manual
10
General Oven Information
Before using your oven for the first time remove
all packing and foreign materials from the
oven(s). Any material of this sort left inside may
melt or burn when the appliance is used.
Flashing Symbols or Numbers
Signals an incomplete action that is in progress
(locking the door, preheat, etc.) or an incomplete
setting that calls for another input.
Beeps
Signals that more information must be entered
or confirms the receipt of an entry. Beeps also
signal the end of a function or an oven fault.
Locking the door
It’s displayed steadily when the door is locked.
The symbol flashes when the latch is moving in
order to lock or unlock the door. Do not attempt
to open the door at this time. Door can be
opened when the symbol no longer appears.
“AUTO LOCK” appears when the door has been
locked automatically due to self-clean mode.
“USER LOCK” is displayed when the door has
been locked manually by the user, for example
to prevent children from having free access to
the oven cavity. Hold both the [INC] and [DEC]
keys for 3 seconds. The latch will lock the door.
Repeat the same operation to unlock.
Locking the keyboard
Hold both the keys indicated by “KEYBD. LOCK”
legend for 3 seconds. Commands are now
locked and “SENS LOCK” will be displayed
every time you touch any keys. Repeat the same
operation for 3 seconds to unlock the keyboard.
Power Failure
After the power returns to the oven, the clock
displays the time 12.00
AM
.
Default Settings
The cooking modes automatically select a
suitable temperature when the selector is in the
preset position. These can be changed when a
different one is needed. It’s also possible to set a
user option in order to save the last used
temperature per every cooking mode.
F Failure Number Codes
These codes are displayed when the electronic
control detects a problem in the oven or in the
electronics.
Convection Fan
The convection fan operates during any
convection mode. When the oven is operating in
the convection mode, the fan will turn off
automatically when the door is opened. The
convection fan always runs during the preheat
time.
Component Cooling Fan
Activates during any cooking or self-cleaning
mode to cool inner components and outer door
surfaces. This air is exhausted through the vent
located above the oven door. It continues to run
until components have cooled sufficiently. The
cooling fan speed is high in self-clean and
whenever the internal components temperature
becomes high.
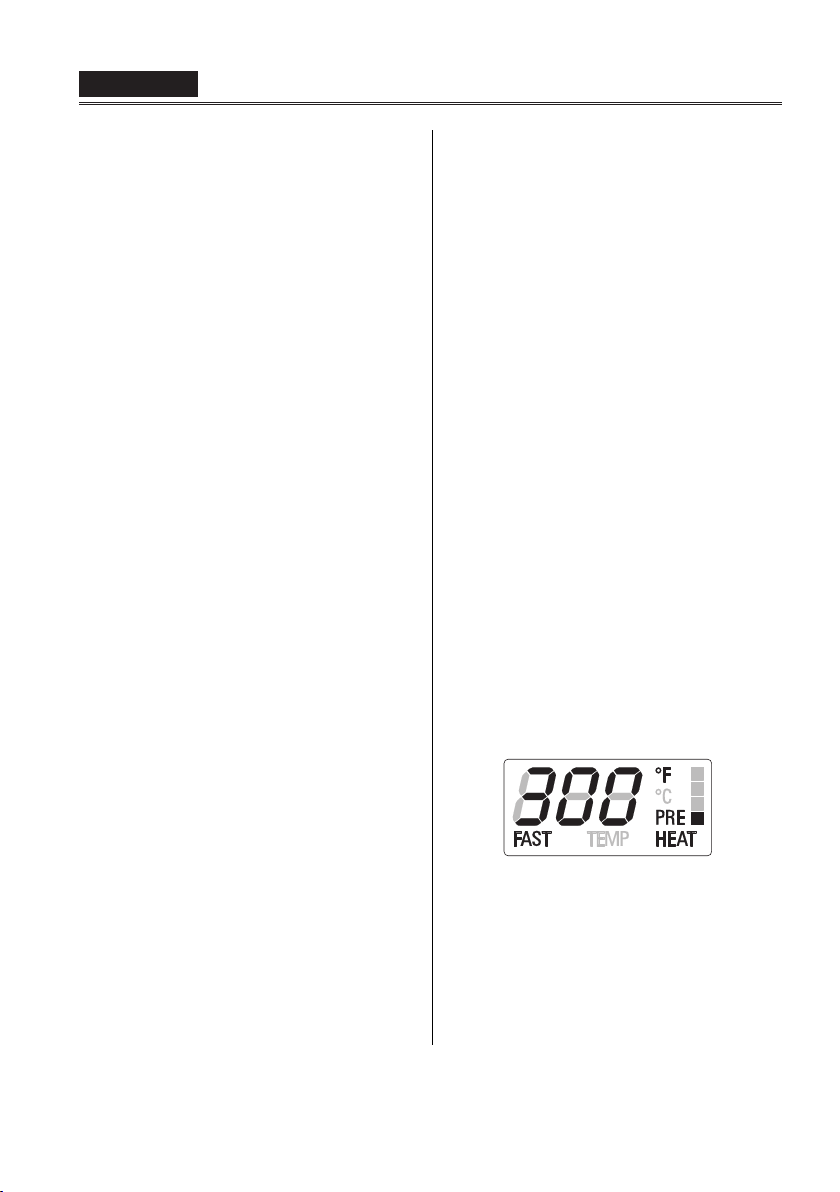
Preheat and Boost
Whenever a cooking mode is set and the oven is
heating, the “PREHEAT” writing appears in the
temperature display: the vertical bar indicates, in
four steps, when the oven reaches the 25%,
50%, 75%, 100% of the set-point temperature.
As soon as the 100% is reached, the control
sounds an “end of preheat” tone and the
“PREHEAT” writing disappears.
When it’s necessary to heat up the oven rapidly,
a Boost mode is available: it uses the
heating elements and the convection fan in a
special way, in order to reduce the heating time
as long as possible.
After having set one of the cooking functions for
which the fast preheat is available, touch the
[BOOST] key, the “FAST”
writing is shown in
addition to the “PREHEAT” one.
As soon as the set-point temperature is reached,
the control sounds an “end of preheat” tone and
both “FAST” and “PREHEAT” writings
disappear. The oven switches automatically to
the desired cooking mode that was previously
set: put the food inside now.
Use & Installation Manual
11
General Oven Tips
Preheating the Oven
• Preheat the oven when using the Bake,
Convection Bake and Convection Roast
modes.
• Use BOOST mode when a short time is
necessary to preheat the oven.
• Selecting a higher temperature does not
shorten the preheat time.
• Preheating is necessary for good results
when baking cakes, cookies, pastry and
breads.
• Preheating will help to sear roasts and seal in
meat juices.
• Place oven racks in their proper position
before preheating.
• During preheating, the selected cooking
temperature is always displayed.
• A beep will confirm that the oven is preheated
and the “PREHEAT” writing will turn off.
Operational Suggestions
• Use the cooking charts as a guide.
• Do not set pans on the open oven door.
• Use the interior oven lights to view the food
through the oven door window rather than
opening the door frequently.
Utensils
• Glass baking dishes absorb heat. Reduce
oven temperature 25 °F (15 °C) when baking
in glass.
• Use pans that give the desired browning. The
type of finish on the pan will help determine
the amount of browning that will occur.
• Shiny, smooth metal or light non-stick /
anodized pans reflect heat, resulting in
lighter, more delicate browning. Cakes and
cookies require this type of utensil.
• Dark, rough or dull pans will absorb heat
resulting in a browner, crisper crust. Use this
type for pies.
• For brown, crisp crusts, use dark non-stick /
anodized or dark, dull metal utensils or glass
bake ware. Insulated baking pans may
increase the length of cooking time.
• Do not cook with the empty broiler pan in the
oven, as this could change cooking
performance. Store the broil pan outside of
the oven.
Oven Condensation and Temperature
• It is normal for a certain amount of moisture
to evaporate from the food during any
cooking process. The amount depends on
the moisture content of the food. The
moisture may condense on any surface
cooler than the inside of the oven, such as
the control panel.
• Your new oven has an electronic
temperature sensor that allows maintaining
the selected temperature accurately. Your
previous oven may have had a mechanical
thermostat that drifted gradually over time to
a higher temperature. It is normal that you
may need to adjust your favorite recipes
when cooking in a new oven.
High Altitude Baking
• When cooking at high altitude, recipes and
cooking time will vary from the standard.
Oven Racks
• The oven has rack guides at six levels as
shown in the illustration on Page 6.
• Rack positions are numbered from the bottom
rack guide (#1) to the top (#6).·
• Check cooking charts for best rack positions
to use when cooking.
• Each level guide consists of paired supports
formed in the walls on each side of the oven
cavity.
• Always be sure to position the oven racks
before turning on the oven. Make sure that
the racks are level once they are in position.
Please refer to illustration on Page 6 if there is
any question as to which side is the front of the
rack.
• The racks are designed to stop when pulled
forward to their limit.
CAUTION
Never use aluminum foil to cover the oven
racks or to line the oven. It can cause damage
to the oven liner if heat is trapped under the
foil.
Make sure you do not force it to avoid
damage to the enamel.
Use & Installation Manual
10
ENGLISH
11
Loading ...
Loading ...
Loading ...