Loading ...
Loading ...
Loading ...
72
Useful adjustment settings
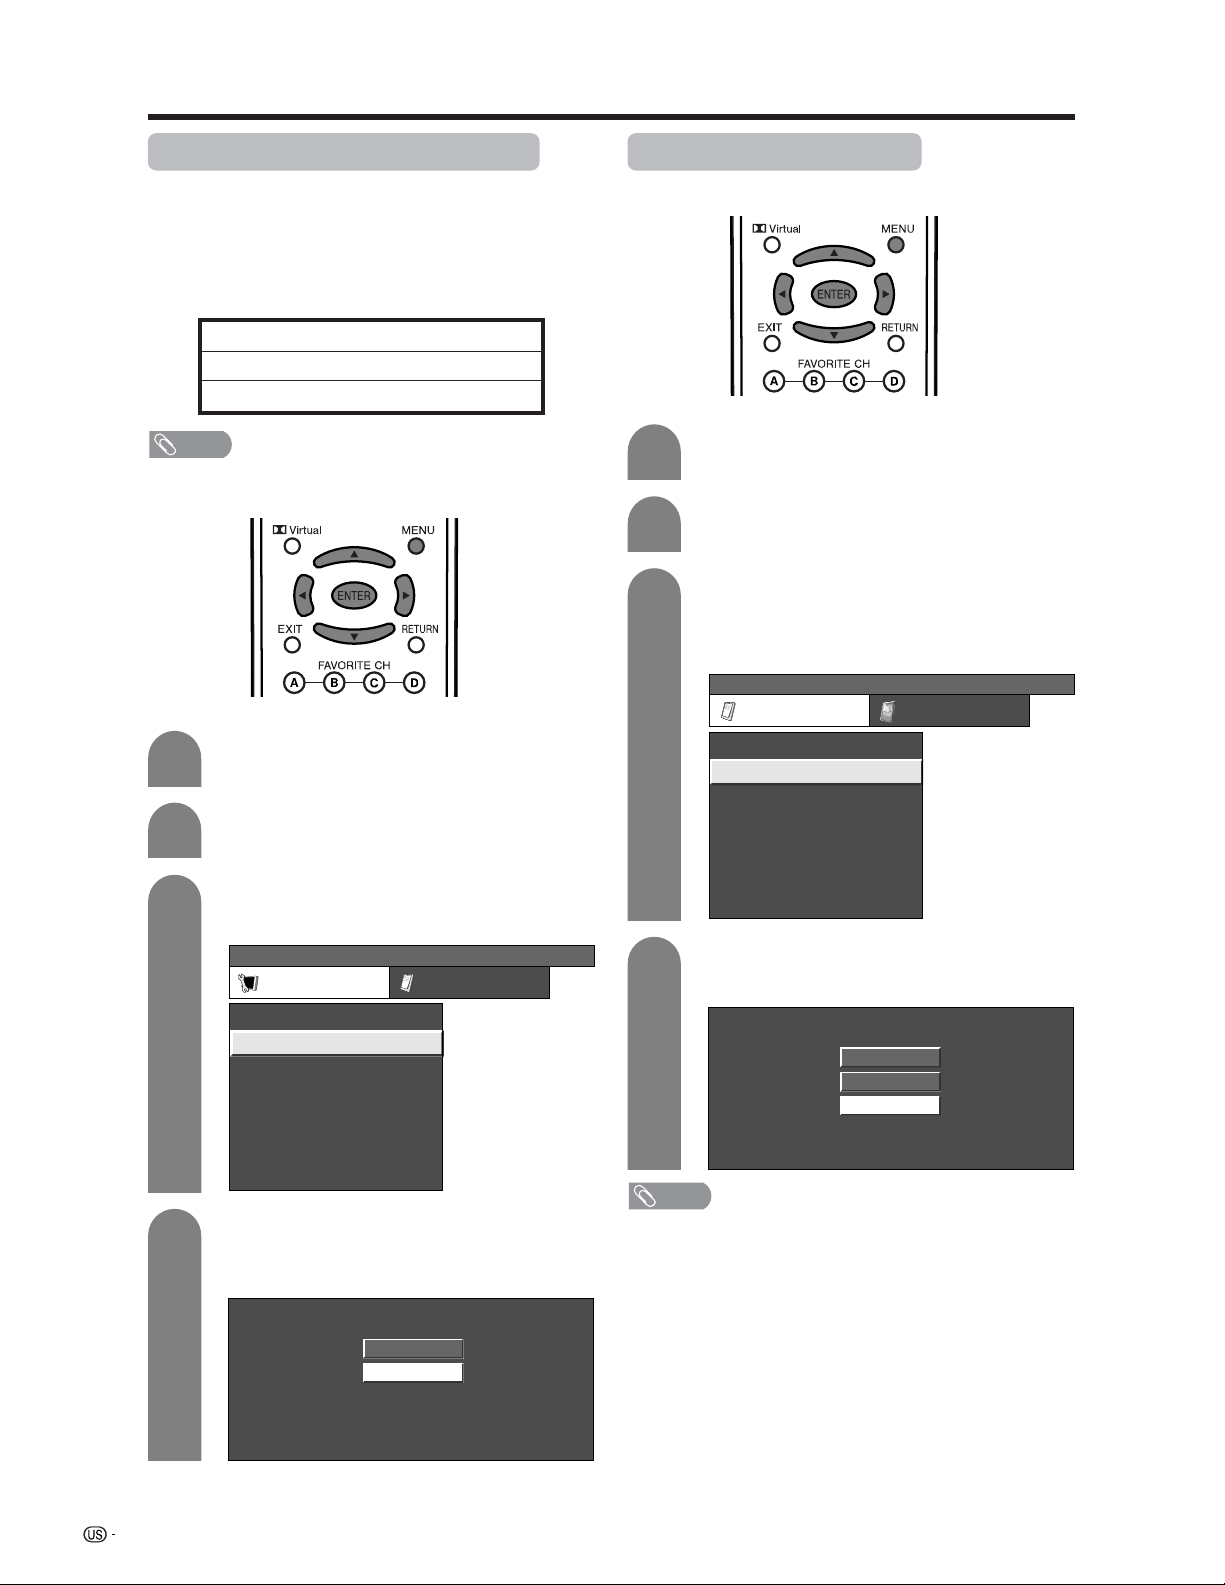
Press MENU and the MENU screen displays.
1
2
Press a/b to select “Input Signal” and then
press ENTER.
3
Press c/d to select “Setup”.
MENU
[
Setup
...
Input Signal
]
Setup Option
Fine Sync.
Speaker
Auto Sync.
Input Label
[English]
[Standard]
Input Signal
Language
Picture Flip
Press a/b to select the desired input signal
on the display.
4
640 x 480
848 x 480
Example
Input signal (for PC input mode)
• Some input signals may have to be registered manually
to display properly.
• The pairs of input signals (resolutions) in the list below
are not distinguishable when received. In such case, you
have to set the correct signal manually. After setting once,
it will display when the same signal (resolution) is input
again.
NOTE
• You can only select the “Input Signal” on the Setup menu
when receiving one of the 6 input signals listed above.
Digital Noise Reduction
Produces a clearer video image.
1
2
3
MENU
[
Option
...
Digital Noise Reduction
]
Option
Input Select
Digital Noise Reduction
Output Select
Center Channel Input
Caption Setup
Audio Only
Quick Shoot
[Fixed]
[Off]
[Auto]
[Low]
[Off]
Card Setup
Press MENU and the MENU screen displays.
Press c/d to select “Option”.
Press a/b to select “Digital Noise
Reduction”, and then press ENTER.
• Some items may be grayed out. They are not
selectable.
Press a/b to select the desired level, and
then press ENTER.
4
Off
High
Low
720g400
848g480
1280g768
640g400
640g480
1024g768
NOTE
• “Digital Noise Reduction” is not selectable when channel
display shows an input resolution of 720P or 1080I.
Loading ...
Loading ...
Loading ...