Loading ...
Loading ...
Loading ...
Operation - Oven
English 20
10. At the end of the programmed cooking time, the oven will automatically turn
off. Display will show TIME COOK END and reminder beeps will sound. Press
OFF to clear.
Note: Remove food from oven immediately after cycle has finished to prevent
overcooking. Food left in the oven will cook even after the cycle is complete.
To Check the Cooking Time and Stop Time After a Delay Has Been Set
1. Press Time.
2. Turn knob to BAKE END or BAKE TIME.
3. Press Time.
Getting the Most Out of Your Oven
Oven Cooking Guide
Rack Position
Multiple Rack Cooking When using multiple racks, follow the placement recommendations below.
• Two rack: Use rack positions 2 and 5.
• Three rack: (for convection bake): Use positions 1, 3 and 6. The rack in posi-
tion 3 can be extension rack if desired.
Pan Placement Baking results are better if pans are placed in the center of the oven. If baking
more than one pan on a rack, allow at least 1" to 1 ½” of air space around the pan.
When baking four cake layers at the same time, stagger pans on two racks so that
one pan is not directly above the other. To allow for best baking results stagger
pans as shown in the graphic below.
Baking Pans Here are some tips for cooking with baking pans:
• Glass baking dishes absorb heat, therefore reduce oven temperature 25°F
when baking in glass.
• Shiny, smooth metal reflects heat resulting in lighter, more delicate browning.
• Dark, rough or dull pans will absorb heat resulting in browner, crisper crust.
Some manufacturers recommend reducing temperature 25° F when using
• RACK 6 (highest position) – melting cheese, broiling thin foods
• RACK 5 – broiling most meats, toasting bread
• RACK 4 – broiling thicker meats
• RACK 3 – most baked goods when baking on one rack, such as on cookie
sheet or baking pan, cakes, frozen foods, biscuits, brownies, muffins
• RACK 2 – Used for pies, casseroles, breads, bundt or pound cakes, small
roasts or poultry.
• RACK 1 (lowest position) – Use for angel food cake, large roasts, turkey.
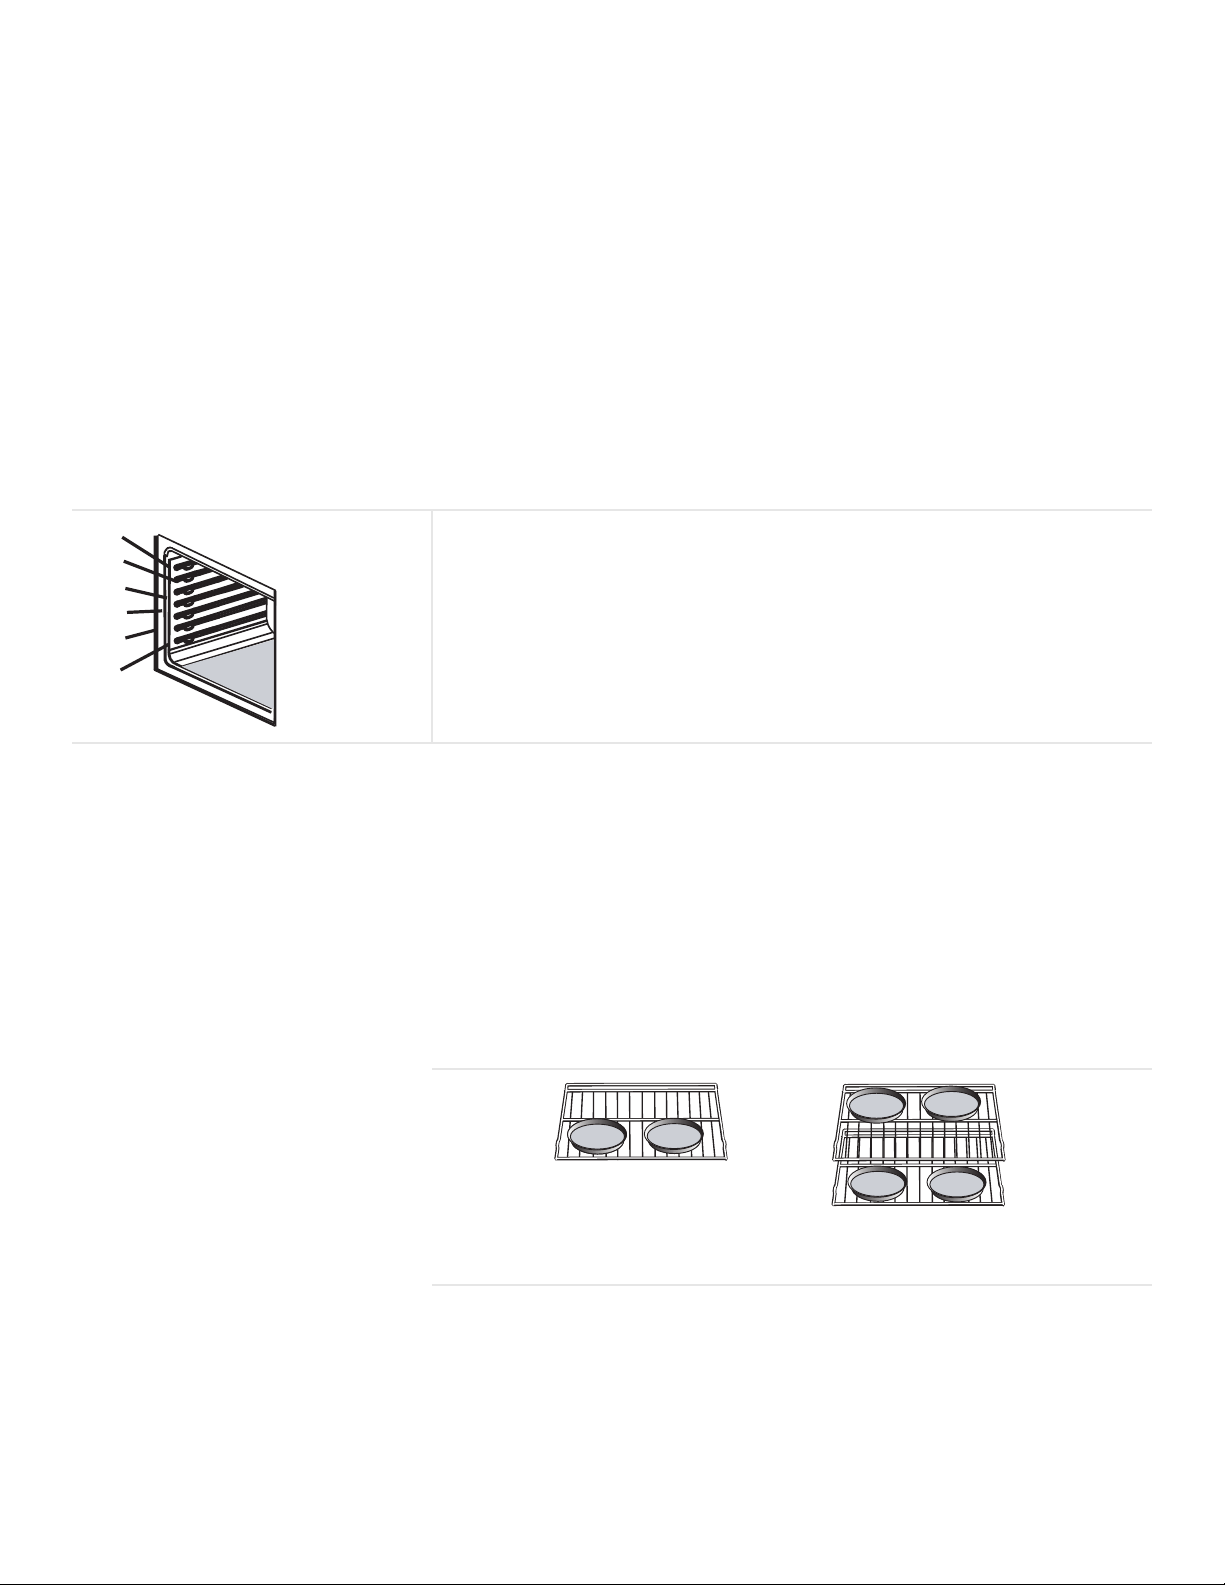
Figure 11: Rack Positions
6
5
4
3
2
1
Figure 12: Pan Placement
Pan placement on
one rack
Pan placement on
two racks
Loading ...
Loading ...
Loading ...