Loading ...
Loading ...
Loading ...
03
20
En
Chapter 3
Getting Started
Making settings using
the Setup Navigator
menu
Be sure to perform these settings when using the player
in the following situations.
• When you use the player for the first time.
•After Initial Setup format.
Caution
• Before turning on the power, check that the
connections between the player and other devices are
correct. Also, turn on the power of the devices
connected to the player before turning on the player’s
power.
• When using a Pioneer TV or front projector
compatible with the Control function, set Control to
On on the connected device before turning on the
player’s power.
1 Turn on the TV’s power and switch the input.
See the TV’s operating instructions for the details of
operating the TV.
2 Turn on the player’s power.
Press STANDBY/ON.
Check that the Setup Navigator menu is displayed.
If the Setup Navigator menu is not
displayed
Press HOME MENU to display the Home
Menu, select Initial Setup Setup Navigator
Start, then press ENTER.
3 Start Setup Navigator.
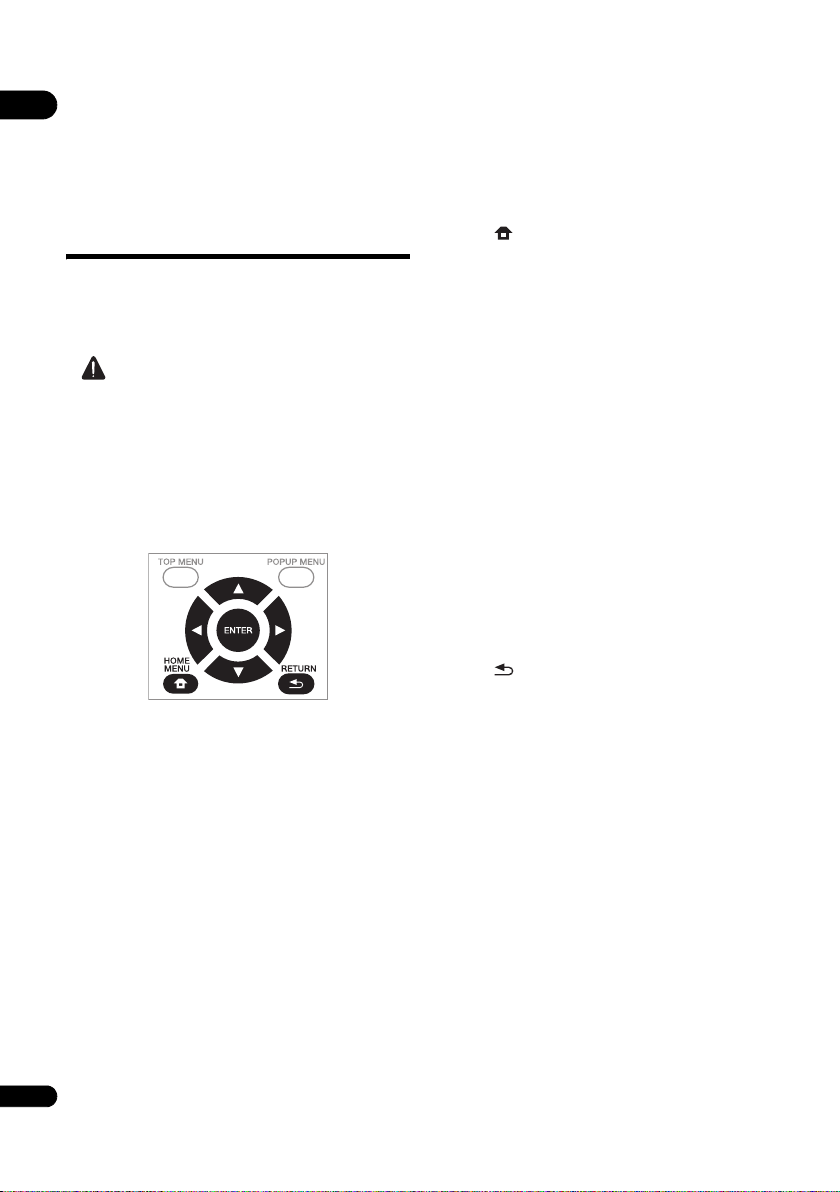
Press ENTER.
• Setup Navigator starts.
4 Select the OSD language.
Use / to select, then press ENTER.
When a Pioneer TV that is compatible with Control
function is connected to this player’s HDMI OUT
terminal, language settings are imported from the
Pioneer TV’s language settings before Setup Navigator
begins.
5 Select the appropriate output resolution for the
connected TV.
Use / to select, then press ENTER.
6 Select the appropriate aspect for the connected
TV.
Use / to select, then press ENTER.
7 Close the Setup Navigator menu.
Press ENTER.
• Setup Navigator finishes and the setting is stored.
• Press RETURN to go back to the previous
screen.
BDP-180_72-BDP180-GBRB1_En.book Page 20 Friday, April 17, 2015 3:15 PM
Loading ...
Loading ...
Loading ...