Loading ...
Loading ...
Loading ...
Connecting to a Printer
External Connections
93
IMPORTANT
If continues to flash (for more than 1
minute) or if does not appear, the camcorder
is not correctly connected to the printer. In such
case, disconnect the USB cable and turn off the
camcorder and the printer. After a short while,
turn them on again, set the camcorder to
mode and restore the connection.
During the following operations, even if you
connect a printer to the camcorder it will not be
recognized.
- Deleting all scenes
- Protecting the disc
- Setting the disc title
- Initializing the disc
- Finalizing or Unfinalizing the disc
- Erasing all still images from the disc or card
- Copying still images between the disc and
card
- Erasing all transfer orders
- Erasing all print orders
Correct performance cannot be guaranteed
when printing images from a disc recorded on
another digital device and inserted in this
camcorder.
NOTES
will appear for images that cannot be
printed.
We recommend powering the camcorder
using the compact power adapter.
Refer also to the printer’s instruction manual.
Printing with the (Print/
Share) Button
You can print a still image without
changing the settings simply by pressing
.
1 Select ( ) the still image you
wish to print.
2 Press .
• Printing starts. The button
flashes and stays on when the printing
is completed.
• To continue printing, select ( )
another still image.
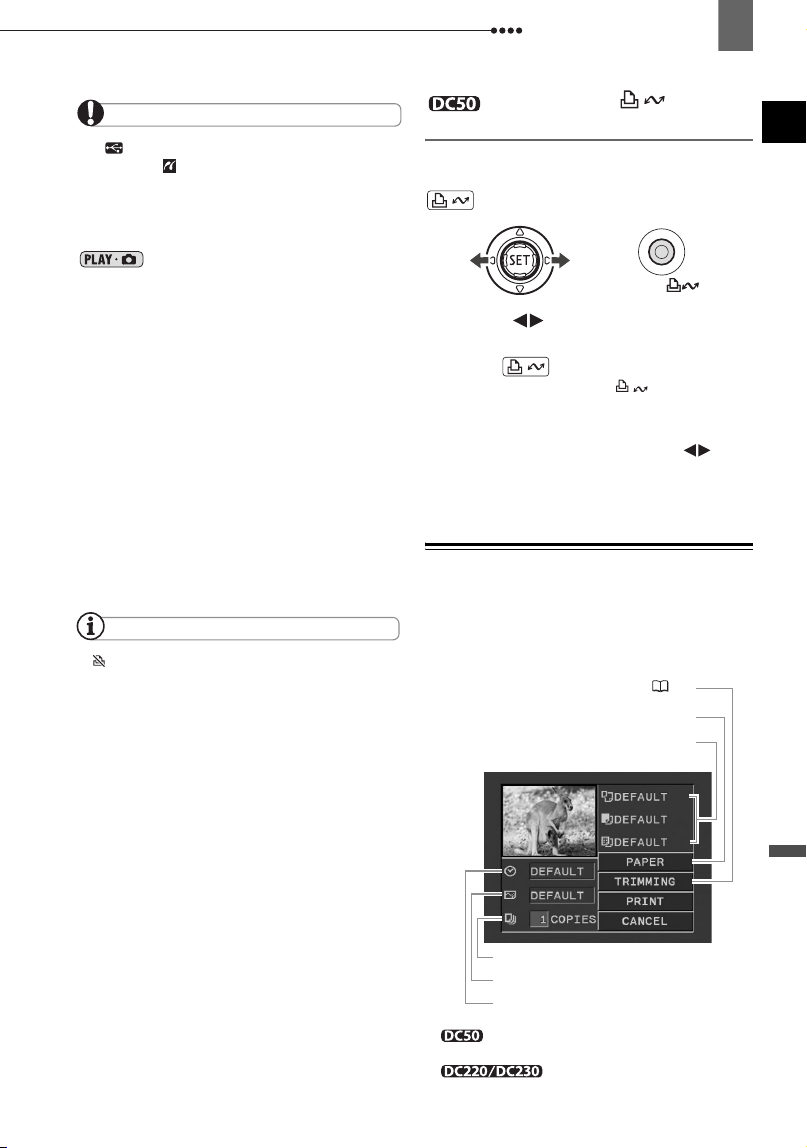
Selecting the Print Settings
You can select the number of copies and
other settings for printing. The setting
options vary depending on your printer
model.
* only. This button does not appear on
the print settings screen of the
.
Current paper settings (paper size,
paper type and page layout)
Trimming settings* ( 96)
Date printing
Print effect
Number of copies
Paper settings
D119_NTSC-E.book Page 93 Monday, December 18, 2006 10:14 AM
Loading ...
Loading ...
Loading ...