Loading ...
Loading ...
Loading ...
74
Item Description
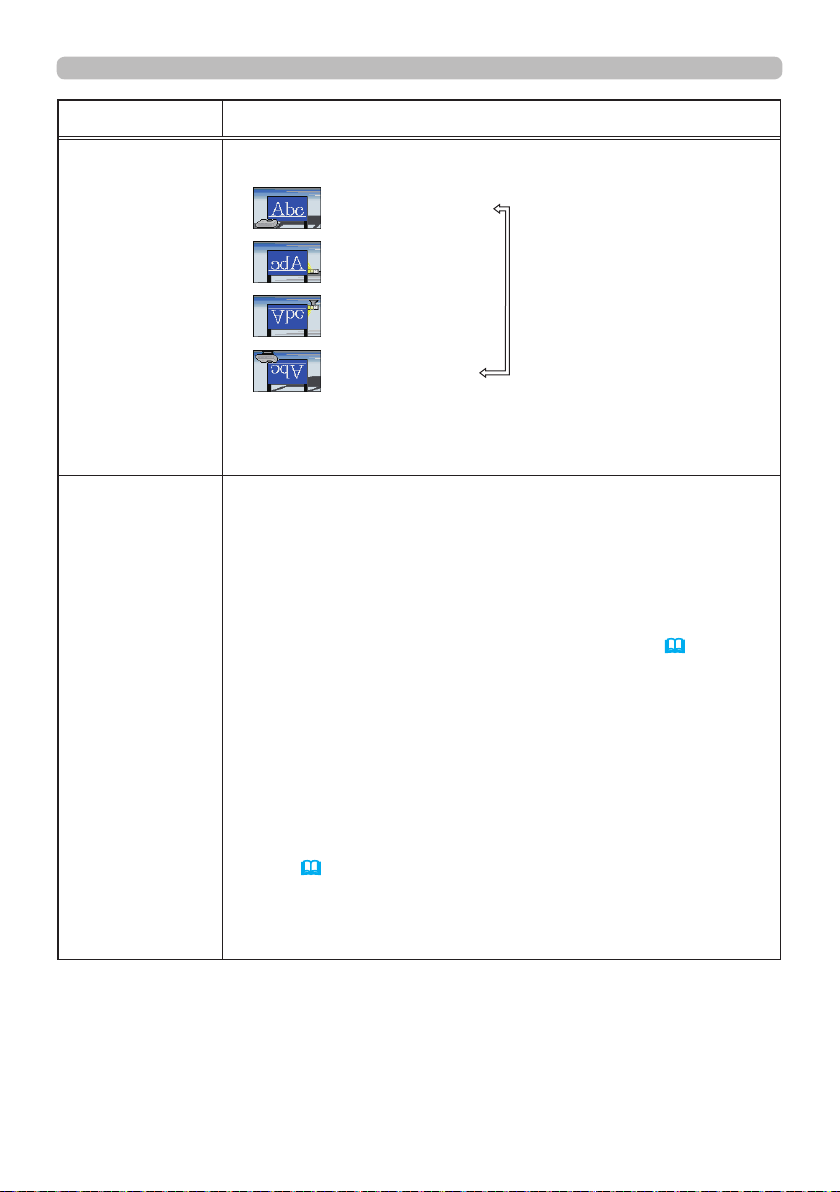
INSTALLATION
Pressing the ►button displays the dialog for changing the
INSTALLATION setting.
FRONT / DESKTOP
REAR / DESKTOP
REAR / CEILING
FRONT / CEILING
Use the ▲/▼ buttons to select the required setting on the
INSTALLATION dialog, and press the
ENTER
button of the remote
control or the
INPUT
button of the projector to execute.
STANDBY MODE
Using ▲/▼ buttons switches the standby mode setting between
NORMAL and SAVING.
NORMAL
SAVING
• When SAVING is selected, the RS-232C communication control
except to turn the projector on and the network function are disabled
while the projector is in the standby mode. If the COMMUNICATION
TYPE in the COMMUNICATION menu is set to NETWORK
BRIDGE, all of the RS-232C commands are disabled (
91
).
• When SAVING is selected, STANDBY setting of MONITOR OUT
is invalid, and no signal is output from
MONITOR OUT
port in the
standby mode.
• When SAVING is selected, the CENTERING feature while the
projector is in the standby mode is disabled.
•
When
SAVING
is selected, the Status Monitor and its button
operation are unavailable while the projector is in the standby mode.
•
When
SAVING
is selected, the HDMI Link and HDBaseT™
functions are disabled while the projector is in the standby mode.
•
This function is available only when OFF is selected for STACK
MODE. (
OPTION menu > SERVICE > COMMUNICATION >
STACK)
.
• When SAVING is selected, SCHEDULE function (Ex. POWER-
ON) at STANDBY MODE will not be operated.
SETUP menu
(continued on next page)
Loading ...
Loading ...
Loading ...