Loading ...
Loading ...
Loading ...
70
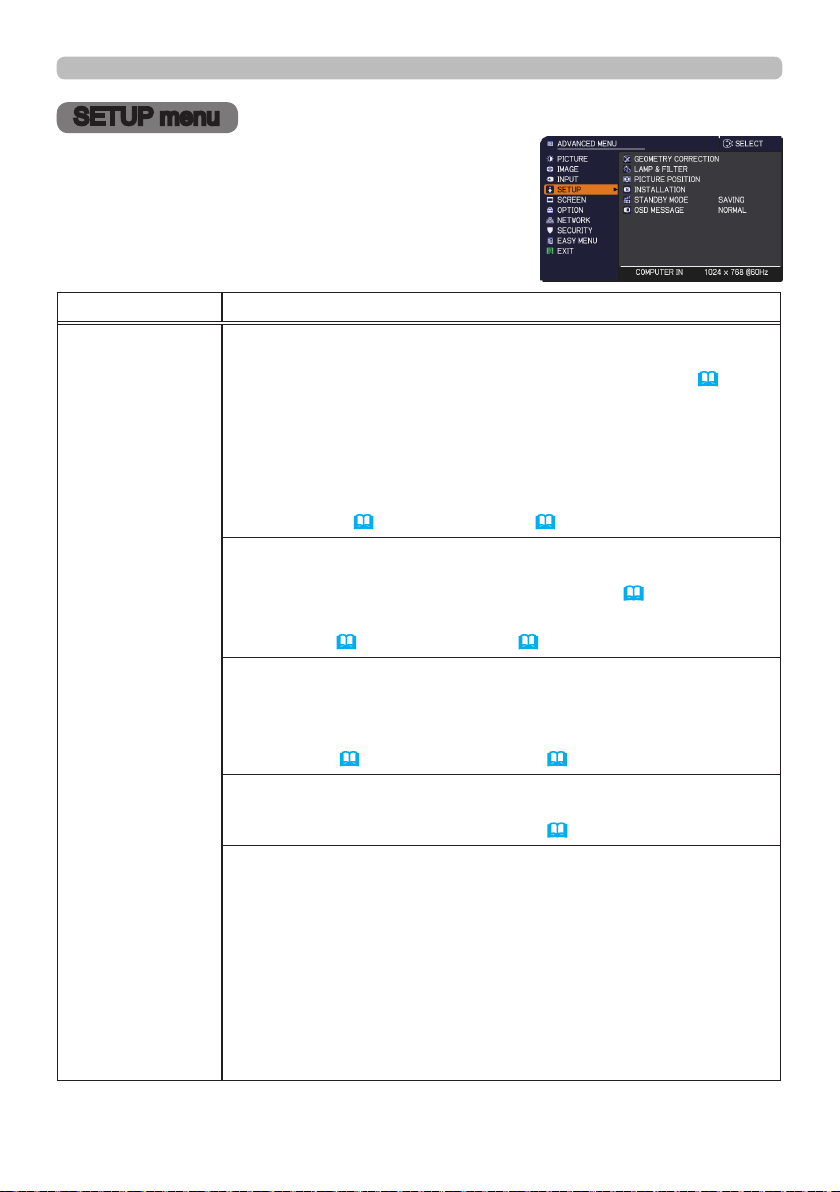
SETUP menu
Select an item from the Setup menu using the ▲/▼
cursor buttons, and press the ► cursor button or
ENTER button to execute the item. Then perform it
according to the following table.
SETUP menu
Item Description
GEOMETRY
CORRECTION
KEYSTONE
Selecting this item displays the KEYSTONE dialog.
For details, see KEYSTONE in
Correcting the distortion
(
38
).
• When the zoom adjustment is set to the TELE (telephoto focus),
this function may be excessive. This function should be used when
the zoom adjustment is set to the full WIDE (wide-angle focus).
• When the horizontal lens shift is not set to the center, this function
may not work correctly.
•
This function is unavailable when the screen is activated by
PERFECT FIT (
39
), and WARPING (
40
)
.
PERFECT FIT
Selecting this item displays the
PERFECT FIT
dialog. For details,
see
PERFECT FIT
in
Correcting the distortion
(
38
).
•
This function is unavailable when the screen is activated by
KEYSTONE (
38
), and WARPING (
40
)
.
WARPING
Selecting this item displays the WARPING dialog. For details, see
Application Manual of this feature.
• This function is unavailable when the screen is activated by
KEYSTONE
(
38
)
and
PERFECT FIT
(
39
)
.
EDGE BLENDING
Selecting this item displays the EDGE BLENDING dialog. For
details, see EDGE BLENDING feature (
41
~
44
).
TEST PATTERN
Select PATTERN with ▲/▼ buttons.
Displayed pattern [Off/1/2/3/4/5/6] can be switched with ◄/► but-
tons.
PATTERN 1: Frame
PATTERN 2: Red Grid
PATTERN 3: Green Grid
PATTERN 4: Blue Grid
PATTERN 5: Vertical 9 steps
PATTERN 6: Horizontal 9 steps
OFF: Displays the input signal.
(continued on next page)
Loading ...
Loading ...
Loading ...