Loading ...
Loading ...
Loading ...
47
Video Input
Use the Point buttons to adjust the gamma value to
obtain a better balance of contrast (Default, 1.8, 2.0, 2.2,
2.4, or 2.6).
Press the Point button to decrease the sharpness of the
image; press the Point button to increase the sharpness
of the image (from 0 to 15).
An interlaced video signal can be displayed in progressive
mode. Select one of the following options.
Off ......... Disabled.
L 1 ......... For an active picture.
L 2 ......... For a still picture.
Film ....... For watching a film. With this function, the
projector reproduces pictures faithful to the
original film quality.
Noise interference on the screen can be reduced. Select
one of the following options to get smoother images.
Off ......... Disabled.
L 1 ......... Lower reduction.
L 2 ......... Higher reduction.
Note:
• Noise reduction and Progressive can not be selected when the input signal is 480p, 575p, 720p or 3D mode
is set to On.
• Film of Progressive cannot be selected when the input signal is 1080i.
• When 480i, 575i, 480p, 575p,720p or 1080i is selected in computer source, the items of Image adjustment
are the same as the items in video source, except for Color and Tint.
To reset the adjusted data, select Reset and press the OK
button. A confirmation box appears and then select Yes. All
adjustments will return to their previous figures.
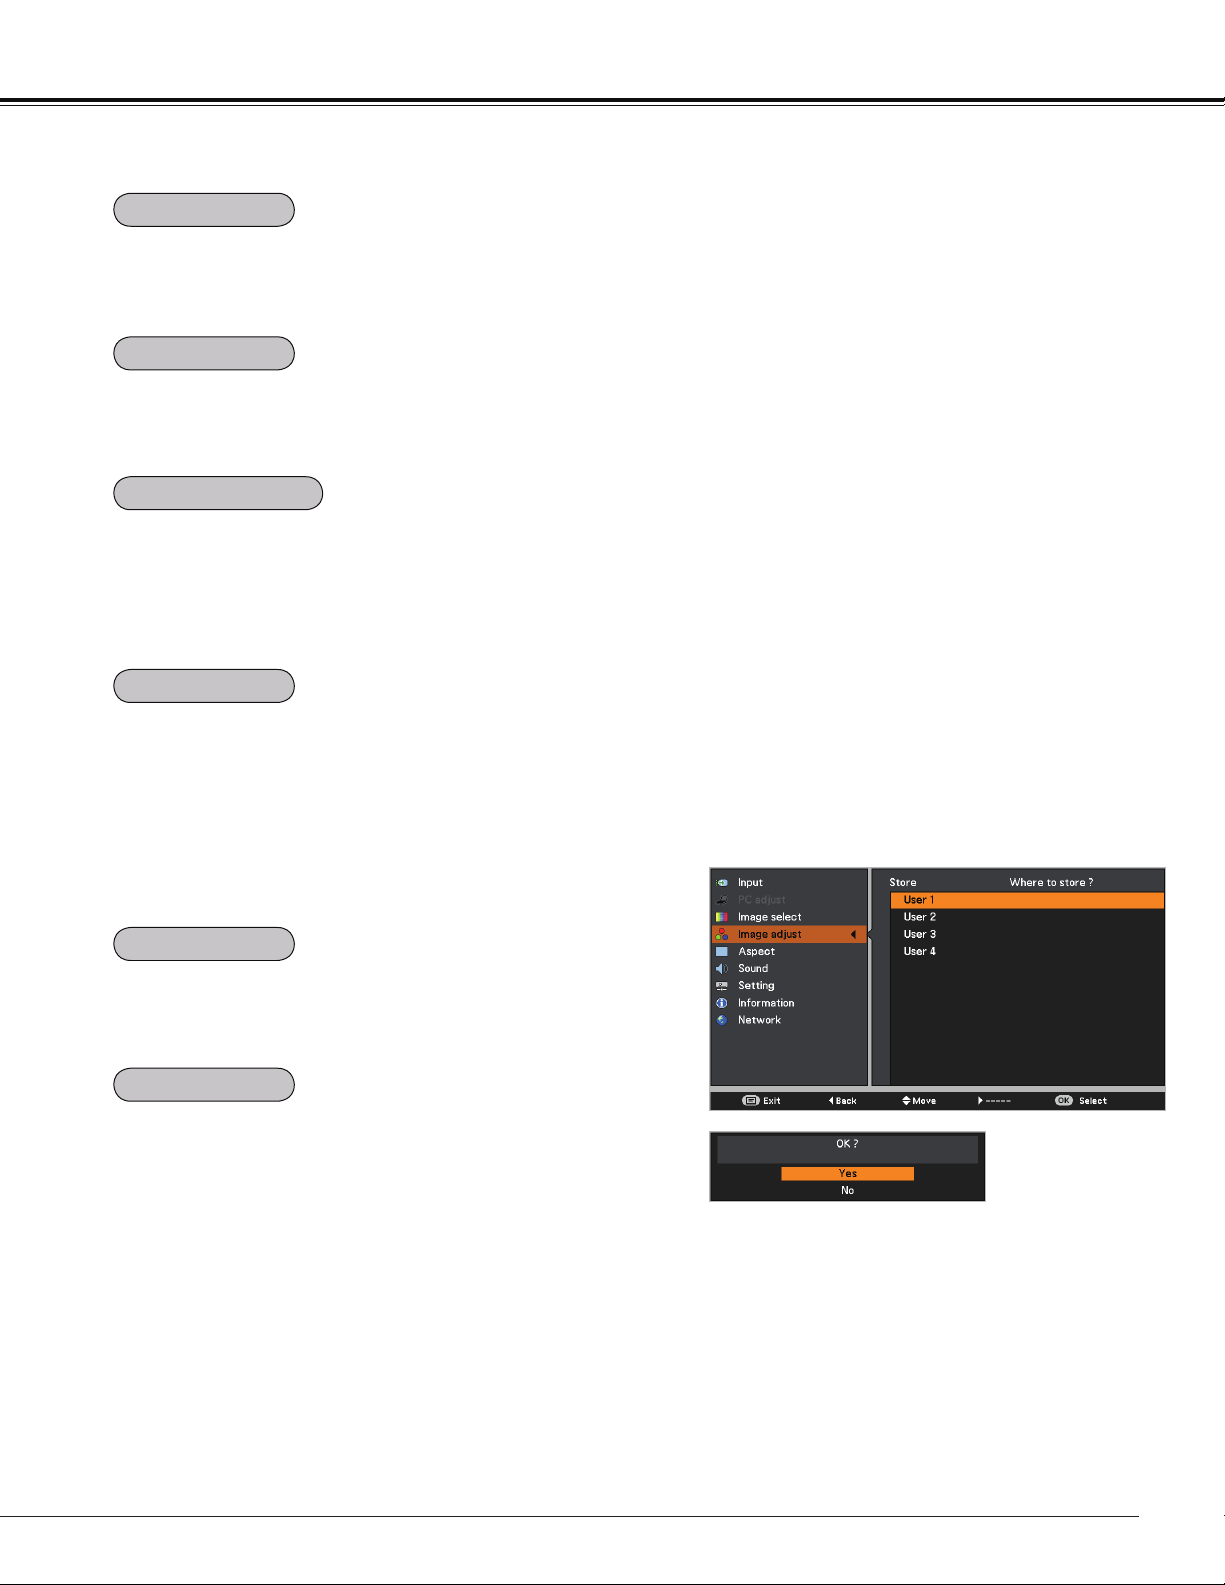
To store the adjusted data, select Store and press the Point
button or the OK button. Use the Point buttons to
select one from User 1 to 4 and press the OK button.
A confirmation box appears and then select Yes. Stored
data can be called up by selecting an User (1-4) in the
Image Mode Selection on page 45.
Store Menu
A confirmation box
appears and then
select Yes.
Sharpness
Gamma
Noise reduction
Progressive
Reset
Store
Loading ...
Loading ...
Loading ...