Loading ...
Loading ...
Loading ...
31
Basic Operation
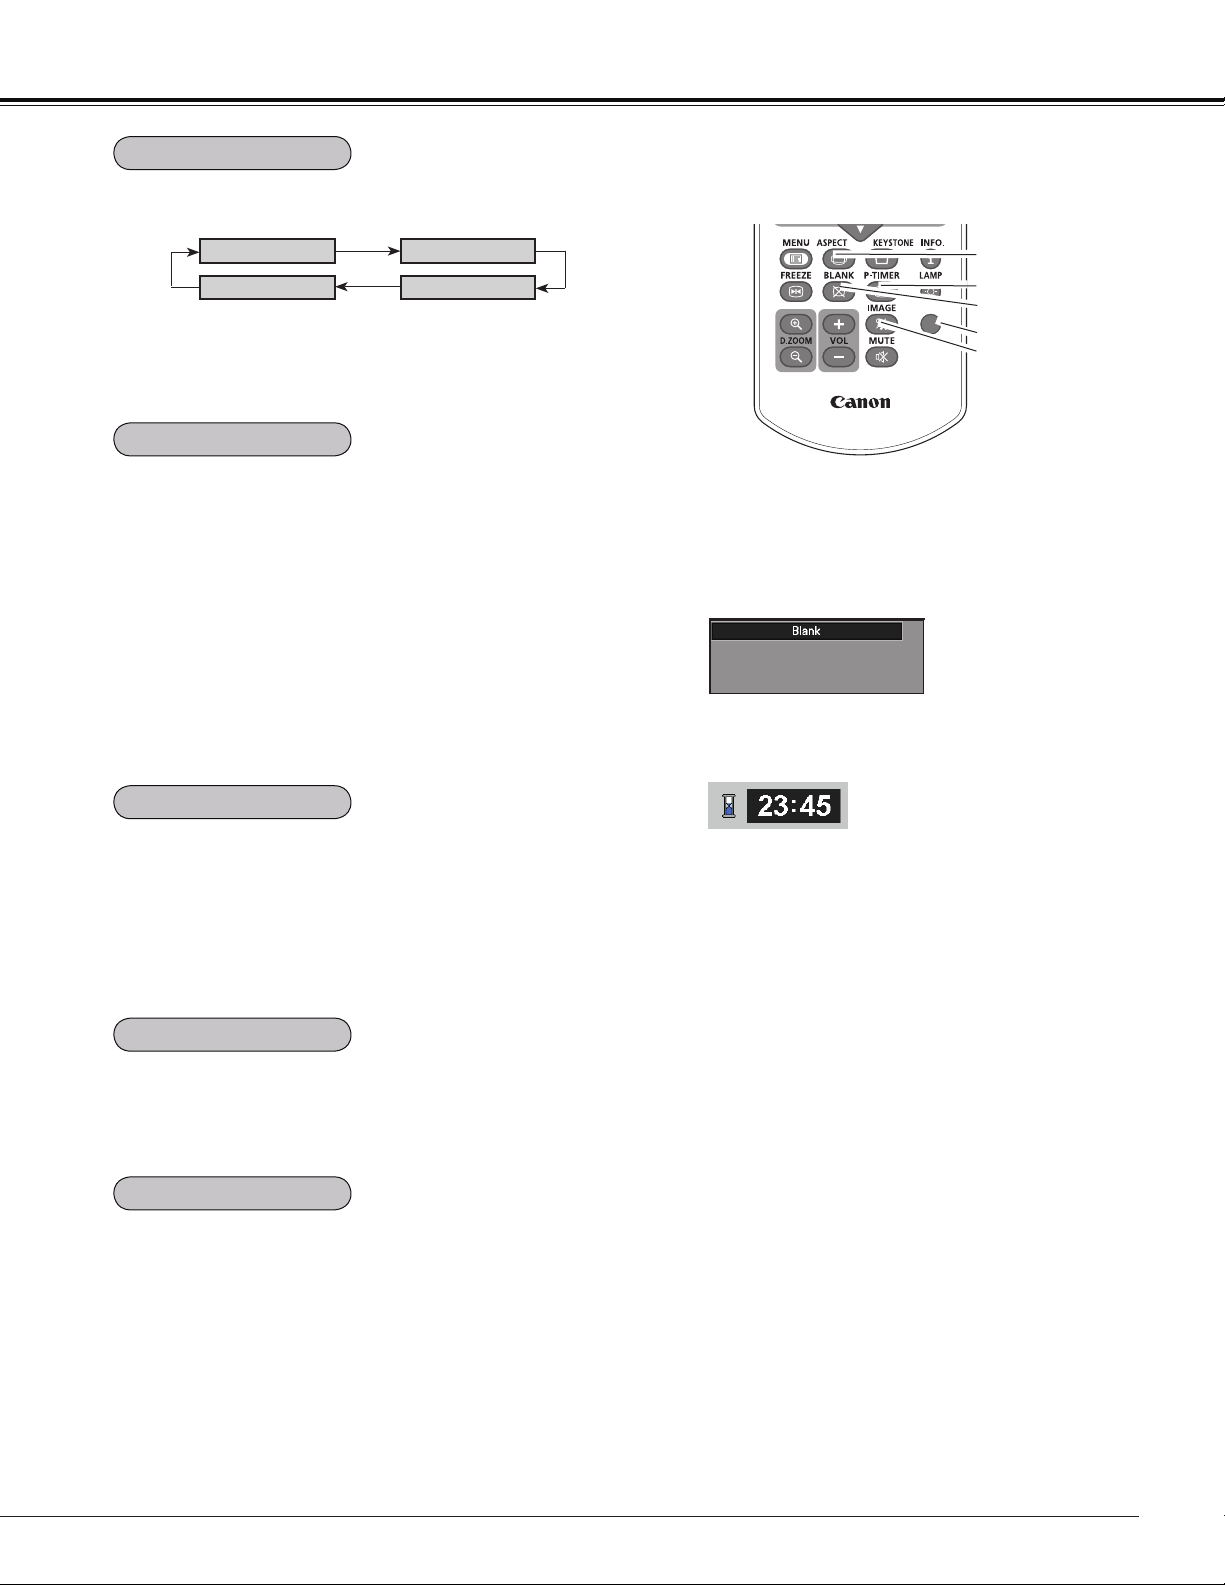
Press the BLANK button on the remote controller to black
out the image. To restore to normal, press the BLANK
button again or press any other button. When the projected
image is captured and is set as User in the Logo selection
(p.55), the screen changes each time you press the BLANK
button as follows.
black out the captured image normal • • • • •
Press the P-TIMER button on the remote controller. The
Timer display “00 : 00” appears on the screen and starts to
count time (00 : 00–59 : 59).
To stop the P-TIMER, press the P-TIMER button.
To cancel the P-TIMER, press the P-TIMER button again.
Press the IMAGE button on the remote controller to select a
desired image mode of the screen. See page 38 for details.
Blank disappears after 4 seconds.
Note:
See the previous page for the description of
other buttons.
3D
IMAGE button
BLANK button
P-TIMER button
ASPECT button
Select the screen size (See pages 40-42, 48-49 for details).
Remote Controller
Note:
When use the MUTE button to release the Blank function,
the mute function can not be operated at the same time.
BLANK button
P-TIMER button
IMAGE button
ASPECT button
BLANK
P-Timer
3D button
Select 3D mode from 3D Off, 3D (Sync. 1) and 3D (Sync.
2) (p.50-51)
3D button
3D Off
3D VISION
3D(Sync 1)
3D(Sync 2)
* The 3D indicator on the control panel emits blue at 3D (Sync 1),
3D(Sync 2) and 3D VISION. (p.50-51)
Loading ...
Loading ...
Loading ...