Loading ...
Loading ...
Loading ...
62
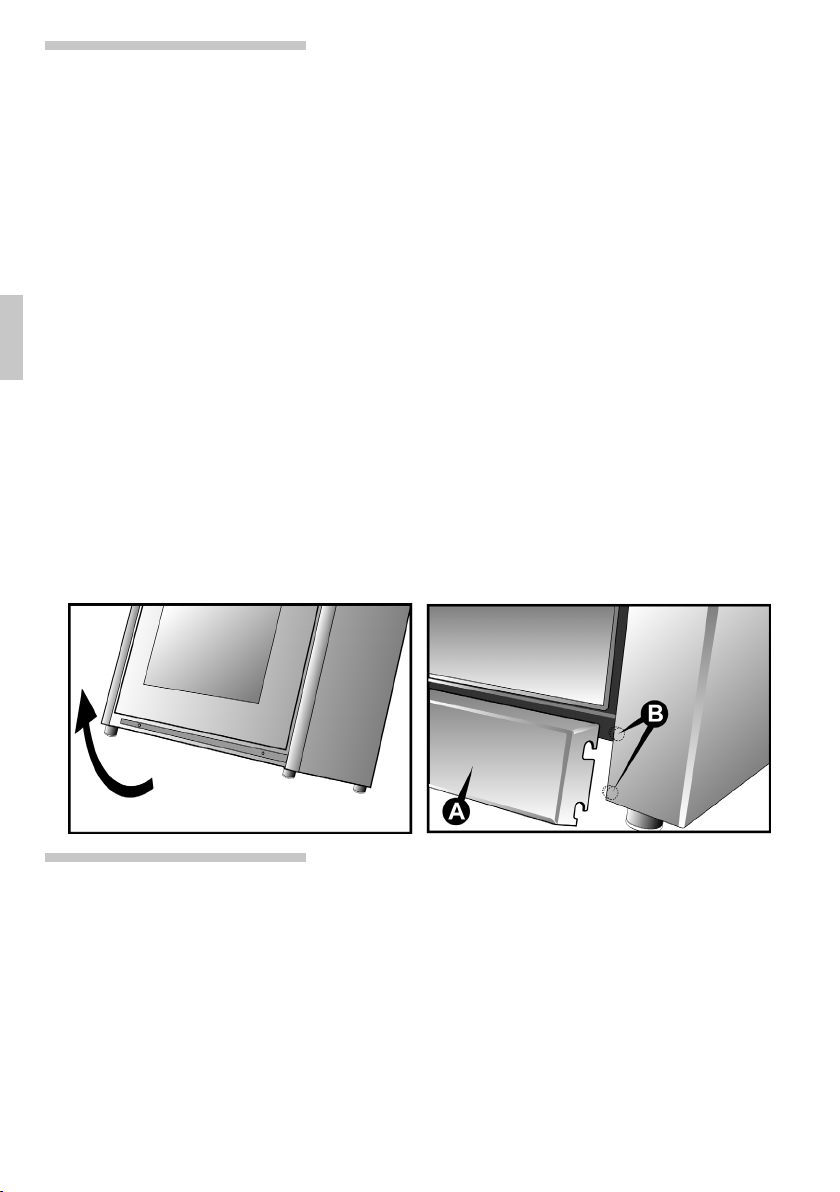
Your cooker features a front moulding which is includ-
ed as standard supply to complete the aesthetic
lines of the cooker.
We recommend removing all the parts that are not
securely attached to the cooker, in particular the pan
supports and burners, before turning it on its back.
The accessories inside the oven may also be removed
to reduce the weight of the cooker, thereby prevent-
ing accidental damage as the cooker is turned on its
back.
To assemble, proceed as follows:
• Tilt the cooker backwards.
• Align the moulding (A) with the mounting position
as shown in the illustration.
• Position the moulding so that it fits into the mount-
ing position.
• Pull the moulding downward so that it hooks onto
the 4 pins (B) (2 at each end) on the cooker.
Fitting the front
moulding
Fitting the
adjustable feet
The cooker is delivered with the standard feet on it.
A kit of higher feet is also provided. Should you need
to replace the feet, it is necessary to turn the cooker
on its back to provide access to the underneath of
the cooker. This can be done in one of two ways:
A Lifting the cooker off the floor.
B Laying the cooker on its back.
Loading ...
Loading ...
Loading ...