Loading ...
Loading ...
Loading ...
System Setting 21
System Setting
3
Settings and
adjustments using the
SETUP menu
By using the SETUP menus, you can make various
adjustments to customize the unit.
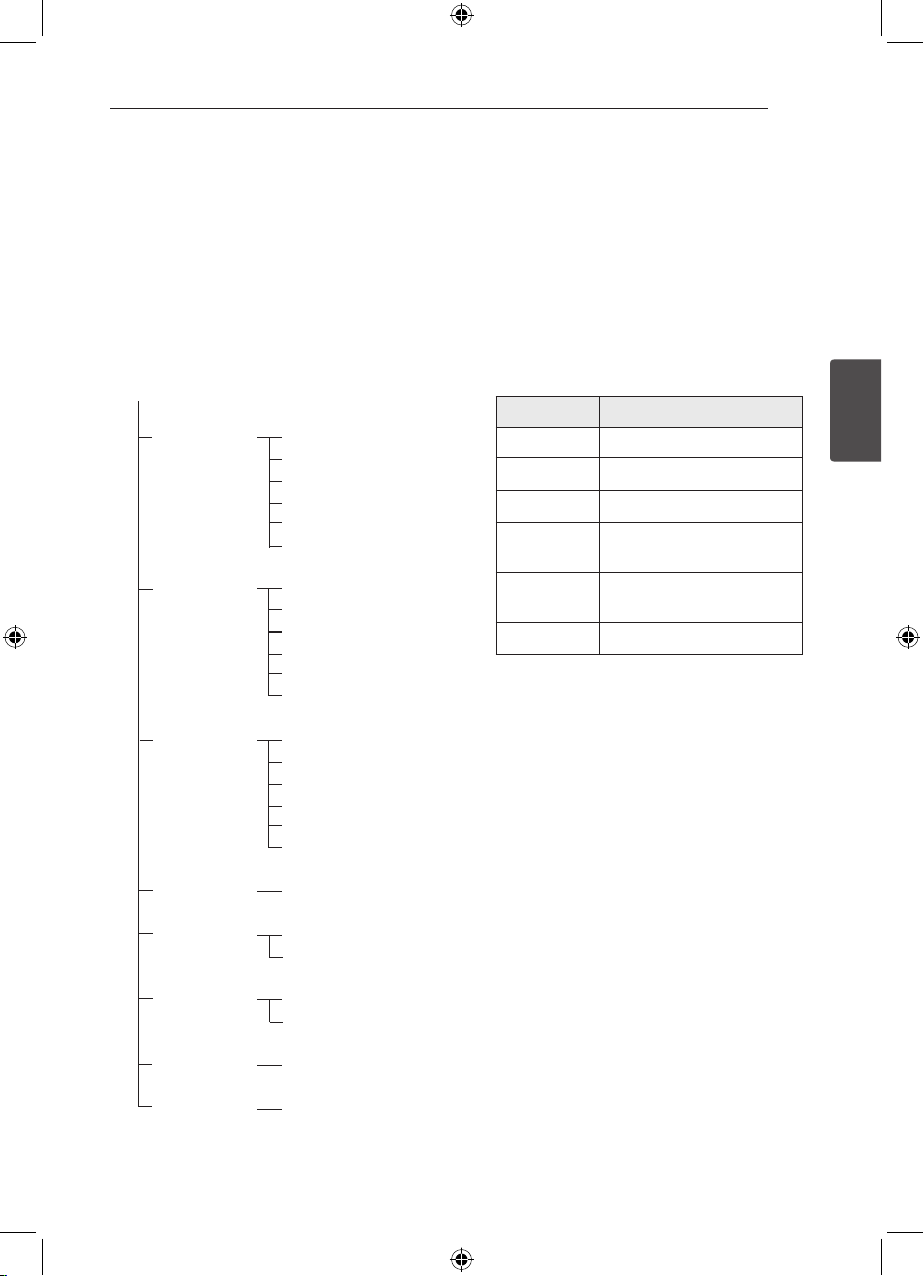
SETUP configuration
1 TESTTONE
2 LEVEL
3 DISTANCE
4 A/V SYNC
5 DRC
6 SET HDMI
7 AUTO CAL
8 RESET
TESTING : FL
TESTING : C
TESTING : FR
TESTING : SR
TESTING : SL
TESTING : SW
FL : - 6 ~ 0
C : - 6 ~ + 6
FR : - 6 ~ 0
SR : - 6 ~ + 6
SL : - 6 ~ + 6
SW : - 6 ~ + 6
FL : 0.0 M ~ 6.0 M
C : 0.0 M ~ 6.0 M
FR : 0.0 M ~ 6.0 M
SR : 0.0 M ~ 6.0 M
SL : 0.0 M ~ 6.0 M
SW : 0.0 M ~ 6.0 M
0 MS ~ 300 MS
DRC OFF
DRC ON
STDBY OFF
STDBY ON
TEST START
1 - YES 2 - NO
SETUP
TESTTONE menu
You can adjust the speaker levels while listening to
the test tone from your listening position.
1. Press RECEIVER, and then press SETUP.
"1 TESTTONE" appears on the display window.
2. Press ENTER (
b
).
The test tone is emitted from each speaker in
sequence as follows:
TESTING : FL
→
TESTING : C
→
TESTING : FR
→
TESTING : SR
→
TESTING : SL
→
TESTING : SW
Display Description
TESTING : FL Front left speaker (- 6 ~ 0)
TESTING : C Center speaker (- 6 ~ + 6)
TESTING : FR Front right speaker (- 6 ~ 0)
TESTING : SR Surround right speaker (- 6 ~
+ 6)
TESTING : SL Surround left speaker (- 6 ~ +
6)
TESTING
: SW Subwoofer (- 40 ~ + 6)
3. If you want to adjust the speaker level, press
ENTER (
b
) when the desired speaker is showed
on the display window.
4. Press
A/D
repeatedly until the desired
speaker appears.
5. Press
W/S
to adjust the speaker level and
then press ENTER (
b
).
6. Press RETURN to move to the previous menu.
Press SETUP to exit the SETUP menu.
Loading ...
Loading ...
Loading ...