Loading ...
Loading ...
Loading ...
276 Emergencies
Note
● If sealing product should leak out, leave it to dry. This way you can pull it
off like a piece of foil.
● Observe the expiry date stated on the sealing compound can. Have the
sealing compound changed by a specialised workshop or SEAT Service.
● Please observe legal requirements when doing so.
Repairing tyres
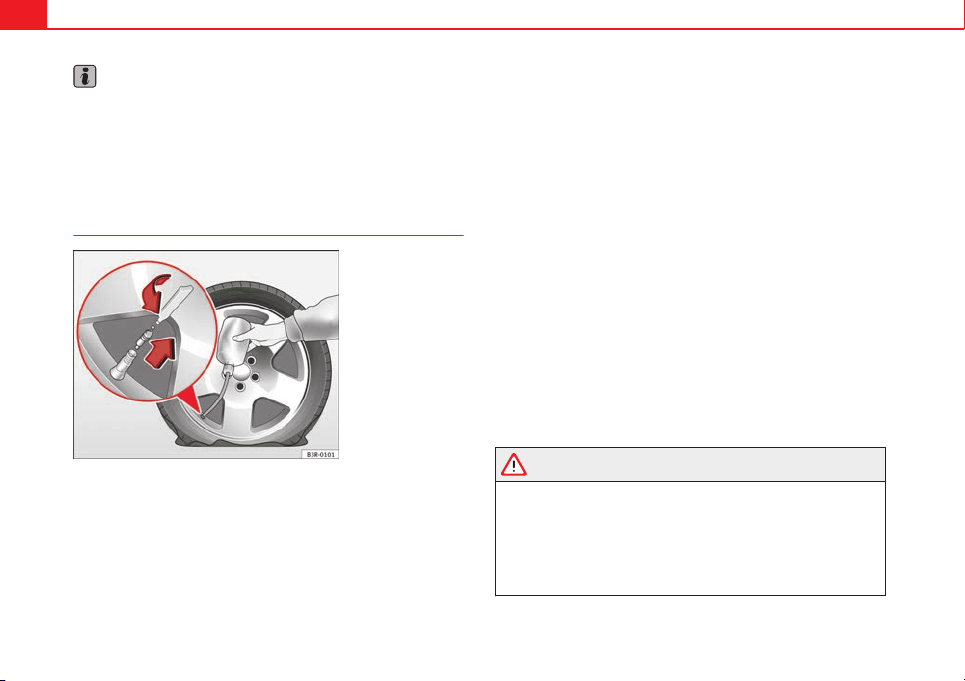
Fig. 164 Tyre: top up
Important: have the tyre repair kit ready
⇒
page 274.
Filling the tyre
– Before filling the tyre, shake the bottle of sealing product thor-
oughly.
– Screw the enclosed filling hose onto the sealant can as far as it
will go. This will pierce the foil sealing on the can.
– Take the valve cap off the tyre valve and use a screwdriver
⇒ Fig. 164 to unscrew the valve insert.
– Place the valve insert onto a clean surface.
– Remove the sealing plug from the filling hose and insert the
hose into the tyre valve.
– Hold the bottle upside down and insert the contents in the tyre
until the bottle is empty.
– Then disconnect the hose and screw the valve insert back onto
the tyre valve.
Inflating the tyre
– Screw the compressor filling hose (tyre repair kit) onto the tyre
valve and plug the connector into the 12V connection.
– Pump the tyre up to 2.0 to 2.5 bar and monitor the pressure
shown on the pressure gauge.
– If the tyre does not reach this pressure, move the car forwards
or backwards 10 metres to allow the sealing compound to
spread all around the tyre.
WARNING
● Please observe the manufacturer's safety notes on the compressor
and the instructions supplied with the tyre sealant can.
● If, after six minutes of trying to inflate the tyre, it is not possible get
up to a pressure of 2.0 bar, this indicates that the tyre is too severely
damaged for repair with the kit. Do not carry on driving!
● If the tyre cannot be repaired with the sealing compound, seek pro-
fessional assistance.
Loading ...
Loading ...
Loading ...