Loading ...
Loading ...
Loading ...
English
81
DIRECTING SCENES EFFECTIVELY (EFFECT – FADE)
You can add fading to the beginning and/or end of scene.
There are three types of special effects:
1 Press the DISC NAVIGATION button.
2 Select the scene for adding special effects.
3 Press the MENU button.
4 Choose, “Scene”, “Effect”, “Fade” and then
press the button.
5 The “Fade” screen will appear: If you are sure
you want to add the fade effect to the scene,
press the button.
If you want to change the scene to which fade
is added, you can change it on this screen.
6 Select the special effects for “IN” and/or
“OUT”, choose “Enter”, and then press the
button.
You can use 2/1 to move the cursor to
“IN”, “OUT”, “Enter” or “Cancel”.
Use 0// to choose the effect to be added,
and then press to set the effect.
To cancel setting, choose “Cancel”.
If you choose “Enter” and press , the
“Fade” screen will be restored after a message
appears.
Repeat steps 5 and 6 to add fade to other
scenes.
7 Press the button to quit.
The “2” and/or “3” icon(s) will appear in
the scenes for which fade in and/or fade out
have been set.
Note:
If a disc on which fade has been set on scene with this
DVD video camera/recorder is played on a DVD
reorder/player, or the scene is captured into a PC, the
set fade will not be reflected (see Note on page 75).
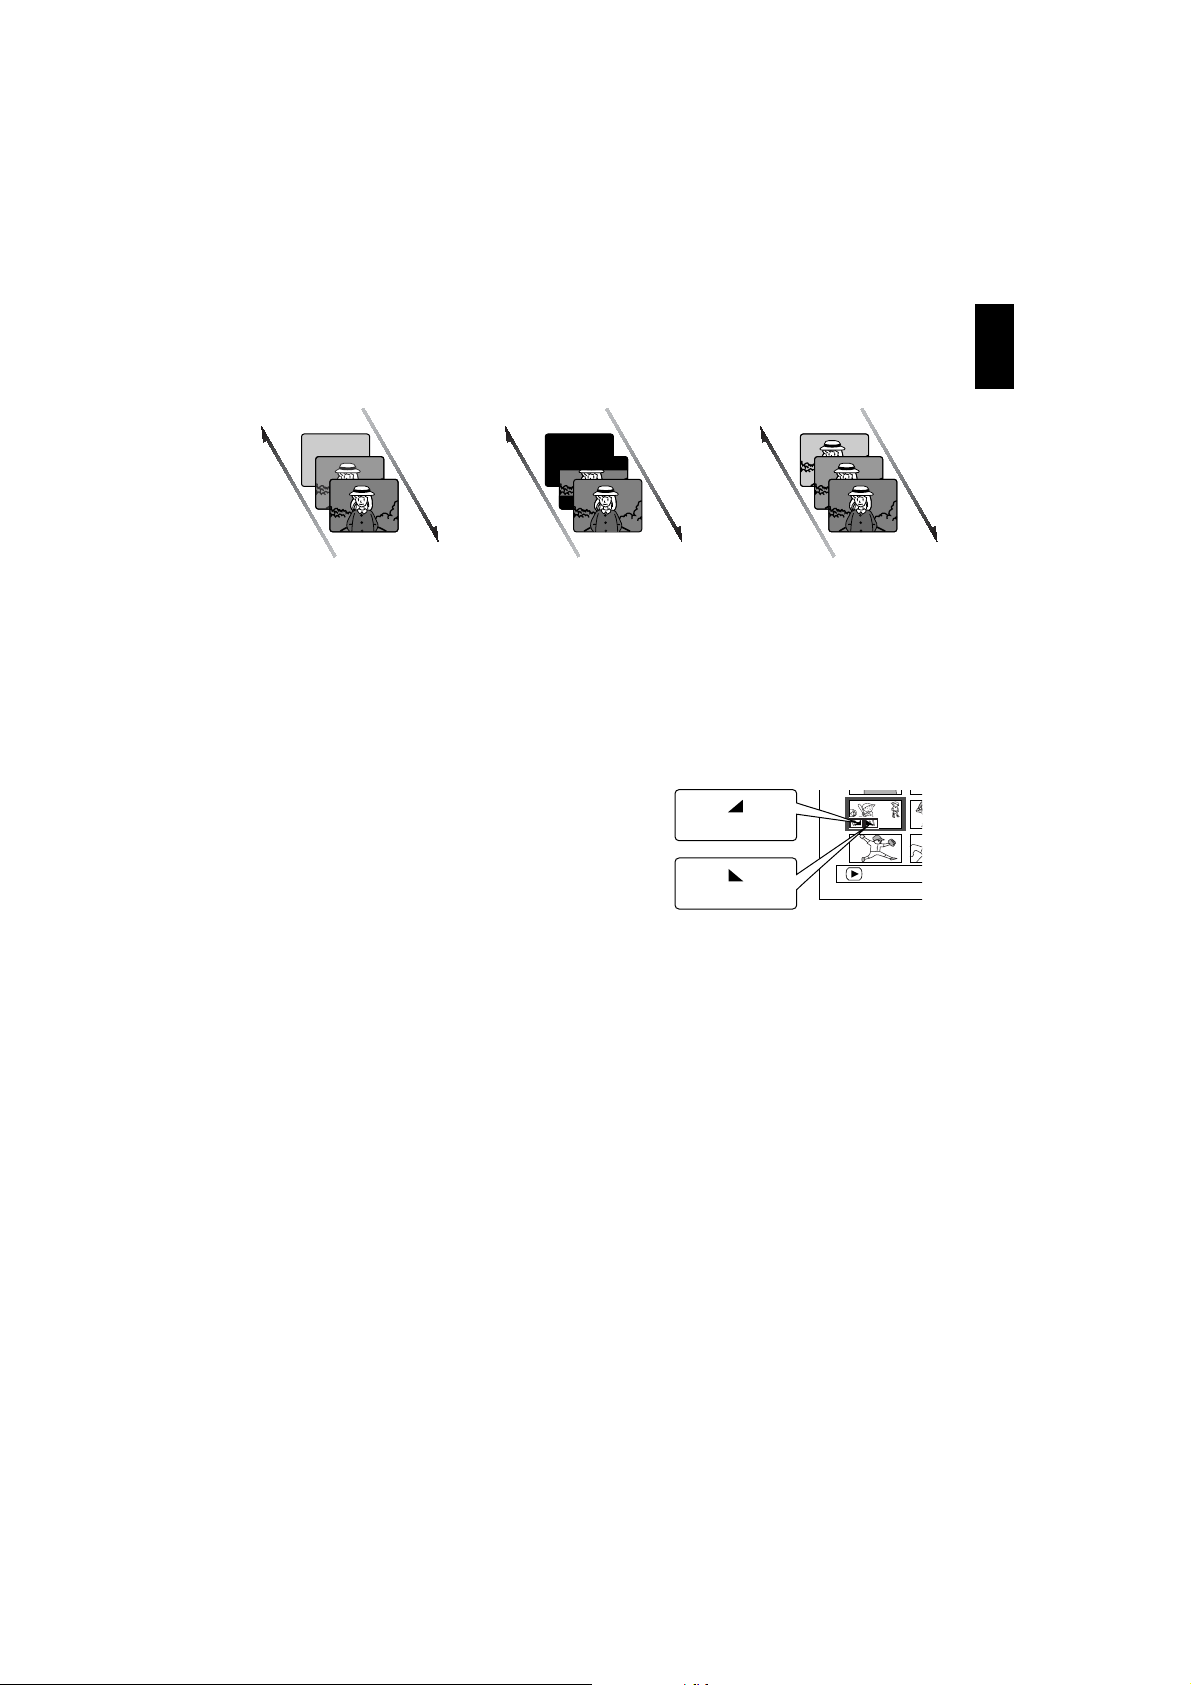
Fade Out Fade Out Fade Out
White:
Fades in from white screen
Fades out to white screen
Wipe:
Fades in from black screen
to vertical direction of screen
Fades out from vertical
direction of screen to black
screen
B/W:
Fades in from Black and
White screen to colour
screen
Fades out from colour screen
to Black and White screen
Fade InFade InFade In
PLAY
“In” effect
“Out” effect
Loading ...
Loading ...
Loading ...