Loading ...
Loading ...
Loading ...
166
7
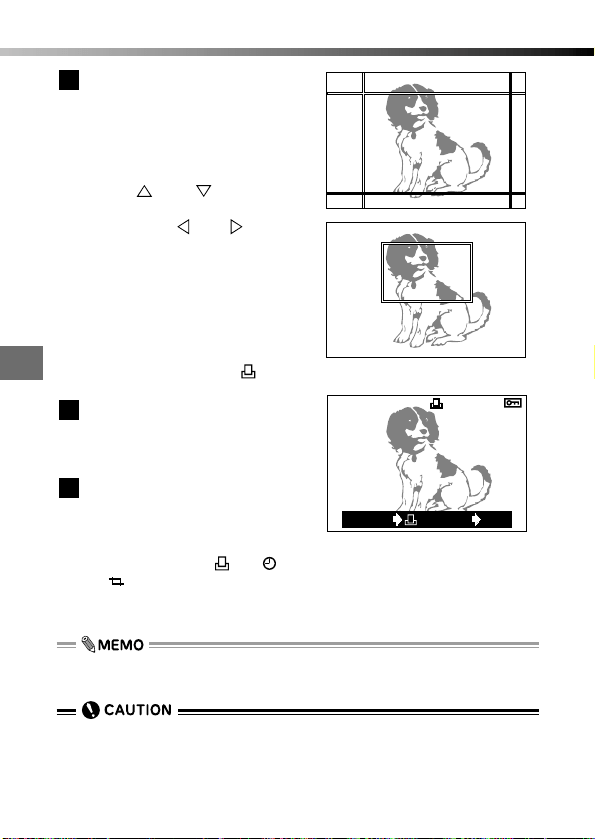
Print settings
Move the cursor to set the
bottom right corner of the
image you want to print.
● Using the same procedure as
for the top left corner, set the
bottom right cursor position.
● Use and on the Arrow
pad to move the cursor up and
down, and and to move
the cursor left and right.
● Turning the zoom lever to "W"
moves the cursor towards the
top-left corner. Turning the zoom
lever to "T" moves the cursor
towards the bottom-right corner.
● If you want to reposition the top
left corner, press the (Print)
button.
Press the [OK] button to set
the size of the trimmed
image and display the image
on the monitor.
Press the [OK] button.
● The single print order screen
appears.
● Use the single print order pro-
cedure to select "
X", " " or
" ". (P.162)
● To specify trimmed print orders for
other images, repeat steps 1 to 8.
8
7
6
Printing some images enlarged (Trimmed print order)
(When you specify the setting, the
framed picture is displayed for 1 sec-
ond and the screen then switches
back to the print order setting screen.)
HQ
x5
CANCEL SET
OK
12.23.'00 21:56 6453
• For the best results with close-up prints, you should take the picture in TIFF,
SHQ or HQ quality mode.
•
You can use the Arrow pad to change the aspect ratio of the trimming screen,
but the aspect ratio remains fixed at 4:3 when you use the zoom lever.
• The size of the printed image varies depending on the printer settings.
Images trimmed down to a small size have lower resolution.
(Displayed for 1 second)
Loading ...
Loading ...
Loading ...