Loading ...
Loading ...
Loading ...
English30
Installation instructions
Installation instructions
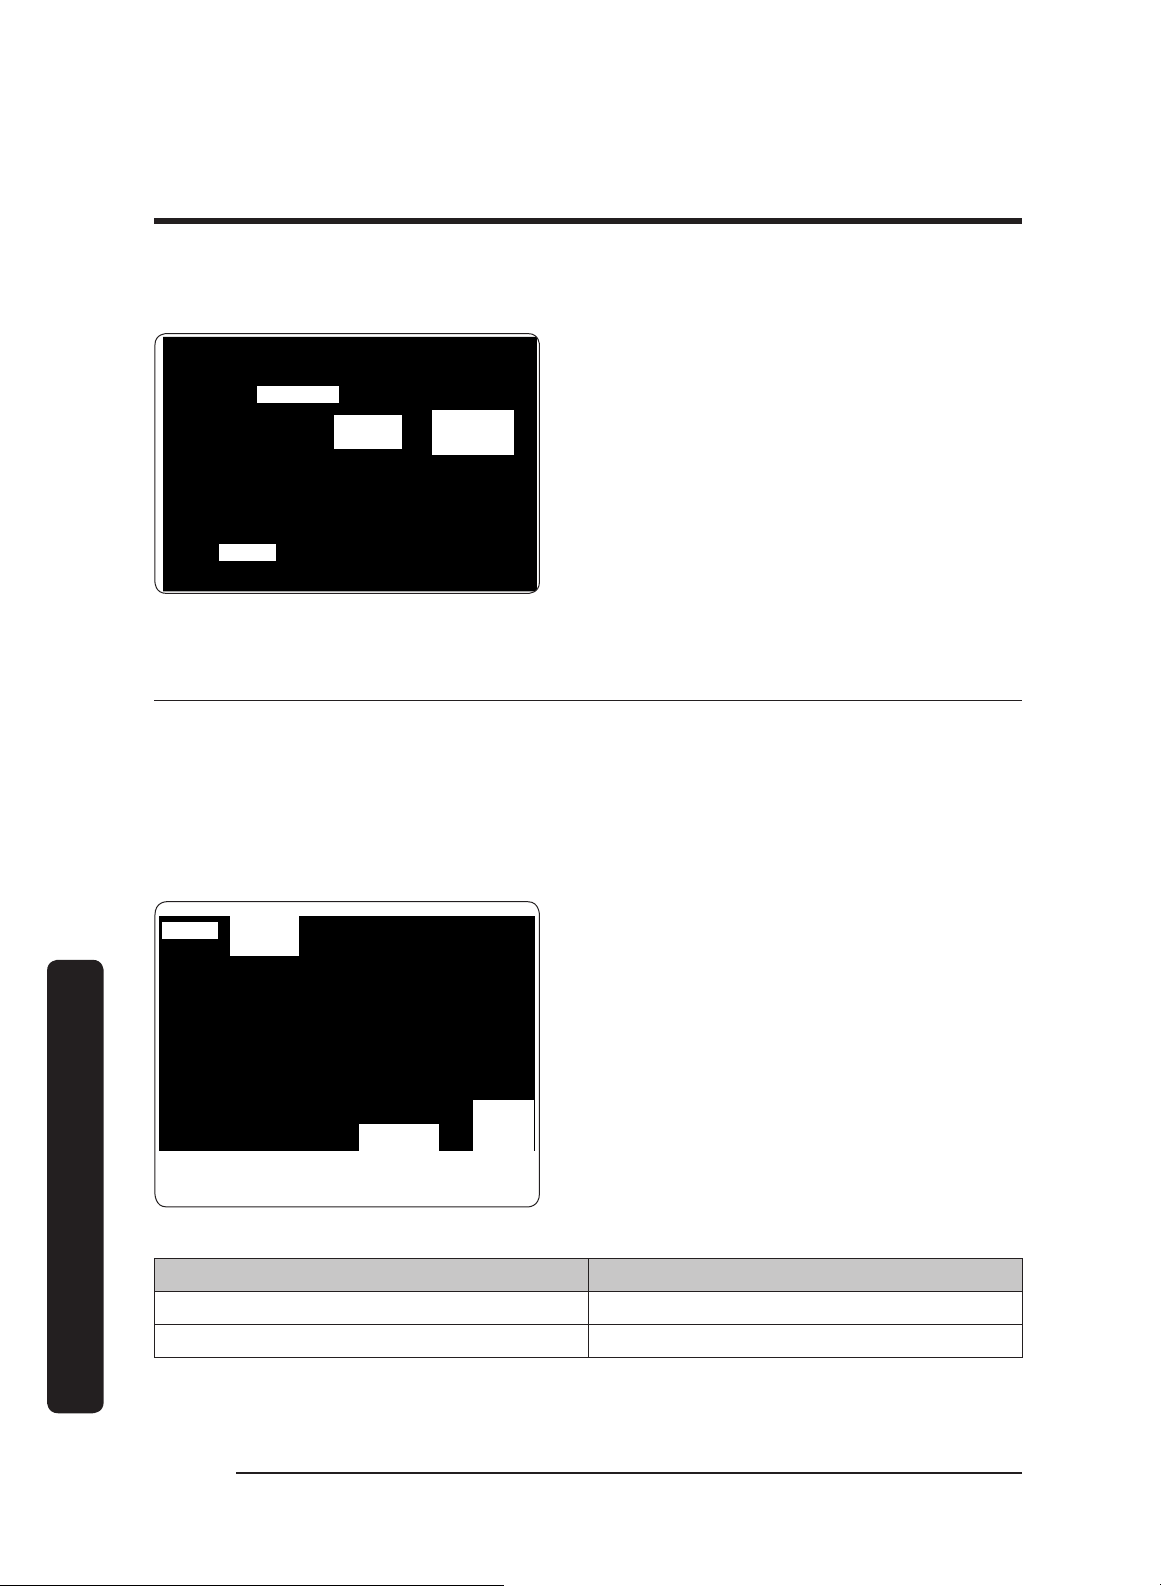
Finalizing the Rear-Vent Setup
Duct collar
RightRear
Top
1. Refasten the cable clamps and assembly
to the hood.
2. Connect the cable assembly to the
blower’s I/O port.
3. Attach the duct collars to the back of
the hood.
4. Return the hood to a safe, upright
position.
Assembling the Filters
Filters are boxed separately and must be assembled during installation. All needed knobs
and hardware are included.
For correct orientation, ensure the top of the filter faces up. The filter’s face has:
• plastic peel-away coating
• beveled lip on the inside frame
• screw holes on the ridge (not down in the trough)
DHD Baffle-Style Filter
Knob
Beveled
lip
Screw M8
Lock
washer
#10
1. Remove the plastic coating, and make
sure the beveled lip faces up.
2. Align the screw, lock washer, and knob
with the filter. Make sure the knob is
on the ridge, and the screw and lock
washer are in the trough.
3. Twist and tighten the knob onto each
washer/screw.
4. Continue the hood installation, then
install the filters after hanging the
hood.
Replacement Part # Description
702579 Baffle Filter Kit (1 pc + hardware)
702580 Baffle Filter Kit (2 pc + hardware)
Loading ...
Loading ...
Loading ...