Loading ...
Loading ...
Loading ...
15
ENGLISH
•
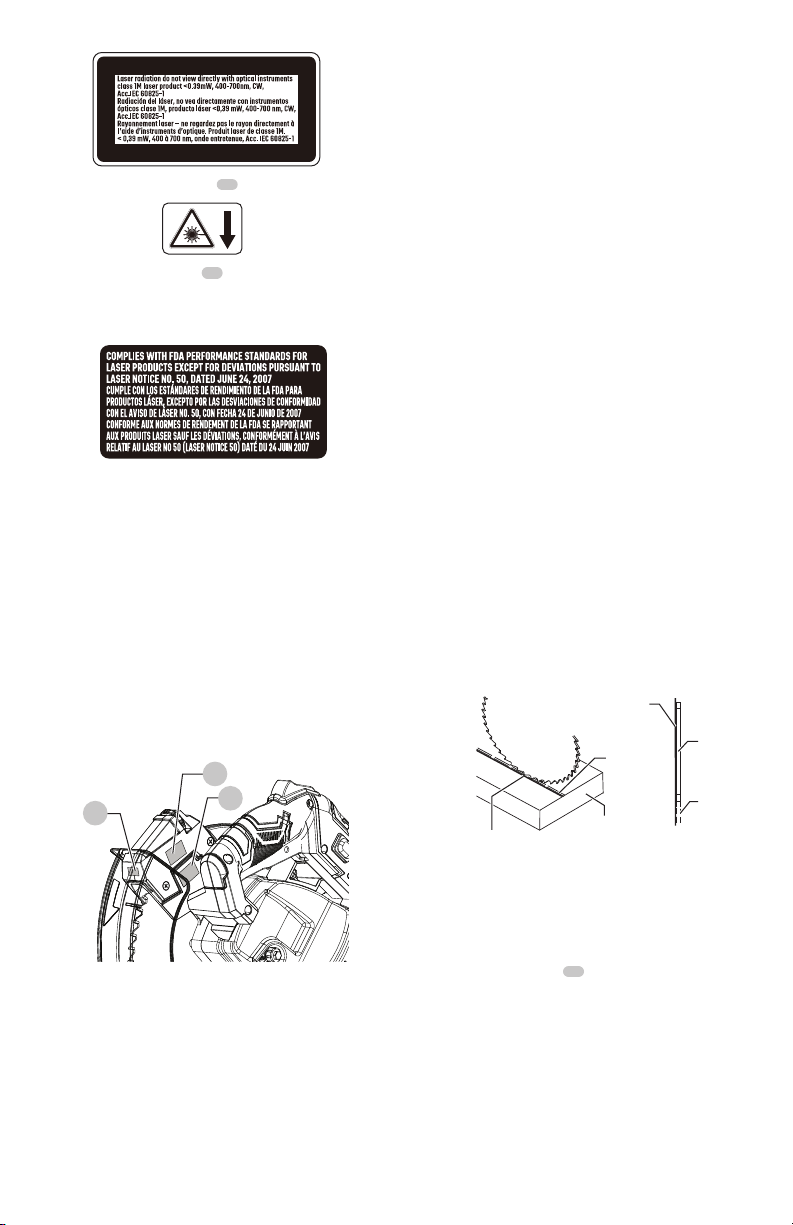
Laser Aperture Label
46
•
Laser Notice Label
47
: COMPLIES WITH FDA
PERFORMANCE STANDARDS FOR LASER PRODUCTS
EXCEPT FOR DEVIATIONS PURSUANT TO LASER NOTICE
NO. 50, DATED JUNE 24, 2007
•
NOTE: All the adjustments for the operation of this
machine have been completed at the factory. Due to
normal wear and use, some occasional readjustments
may be necessary.
•
CAUTION: Use of controls or adjustments or
performance of procedures other than those specified
herein may result in hazardous radiation exposure.
•
CAUTION: The use of optical instruments with this
product will increase eye hazard.
•
WARNING: Do not attempt to repair or disassemble
the laser. If unqualified persons attempt to repair this
laser product, serious injury may result. Any repair
required on this laser product should be performed by
a qualified service dealer.
NOTE: If laser labels are missing, damaged or not clear,
contact with the Customer Care Center for replacement.
Fig.X
45
46
47
Laser Guide Adjustment (Fig. Y, Z, AA)
NOTE: All the adjustments for the operation of this machine
have been completed at the factory. Due to normal wear
and use, some occasional readjustments may be necessary.
WARNING: To prevent serious injury, insert a padlock
(not provided) or chain with padlock through the hole
in the ON/OFF Trigger Switch prior to making any
laser adjustment. DO NOT remove the lock from the
ON/OFF Trigger Switch during any laser adjustment.
A. Checking Laser Line Alignment (Fig. Y)
1. Set the saw to a 0° miter and 0° bevel setting.
2. Use a combination square to mark a 90° angle running
across the top and down the front of a board. This line
will serve as the pattern line to adjust the laser. Place the
board on the saw table.
3. Carefully lower the saw head down to align the saw
blade with the pattern line. Position the saw blade
to the left, center or right side of the “pattern line”
depending on your preference for the laser line location.
Lock board in place with hold-down clamp.
4. With the saw plugged in, turn on the laser guide. Your
saw has been preset with the laser line to the left side
of the blade.
WARNING: When making laser line adjustments,
keep fingers away from the ON/OFF trigger switch to
prevent accidental starting and possible serious injury.
5. Looking at the front of the board, if the laser line is
not parallel to the “pattern line” please follow the
instructions listed below under “Front Line” paragraph.
B. Adjusting the Position of the Laser Line
(Fig. Z, AA)
Front Line
If the laser line is angled from left to right, turn the laser
vertical adjustment knob
48
counterclockwise to align the
laser line parallel with pattern line. If the laser line is angled
from right to left, turn the knob clockwise to align the laser
line parallel with pattern line.
After performing the above adjustments, visually check that
both the front laser lines are parallel with pattern line.
Fig.Y
TOP VIEW
Laser line
Cutting
line
Blade
Laser line
Workpiece
Cutting
line
Loading ...
Loading ...
Loading ...