Loading ...
Loading ...
Loading ...
SunBriteTV Signature 2 Series 4K Ultra HD Operator’s Manual
Page 29
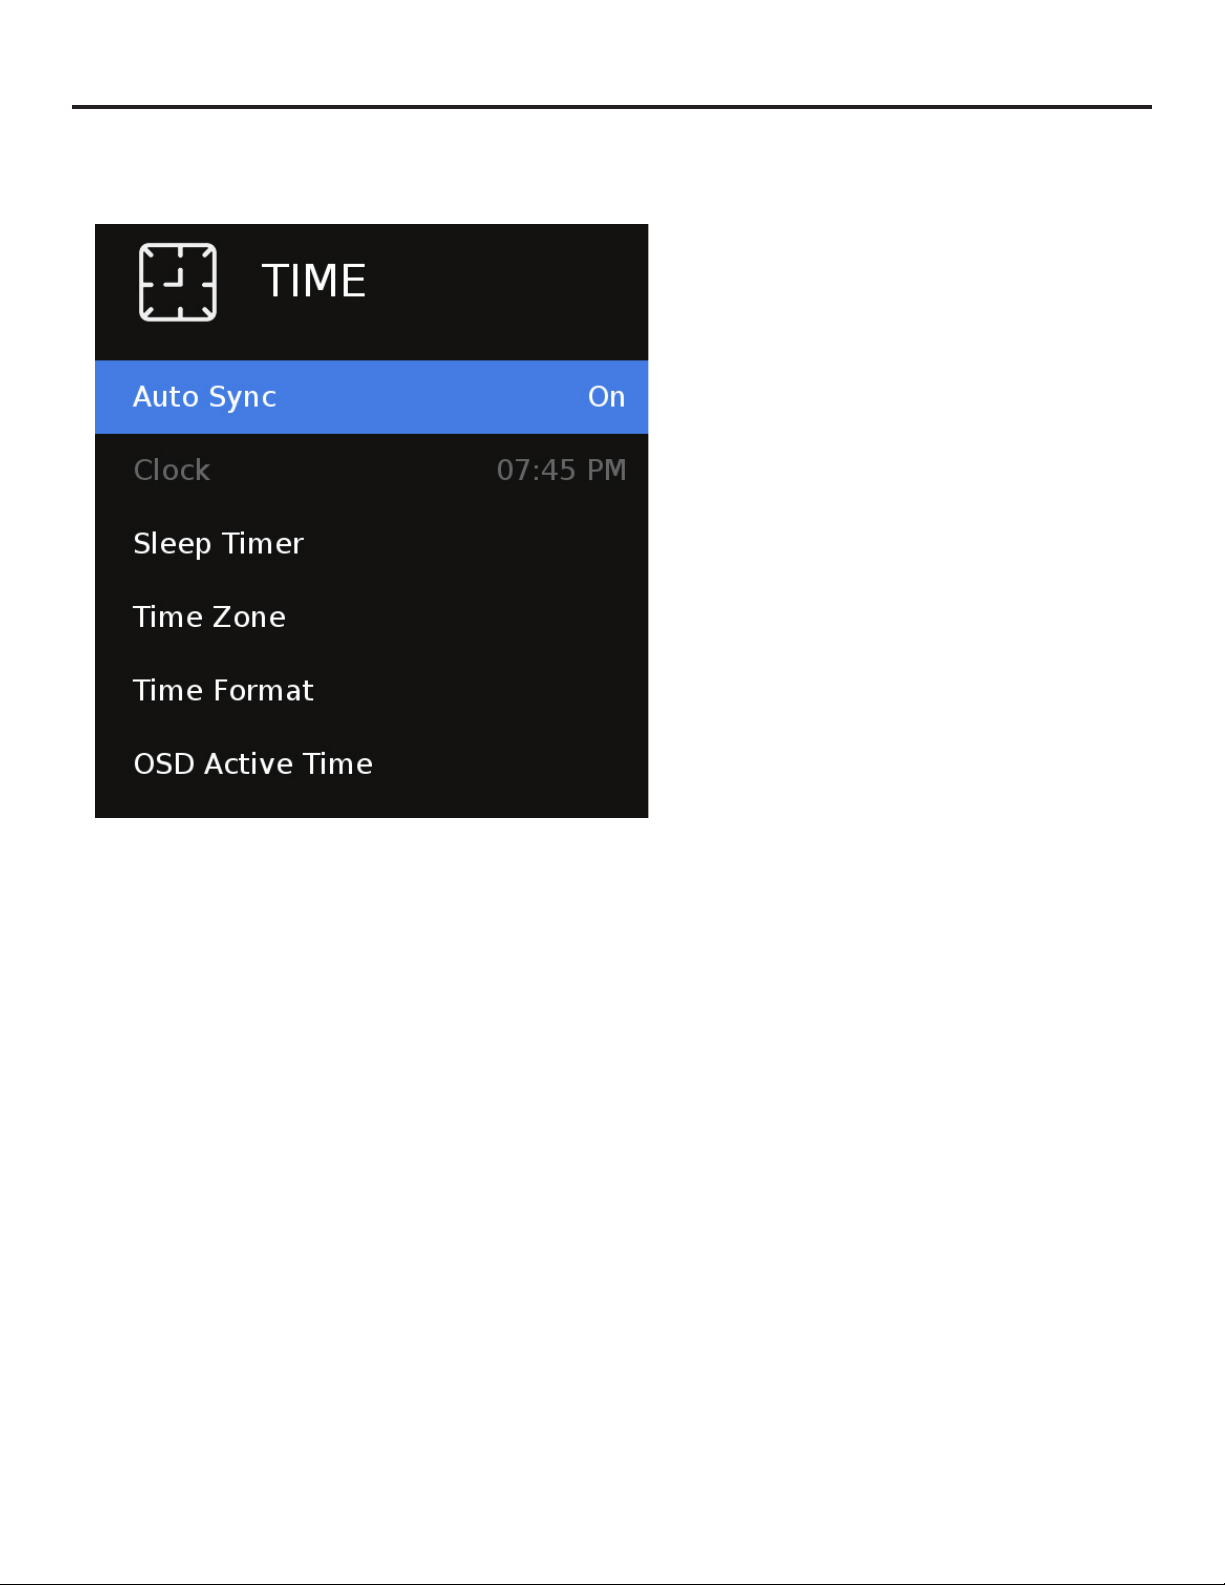
Adjusting On-Screen Displays – Time Menu
Auto Sync
Press the qp buttons to highlight the Auto Sync
adjustment, then use t u to turn auto sync on and o.
Auto sync automatically sets the time on your TV based
on information from TV signals or internet time when
connected to a network. Clock setting adjustments are not
available when auto sync is activated.
Clock
Press the qp buttons to highlight the Clock setting
adjustment, then use t u to enter the Clock submenu
pictured at left.
Now press the qp buttons to highlight the adjustment
you want to make (day, hour, minute, etc.), then use t u to
make the adjustment. Repeat until the clock is set correctly.
Note the TV does not have a battery backed up clock.
Should power be lost the setting will be reset to default.
Sleep Timer
Press the qp buttons to highlight Sleep Timer, then use
qp to select O or 10, 20, 30, 60, 90, 120, 180 or 240
minutes. The TV will turn o automatically after the selected
time has elapsed.
Time Zone
Press the qp buttons to highlight the Time Zone
adjustment, then use qp to select Newfoundland, Atlantic,
Eastern, Central, Mountain, Pacic, Alaska or Hawaii time
zone.
Time Format
Press the qp buttons to highlight the Time Format
adjustment, then use qp to select 12-hour or 24-hour
(military) time format.
OSD Active Time
Press the qp buttons to highlight the OSD Active time
adjustment, then use t u to select the amount of time the
OSD menus will display before timing out, 5s, 10s, 15s, 20s or
always On.
1. Press qp buttons on the remote or CH+/CH- on the TV) to move the cursor to the item to be selected.
2. Press t u buttons on the remote or VOL+/VOL- on the TV to make the desired adjustments.
3. When your adjustments are complete, press MENU or EXIT on the remote or MENU on the TV to exit the main menu.
Loading ...
Loading ...
Loading ...