Loading ...
Loading ...
Loading ...
12 Setting Oven Controls
Adjusting Tone Volume
A tone will sound when a key is pressed and also at the end of a
cycle (timer, cook time, or end time). The factory audio setting is
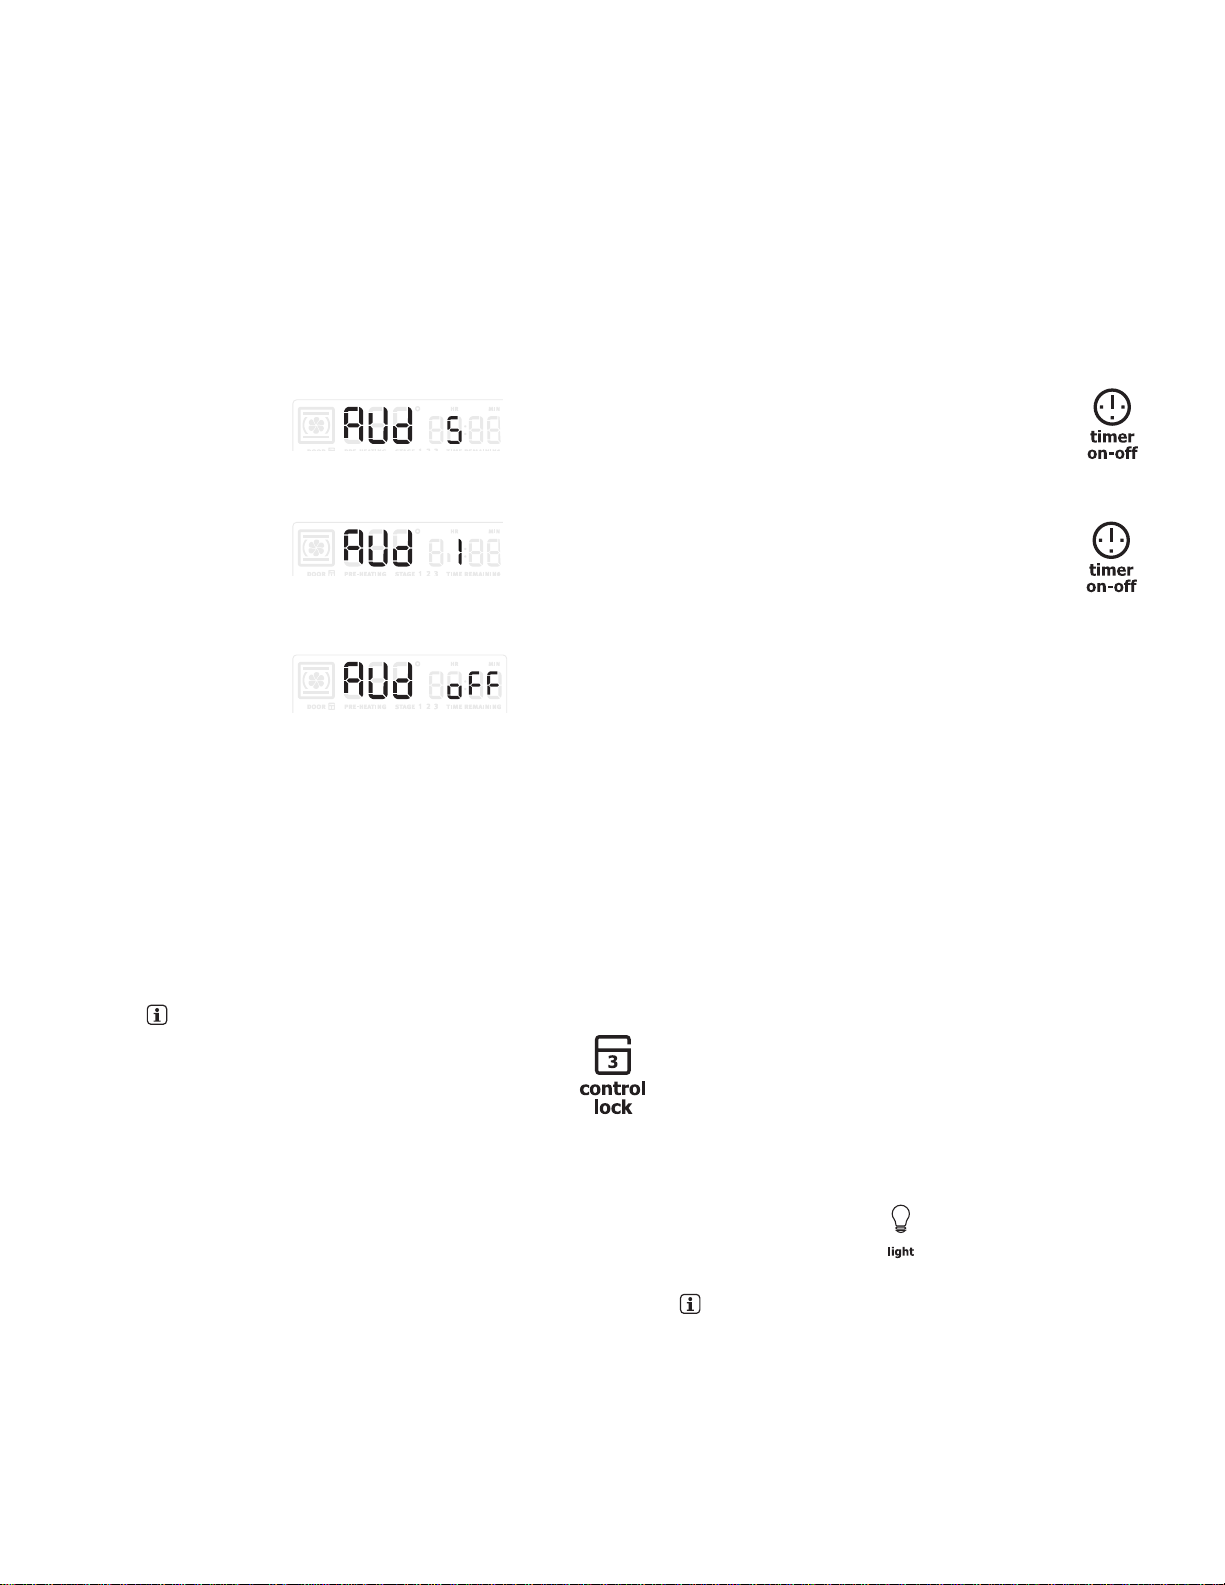
preset to the highest level (Figure 11). The volume may be
adjusted for lower levels from 1 through 5, or can be turned off.
Level Aud 5 is the highest setting, level 1 is the lowest setting
(Figure 12) and Aud off (Figure 13) will provide a silent control
setting.
To adjust the audio tone level
When control is set for Aud off, error tones will
remain audible.
Control Lock
The control lock will lockout the oven control keys and will lock
the oven door. All oven functions must be off before the control
lock can be activated. Do not attempt to force open the oven
door is locking or unlocking or when the door Loc message is
displayed.
To activate control lock:
Press and hold control lock for 3 seconds. Once locked, LOC
will appear in the display along with the door lock icon. The time
of day will still be visible.
To cancel the control lock feature:
Press and hold control lock key for 3 seconds. Once unlocked,
control and door lock icon will no longer appear.
If an oven control key is pressed when oven control lock is
active, the oven will sound an error tone (triple beep) indicating
the function is not available until the control lock feature is
turned off
Timer
The timer can help timed cooking or food preparation times
without interfering with any active cooking process.
Timer settings:
• Minimum set time: 1 minute
• Maximum set time: 11 hours 59 minutes
How to set the timer for 5 minutes:
• To cancel an active timer press the timer on-off key. The
timer does not start or stop the cooking process. The timer
may be started alone or with any other active cooking
feature.
• The timer will display hours and minutes until 1 hour
remains. When less than one hour remains, the display will
count down in minutes and seconds. Once the timer has
less than 1 minute, only seconds will display.
• If both the oven and the timer are active, the timer informa-
tion will display by default. To momentarily display informa-
tion for any other active feature, press the corresponding
key once to display the desired feature.
Interior Oven Lights
Your appliance includes “theater” style oven lighting feature that
gradually lights the oven interior to full brightness. The oven is
equipped with 4 halogen lights.
IMPORTANT! It is suggested that the oven lights remain off
when baking delicate items such as cakes. They can be turned
on momentarily to check baking progress, but should not be left
on throughout the full bake time.
The oven lights turn on automatically when the oven door is
opened. The oven lights can be turned on when the door is
closed by using the oven light key located on the control panel.
Press the oven light icon to turn the interior oven lights on
and off whenever the oven door is closed.
The oven lights will not operate during a clean cycle.
The interior oven lights are located both sides of the oven and in
the upper rear corners of the oven cavity. Each is covered with
a glass shield that must be in place whenever the oven is in
use. To change the interior light, see “Replacing the Dual Left
or Right Side Oven Lights” on page 35 in the “Care and
Cleaning” section.
Figure 11: Tone volume at highest level
Figure 12: Tone volume at lowest setting
Figure 13: Tone volume off
1. Press user pref until the current Aud level setting
appears in the display.
2. To choose different audio levels continue to press hi + or
lo - on either side of the zero (0) on the numeric keypad
to toggle to the desired audio level setting.
3. Press START to accept new audio level.
1. Press timer on-off.
2. Enter 5 minutes using numeric key.
5
3. Press timer on-off to start timer.
Loading ...
Loading ...
Loading ...