Owner's Guide Cameras
WHAT'S IN THE BOX
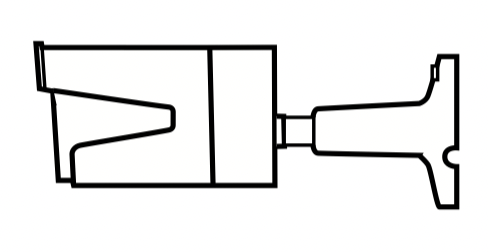
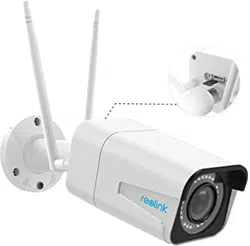
Camera
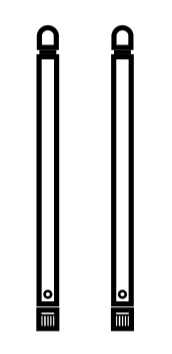
Antenna
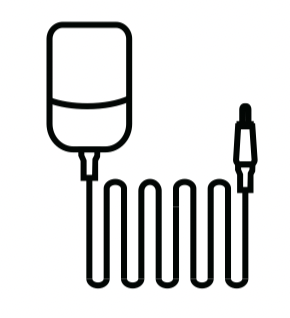
Power Adapter

1m Network Cable

4.5m Power Extension Cable
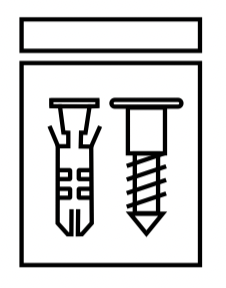
Pack of Screws
Surveillance Sign
Quick Start Guide
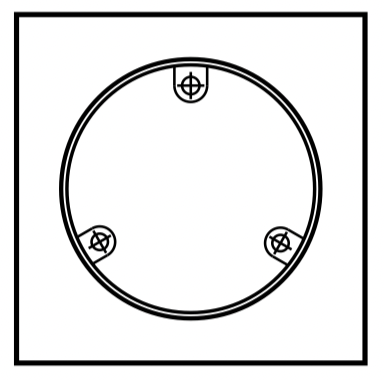
Mounting Template
NOTE: Camera and accessories vary with different camera models that you purchase.
CAMERA INTRODUCTION
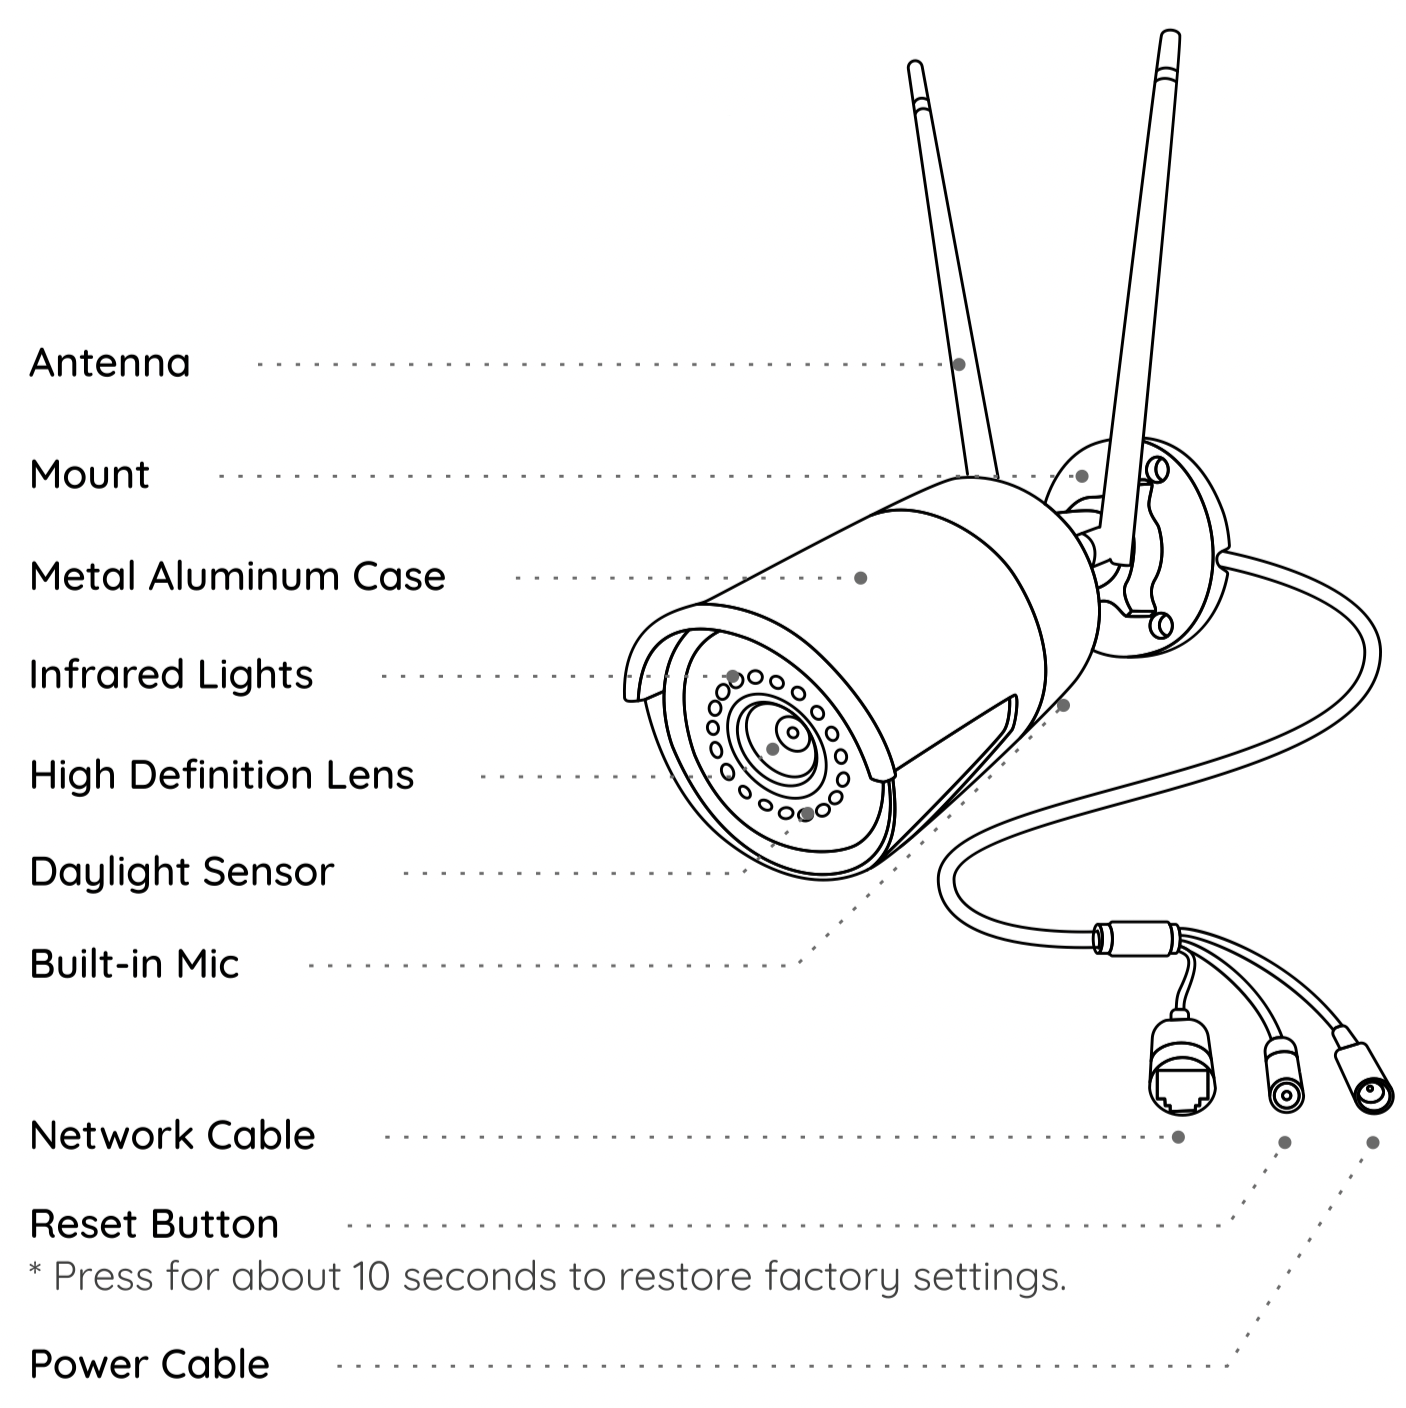
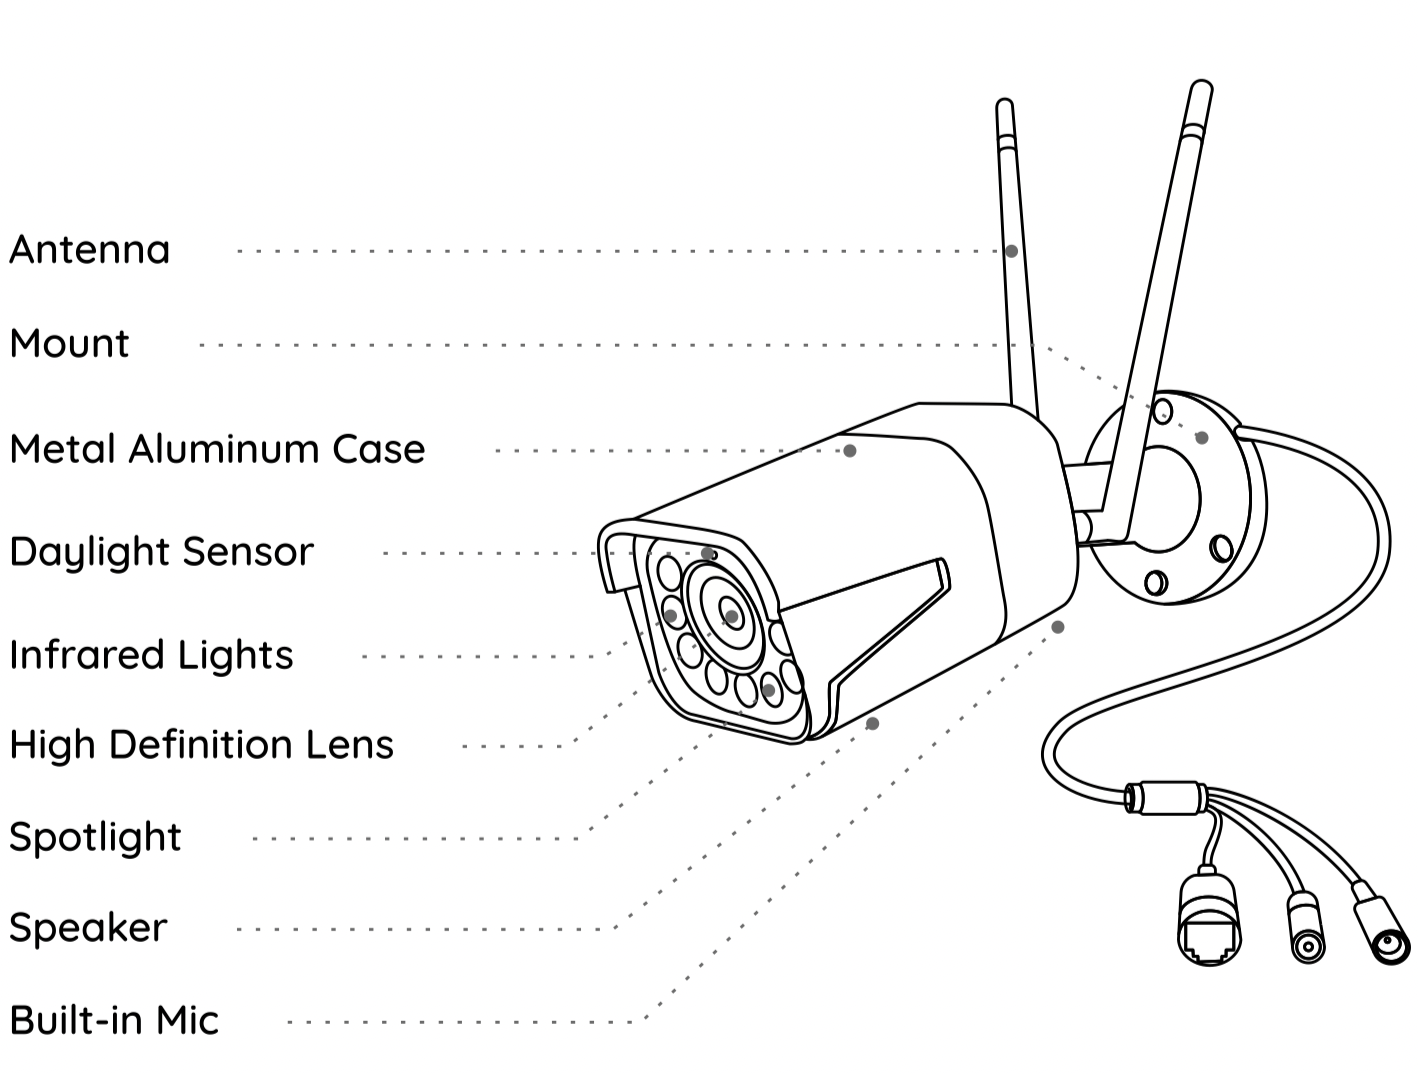
NOTE:
- Different types of cameras are introduced in this section. Please check out the camera included in the package and check out the details from the correpsonding introduction above.
- The actual appearance and components may vary with different model of product.
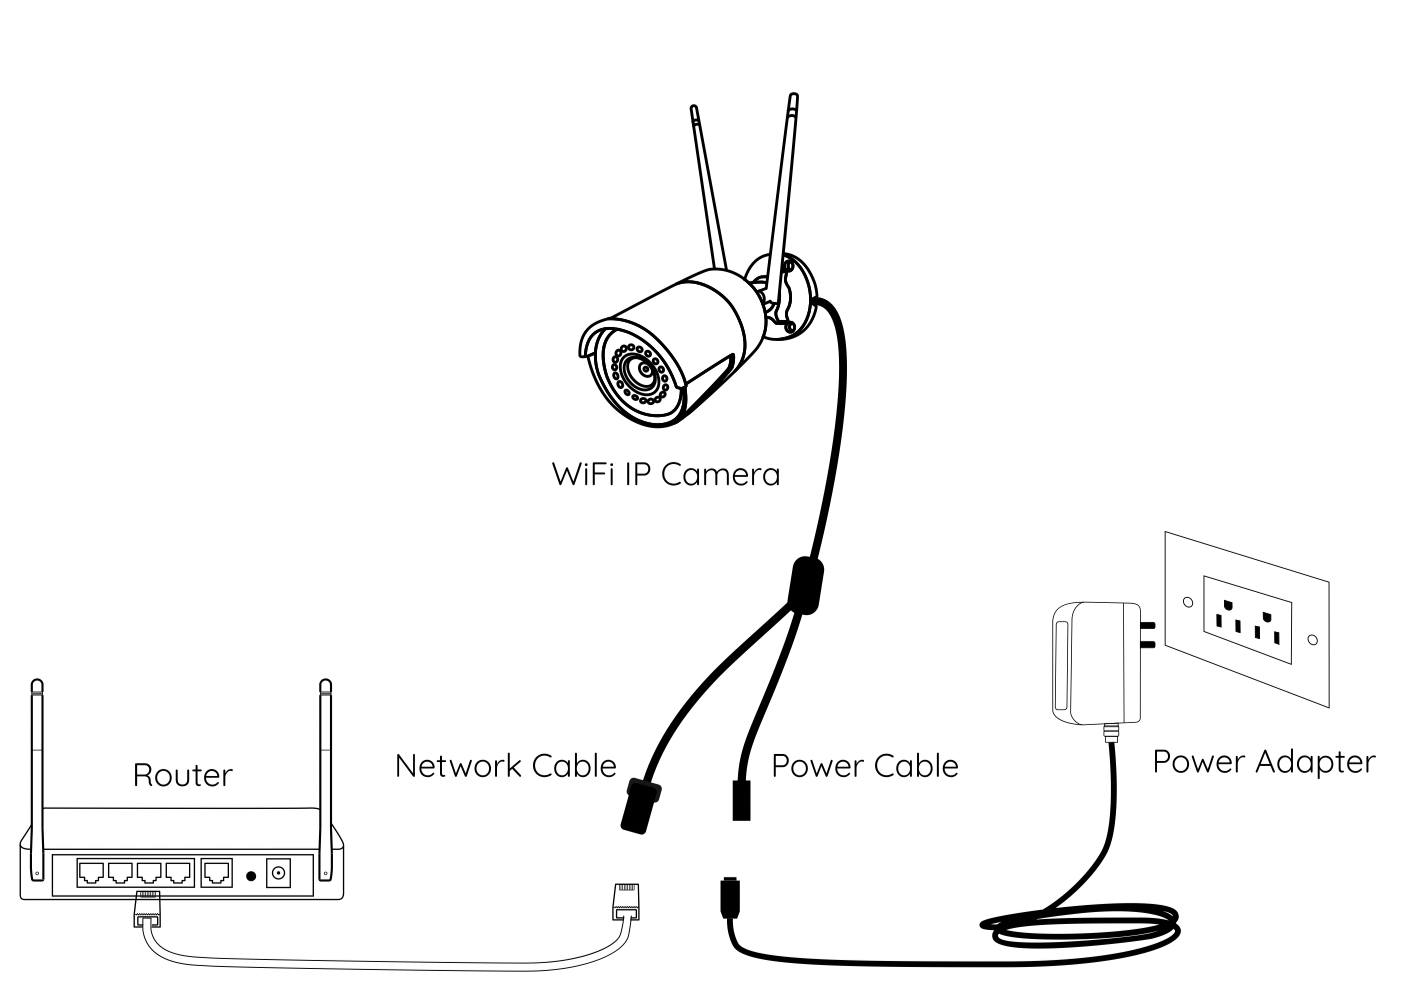
CONNECTION DIAGRAM
Before initial setup, follow the steps below to connect your camera.
- Connect the camera to a LAN port on your router with an Ethernet cable.
- Power on the camera with a power adapter.
INSTALL THE CAMERA
Installation Tips
- Do not face the camera towards any light sources.
- Do not point the camera towards a glass window. Or, it may result in poor image performance because of the window glare by infrared LEDs, ambient lights or status lights.
- Do not place the camera in a shaded area and point it towards a well-lit area. Or, it may result in poor image performance. For better image quality, please make sure that the lighting condition for both the camera and the capture object is the same.
- For better image quality, it's recommended to clean the lens with a soft cloth from time to time.
- Make sure the power ports are not exposed to water or moisure or blocked by dirt or other elements.
- Do not install the camera at places where rain and snow may hit the lens directly.
- The camera may work in extreme cold conditions as low as -25°C. Because when it is powered on, the camera will produce heat. You may power on the camera indoors for a few minutes before installing it outdoors.
NOTE: There are two different types of mounts for bullet cameras. Please check out the mount included in the package and follow the corresponding instruction to install the camera properly.
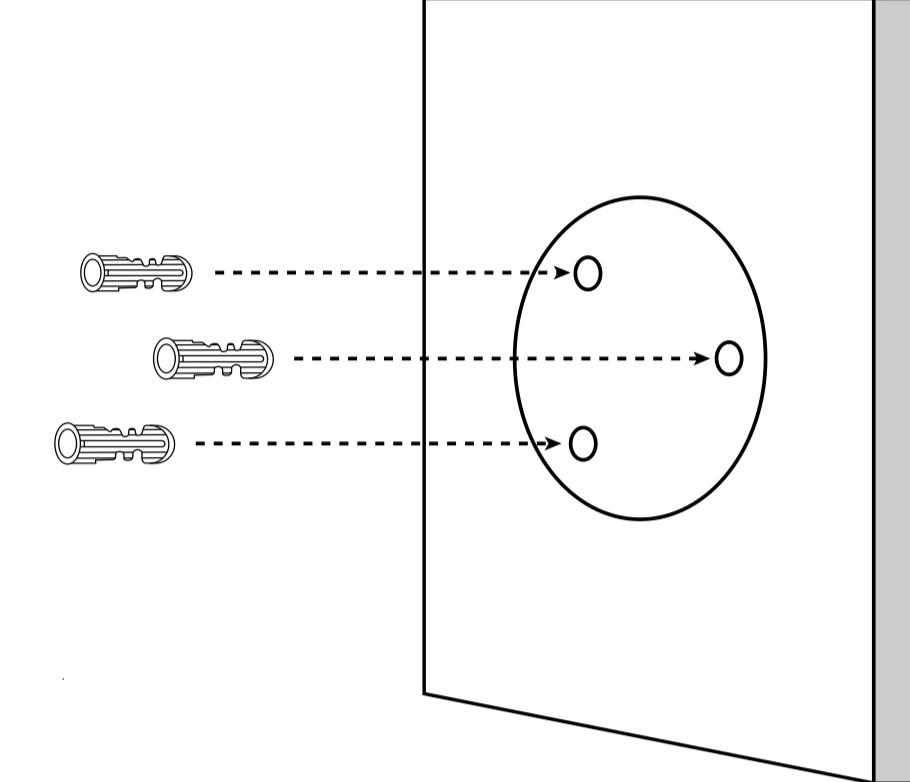
Mount the Camera
1. Drill holes in accordance with the mounting hole template.
NOTE: Use the drywall anchors included in the package if needed.
2. Install the mount base with the mounting screws included in the package.
NOTE: Run the cable through the cable notch on the mount base.

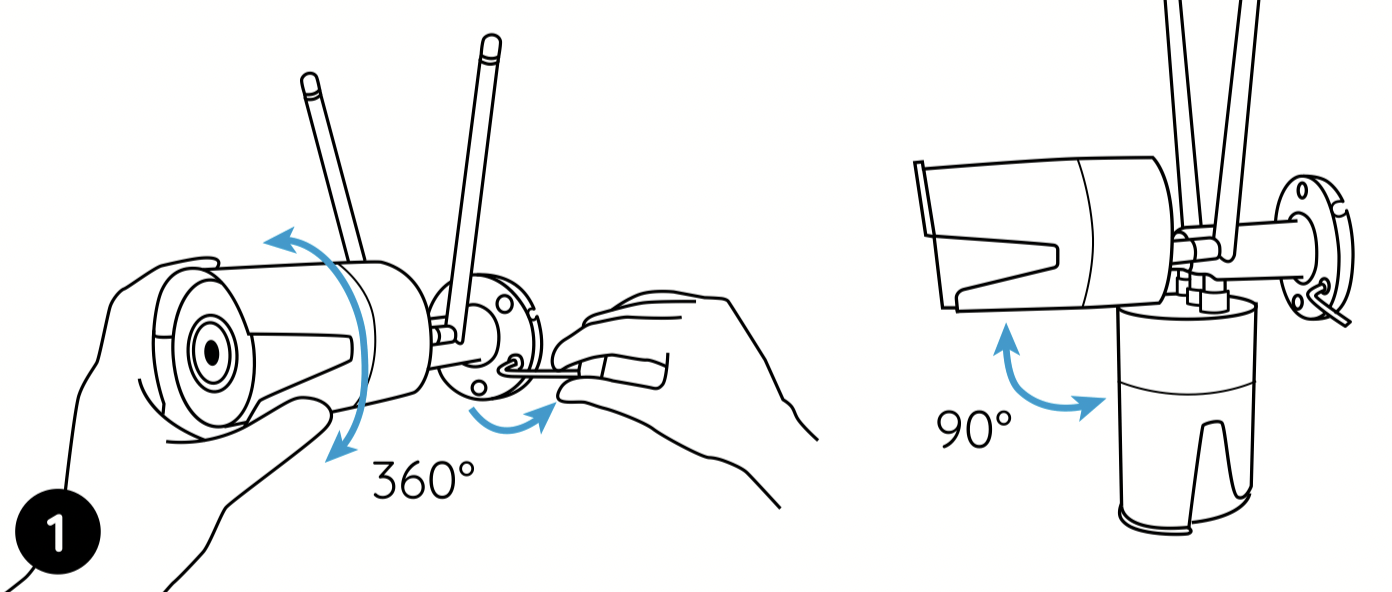
3. To get the best field of view, loosen the adjustment knob on security mount and turn the camera.

4. Stiffen the adjustment knob to lock the camera.
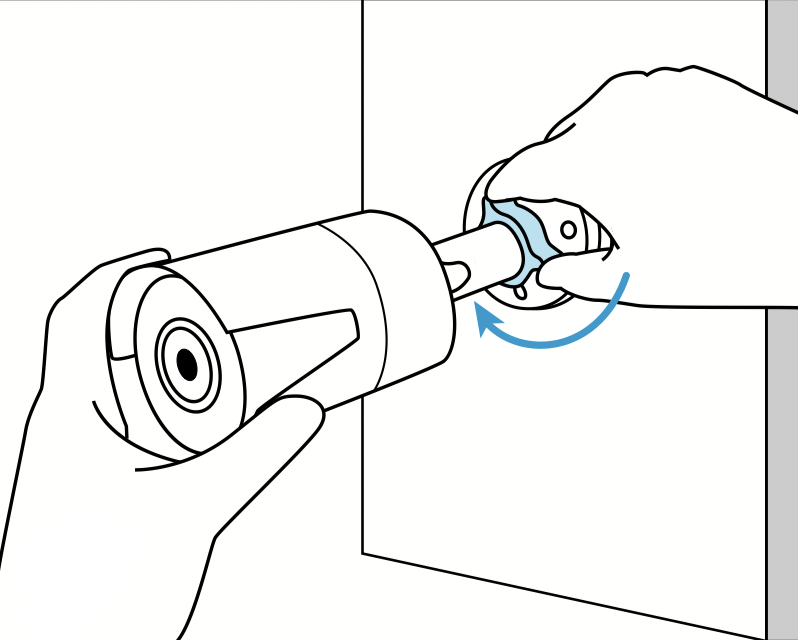
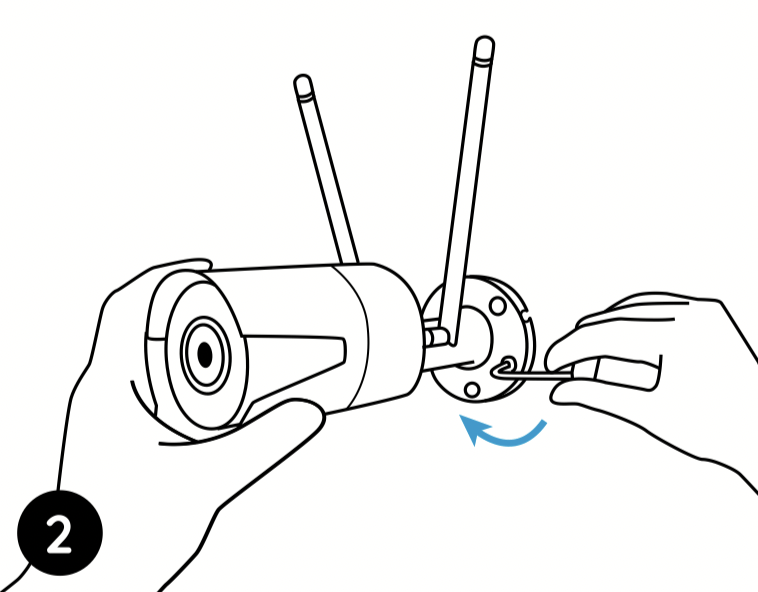
NOTE: If your camera has another mount without the adjusting knob, please loosen the adjusting screw with the provided hex key and turn the camera as shown below to adjust the angle.
1. Twist the screws with the wrench to unlock the camera and adjust its direction.
2. After adjustment, twist the screws back to lock the camera.
TROUBLESHOOTING
If Camera is not powering on
If you find your camera is not powering on, try the following solutions:
- Please check whether the outlet is working properly or not. Try to plug the camera into a different outlet and see if it works.
- Please check whether the DC adapter is working or not. If you have another 12V DC power adapter which is working, please use another power adapter and see if it works.
If LEDs stop working
If you find the IR LEDs of your camera stop working, try the following solutions:
- Go to Device Settings and check whether you have enabled Infrared LEDs. If the LEDs are diabled, please enable them.
- Please go to Live View and check the Day/Night mode. Set the mode to Auto to activate the IR lights.
- Upgrade your camera's firmware to the latest version.
- Restore the camera to the factory settings and check the IR light settings again.