Loading ...
Loading ...
Loading ...
23
Sync data
Select your sync options for online applications.
Auto sync
With Auto sync, you can sync data when the
applications are not running, for example, email,
calendar, or information.
1 From the Home screen, go to >
Accounts & sync settings.
2 Switch on Background data and $XWR
sync.
» If the function is enabled, the tick box
is selected.
Tip
To conserve battery power, switch off Background data
if the function is unnecessary.
$XWRV\QF is disabled when you switch off Background
data.
Select auto sync options
1 Switch on $XWRV\QF.
Make sure that you have switched on
Background data.
» Under Manage accounts, a list of
existing data accounts is displayed.
2 Tap an account to view the sync options.
3 Tap to select the data to be synced (such
as calendar, mail).
Manual sync
If you have switched off auto sync, you can
manually sync the data as needed.
1 Under Manage accounts, tap an account.
» A list of sync options is displayed.
2 Tap to select the data to be synced (such
as calendar, mail).
3 Tap Sync now.
Tip
To sync the data manually, you can also press and
select Refresh in the application.
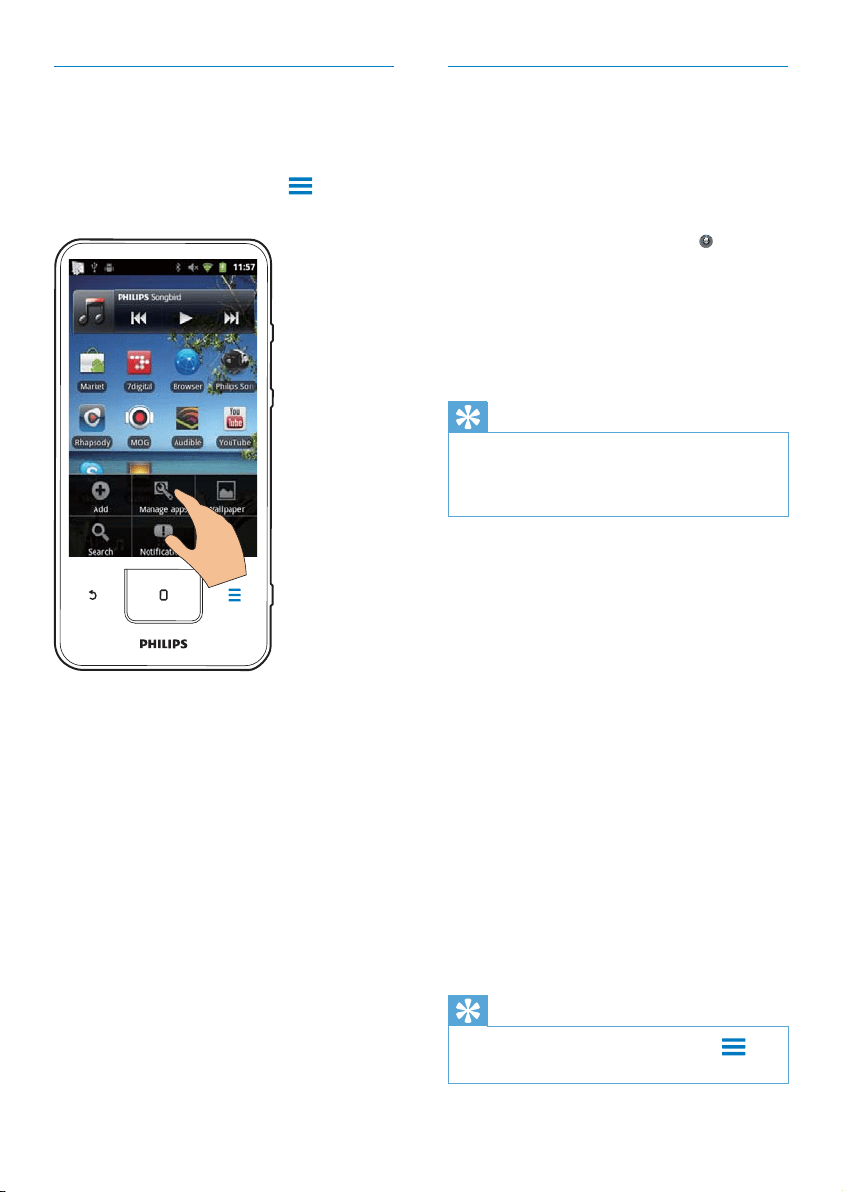
Manage applications
You can manage the applications on the device,
for example, install/ uninstall applications, stop
running applications, or select other options.
1 On the Home screen, press and select
Manage applications:
In DownloadedÀQGWKHDSSOLFDWLRQV
that you have downloaded from the
Market or other sources.
In RunningÀQGWKHDSSOLFDWLRQVWKDW
are running on the device.
In AllÀQGDOOWKHDSSOLFDWLRQVWKDW\RX
have installed on the device.
2 Tap an application.
» Options and information are displayed.
3 Tap to select an option.
EN
Loading ...
Loading ...
Loading ...