Loading ...
Loading ...
Loading ...
18
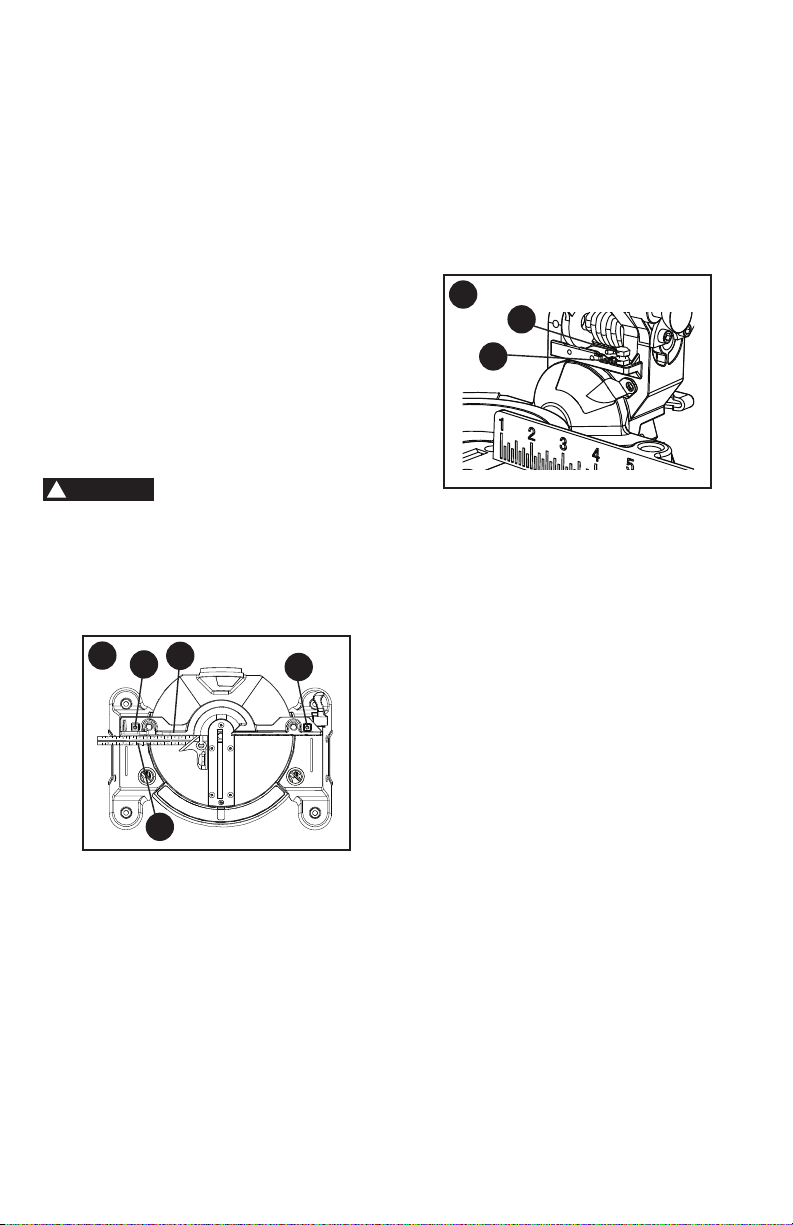
• Turn the adjustment bolt (2) out
(counterclockwise) to decrease the
cutting depth or in (clockwise) to
increase the cutting depth.
• Carefully rotate the blade manually to
check for contact. Avoid touching blade
points or edges.
• Repeat until adjusted properly, and
tighten the locknut (1) to secure the
adjustment bolt (2) into position.
CAUTION
!
R
1
2
MITER ANGLE POINTER ADJUSTMENT
(FIGURE P)
• Move the table to the 0° positive stop.
• Loosen the screw (4) that holds the
pointer (5) with a Phillips screwdriver.
• Adjust the pointer (5) to the 0° mark
and retighten screw (4).
ADJUSTING FENCE SQUARENESS
(FIGURE Q)
• Set the bevel and miter angles to 0°.
• Lower the cutting arm and lock in
position.
• Using a square (1), lay the heel of the
square against the blade and the ruler
against the fence (2) as shown.
• If the blade is not 90° to the fence,
loosen the two fence locking bolts (3)
by 6 mm hex wrench.
• Adjust the fence 90° to the blade and
tighten the two fence locking bolts.
If the saw has not been
used recently, recheck blade squareness
to the fence and readjust if needed.
• After fence has been aligned, using a
scrap piece of wood, make a cut at 90°,
then check squareness on the piece.
Readjust if necessary.
ADJUSTING CUTTING DEPTH
(FIGURE R)
The maximum depth travel of the cutting
head was set at the factory. Check to see
that the blade does not extend more than
1/4 in. below the table insert, and does not
touch the control arm throat or any part of
the base or table. If the maximum depth
needs readjusting:
• To adjust the cutting depth, loosen
the lock nut (1) and the bolt (2) by two
8 mm wrenches.
Q
1
2
3
3
Loading ...
Loading ...
Loading ...