Loading ...
Loading ...
Loading ...
Using the On-Screen Menu
5
21
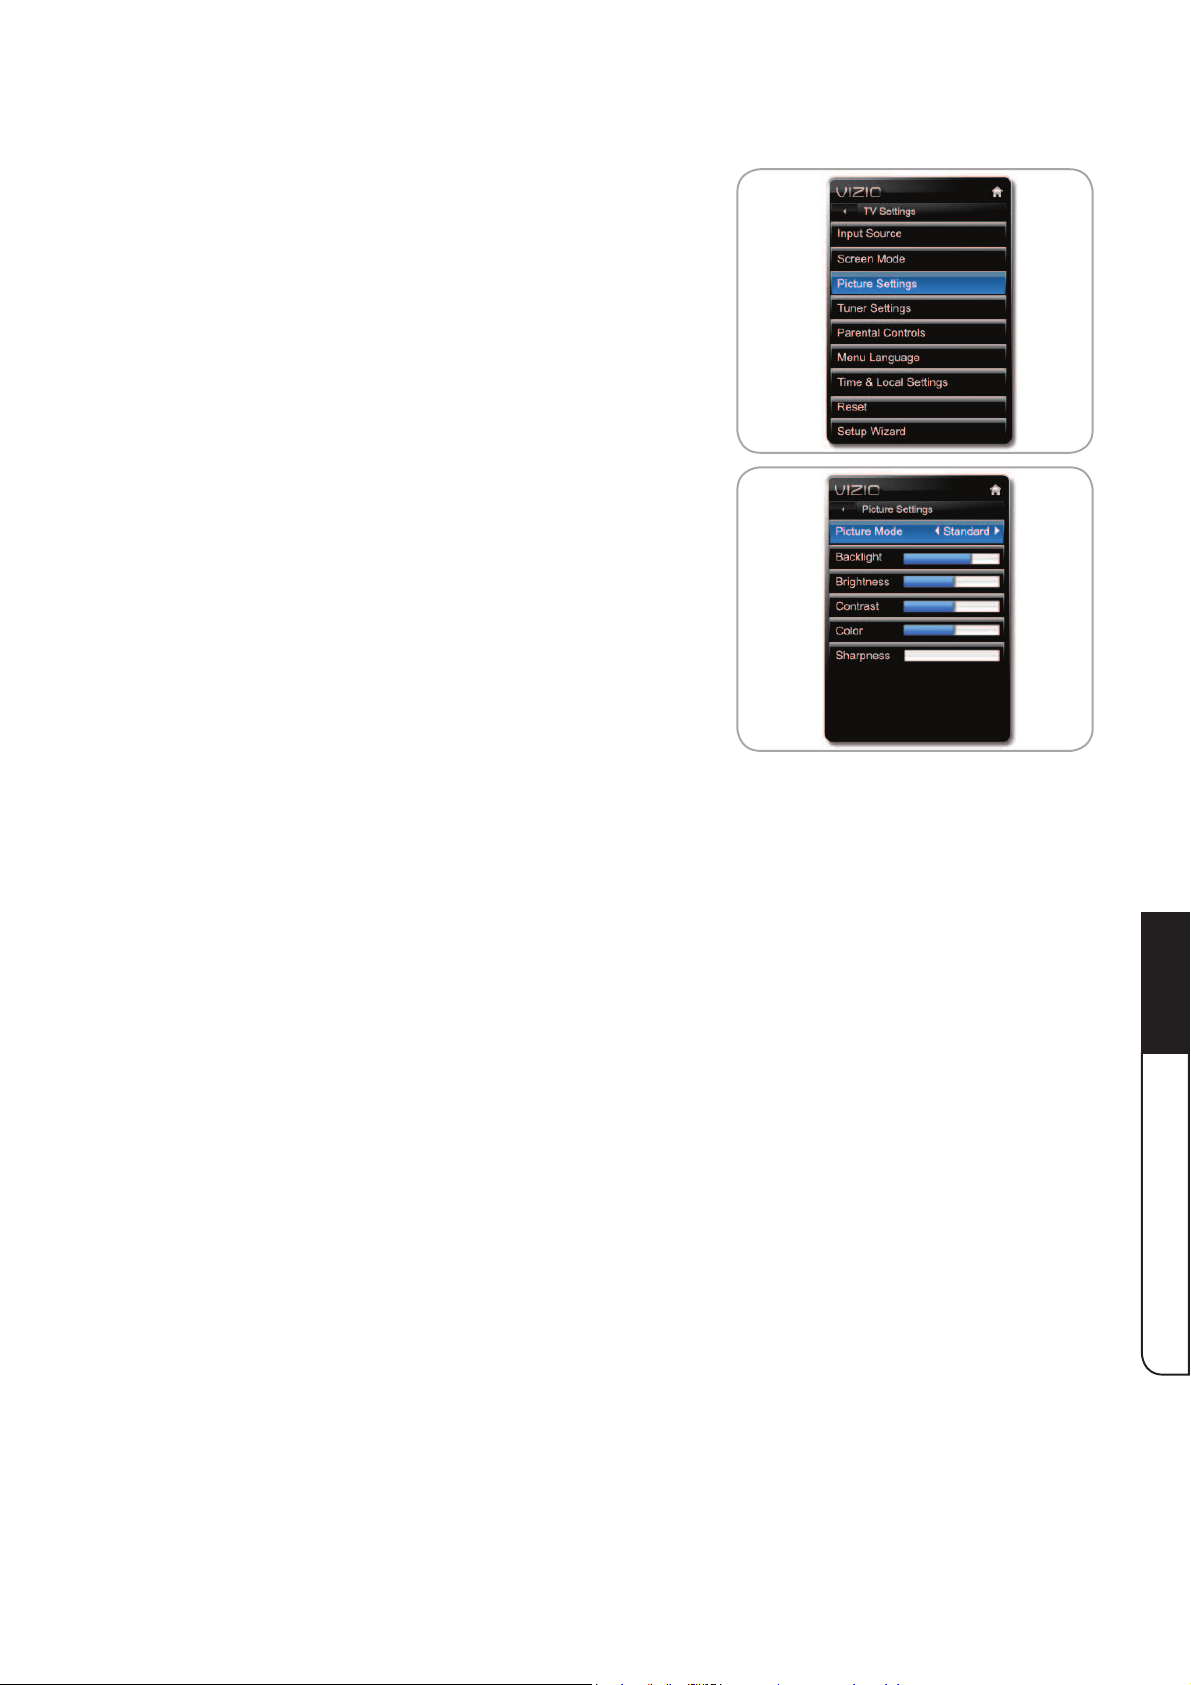
3. <ZL[OLUp/Down Arrow buttons on the remote
VY[OLåÜJVU[YVSZVU[OL;=[VOPNOSPNO[Picture
Settings and press OK. The Picture Settings menu is
displayed.
4. <ZL[OLLeft/Right Arrow buttons on the remote (or
the - / + controls on the TV) to change the picture
mode:
Standard mode sets the various picture settings
to values that will produce the best picture in the
most cases. This is the recommended setting.
Vivid mode sets the picture settings to values that
produce a brighter, more vivid picture.
Custom picture mode allows you to manually
change each of the picture settings:
Backlight(KQ\Z[Z[OL3,+IYPNO[ULZZ[VHMMLJ[[OLV]LYHSSIYPSSPHUJLVM[OLWPJ[\YL
Brightness(KQ\Z[Z[OLISHJRSL]LSVM[OLWPJ[\YL>OLU[OPZZL[[PUNPZ[VVSV^
the picture may be too dark to distinguish details. When this setting is too high, the
picture may appear faded or washed out.
Contrast(KQ\Z[Z[OL^OP[LSL]LSVM[OLWPJ[\YL>OLU[OPZZL[[PUNPZ[VVOPNO
the picture may appear dark. When this setting is too low, the picture may appear
MHKLKVY^HZOLKV\[0M[OLZL[[PUNPZ[VVOPNOVY[VVSV^KL[HPSTH`ILKPMÄJ\S[[V
distinguish in dark or bright areas of the picture.
Color(KQ\Z[Z[OLPU[LUZP[`VM[OLWPJ[\YL»ZJVSVYZ
Sharpness(KQ\Z[Z[OLZOHYWULZZVM[OLLKNLZVMWPJ[\YLLSLTLU[Z0[JHUIL\ZLK
[VZOHYWLUUVU/+OPNOKLÄUP[PVUJVU[LU["OV^L]LYP[^PSSUV[WYVK\JLKL[HPS[OH[
does not otherwise exist.
Loading ...
Loading ...
Loading ...