Loading ...
Loading ...
Loading ...
31
• Alternate DNS Server: This field allows the user to enter the alternate DNS server IP address.
• Enable ARP/Ping to set IP Address Service: This checkbox allows the user to enable the ARP/Ping service to
change the IP address service. For more information on this feature, click the help button while on the TCP/IP
settings tab.
To reset to default settings, click the Reset Defaults button. To refresh the page, click the Refresh button. To save
the settings, click the Save button.
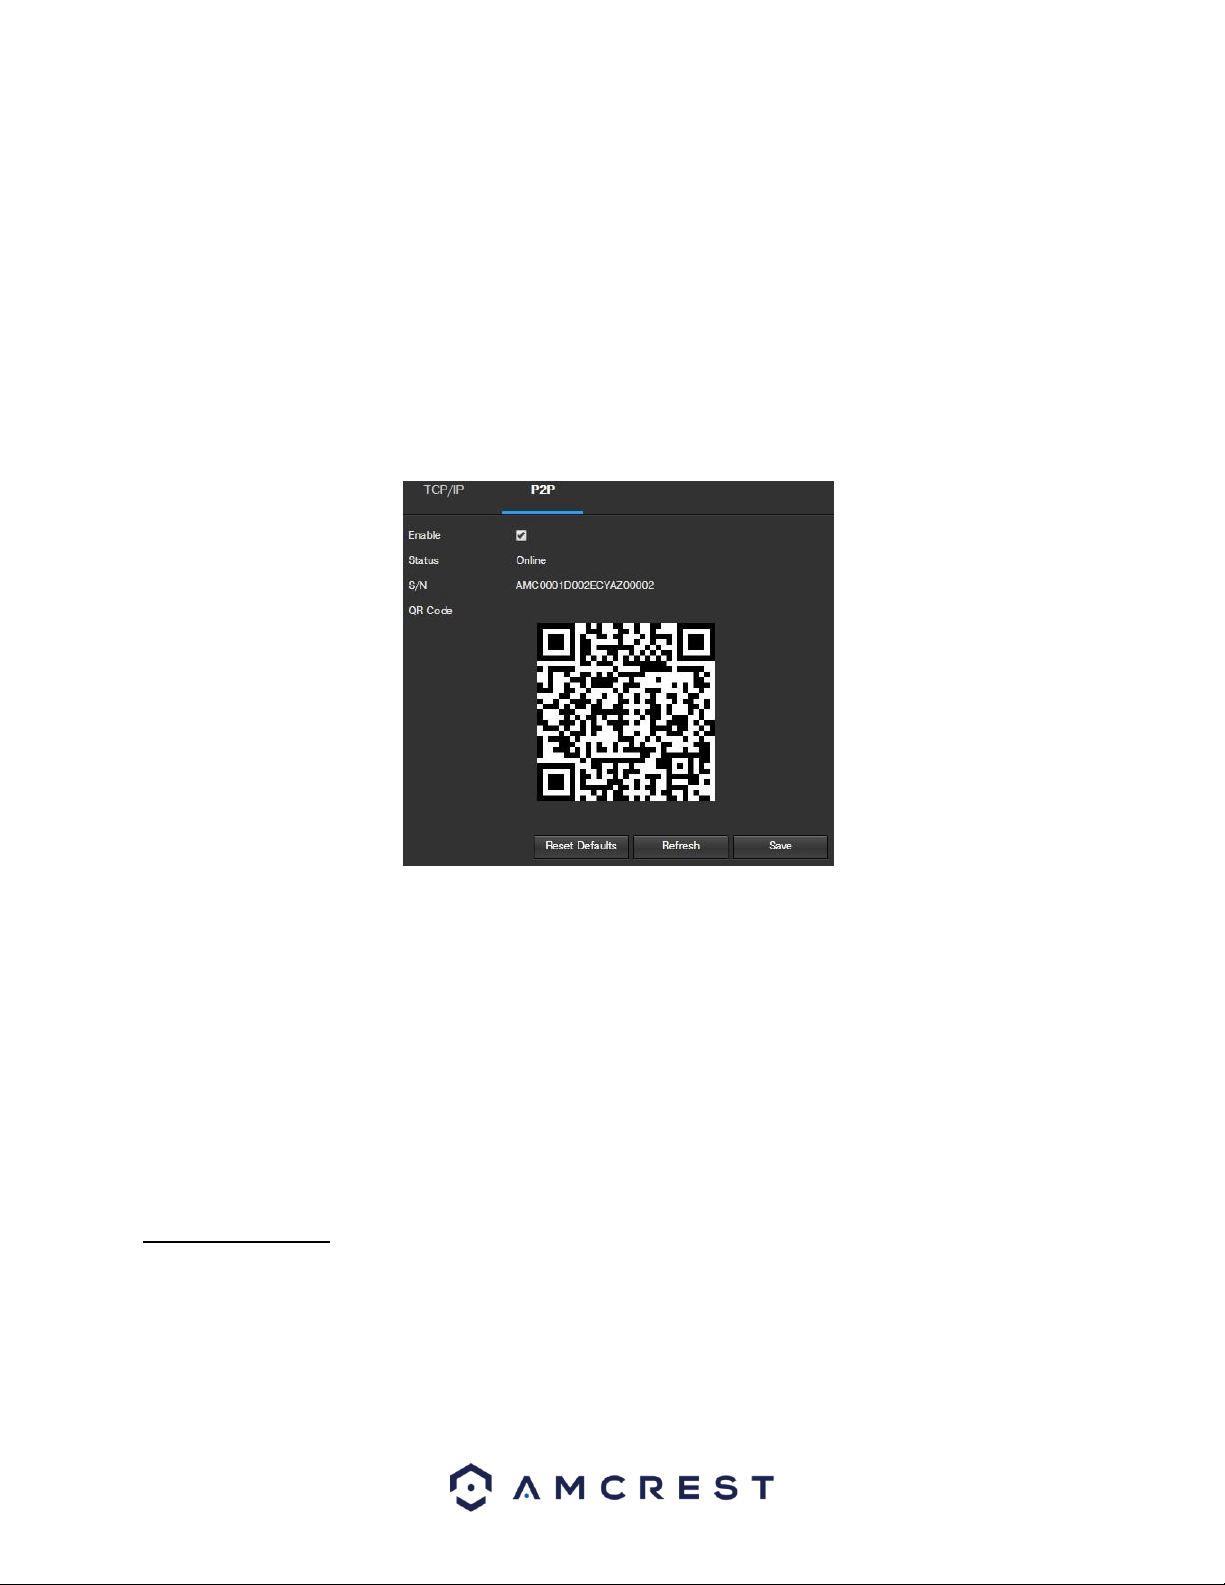
5.2.2.1.1 P2P
The P2P settings screen is where users can use a QR code to connect their smartphone or tablet to the camera.
This feature needs to be enabled for use with the Amcrest View app, Amcrest Cloud, or AmcrestView.com. Below
is a screenshot of the P2P settings tab:
Below is an explanation of the fields on the P2P settings tab:
• Enable: This checkbox allows the user to enable the P2P feature for the camera. This feature must be enabled
for the camera to connect to a smartphone or tablet via the Amcrest View app. It is enabled by default.
• Status: This field displays the status of the P2P connection. Once the camera is connected to a device, this
field should display the word Online.
• UID: This field displays the Token ID for the camera. The Token ID can be used to manually enter the camera’s
information on a mobile or tablet device in case the QR code scanning feature cannot be used.
• QR Code: This image is a Quick Response (QR) code. By scanning this image using the Amcrest View app, this
camera can establish a connection with the app.
To reset to default settings, click the Reset Defaults button. To refresh the page, click the Refresh button. To save
the settings, click the Save button.
5.2.2.2 Connection
The Connection menu item has two tabs: Connection and ONVIF.
5.2.2.2.1 Connection
The Connection tab is where users can configure port connections. Below is a screenshot of the Connection
settings tab:
Loading ...
Loading ...
Loading ...