Loading ...
Loading ...
Loading ...
E
144
S HQ/ HQ/ SQ
AE
+
/
–
ERASE ALL
FORMAT CARD
WB
BATTERY SAVING
DATE
BRIGHTNESS
END
MENU
: DATE
TIME
PRINT
FORMAT
YEAR
MONTH
DAY
HOUR
MINUTE
END
< ON>
< ON>
< J P>
<98>
< 1>
< 1>
< 0>
<00>
:DATE
TIME
PRINT
FORMAT
YEAR
MONTH
DAY
HOUR
MINUTE
END
< ON>
< ON>
< J P>
<98>
< 1>
< 1>
< 0>
<00>
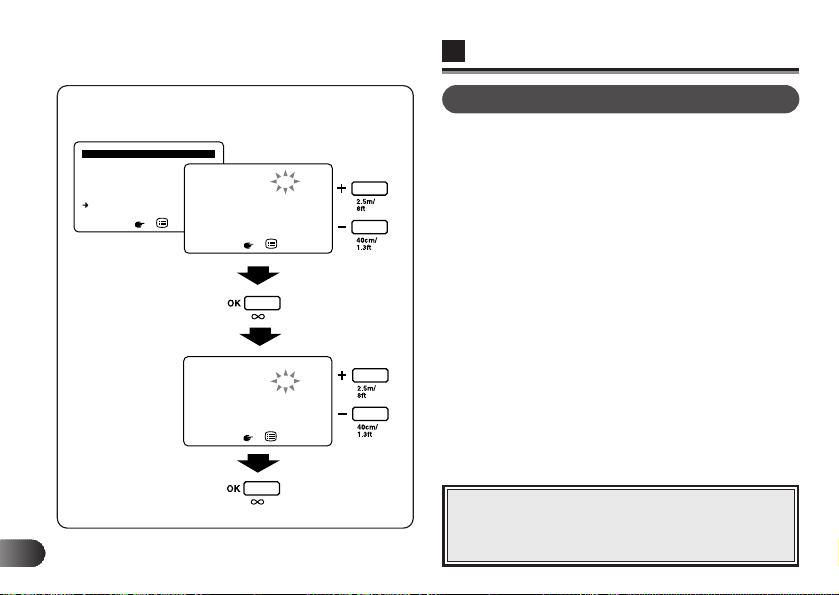
DATE
1 When DATE is selected from the menu, the screen on the
left appears on the LCD monitor. TIME, PRINT, FORMAT,
YEAR, MONTH, DAY, HOUR, and MINUTE can be
input/adjusted.
2 Use the +/– buttons to input inside the < > while they are
blinking, then press the OK button to confirm the setting.
Repeat it until MINUTE is input.
● When you set TIME ON, the recording time as well as the
date is displayed/printed. With it OFF, only the date is
displayed/printed.
● When you set PRINT ON, the recording date (and the time
when TIME is set on) is displayed on the LCD monitor and
printed.
● With FORMAT, you can select the display order of the
year, month and day of the date from the following three.
US ......Month, Day, Year
EU ......Day, Month, Year
JP.......Year, Month, Day
◆ Nonexistent dates cannot be set.
◆ Date/time adjustment can be made from a
personal computer as well. Refer to the
software’s online manual for details.
Note:
LCD Monitor
Écran ACL
Monitor LCD
OK button
Touche de confirmation (OK)
Botón OK
+/– buttons
Touches
(+/–)
Botones +/–
Loading ...
Loading ...
Loading ...